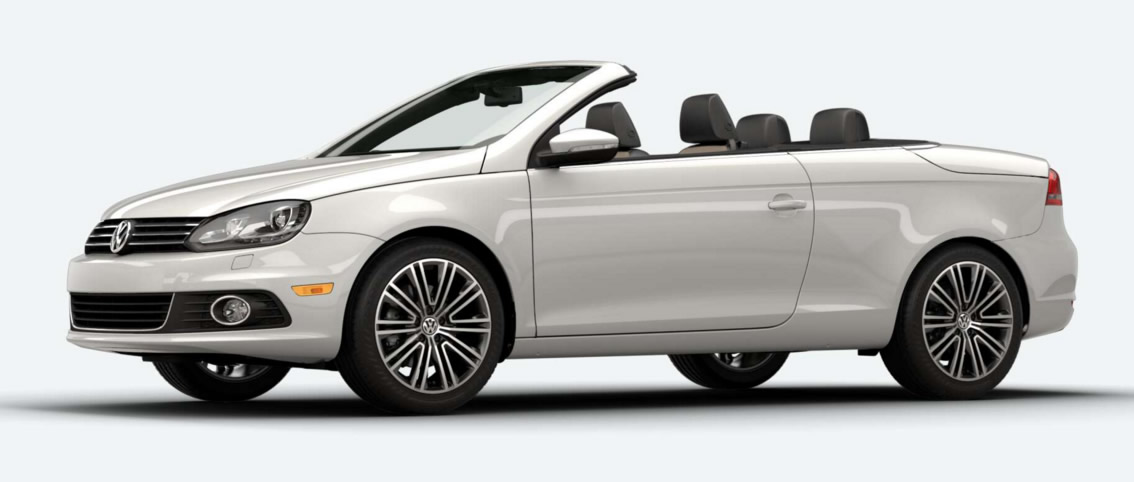
 Most Volkswagen EOS models do not have a rear wing, except for the Lux/Sport edition that has a small lip spoiler –which I think quite completes the look of this car. I also had a chance to discuss with other owners and many do agree that there is this feeling about something cosmetically missing in the rear when you look at the Kormfort / Executive / Final editions.
 In other word, the trunk curve projects the car a bit too lady for us dudes. While the Mount insert is the best $40 mod for performance that we did other day, having the spoiler doesn’t give you more horsepowers –but it really changes the look and feel of this car.
With that in mind, I set out to find a trunk/boot spoiler for my EOS to first, satisfy my burning desire; and second, hopefully I could use it as another funny experience so you’d have something to read about later.
Where To Buy
Now you could probably purchase the OEM lip spoiler directly from your local U.S dealer for roughly $350, painted.
For those who prefer a sportier wing, you have several options from RDX, Caractere, JE or DAR brands. But the issues are, they are difficult to get your hands on; plus payment is quite complicated.
I spent many hours on every of these manufacturers’ website and for the life of me, I can’t figure out how to place a bloody online order with some of them. I don’t even know for sure if they are even trying to sell anything or just having a couple of photoshopped pictures for show. I think it’s probably a lot easier for folks in the Europe to buy the part.
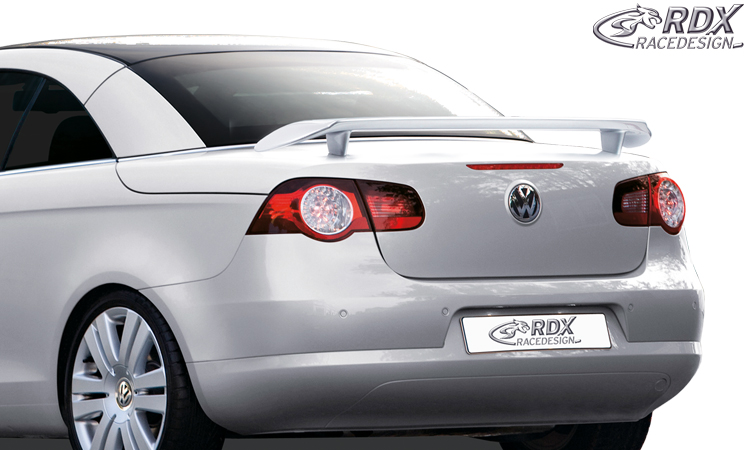 Eventually, I decided to go with RDX because the spoiler looks nice and they have a reseller already available in the US. But to be honest, I have never seen the RDX spoiler in person so this was pretty much a leap of faith when I placed the order on Quality Tuning.
They had to back-order it from Turkish so my shipment took almost a month for arrival. Though I was glad that it came in perfect shape and no damages from all those transportation stops.
Day of Arrival
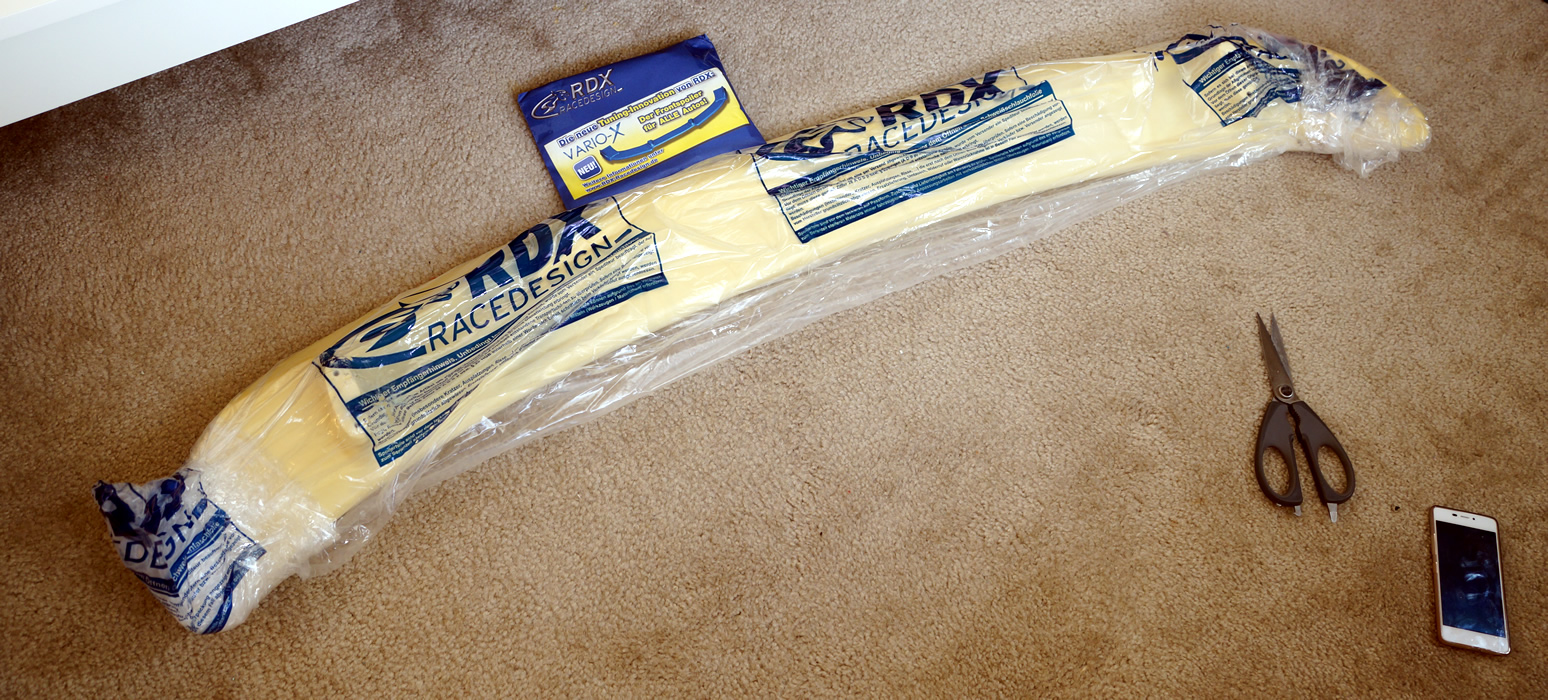
I totally forgot about the the RDX order because Amazon Prime have always spoiled me with their 2-day shipping every time. I didn’t remember to keep track of the package until one day this showed up at my door (one foot for scale).
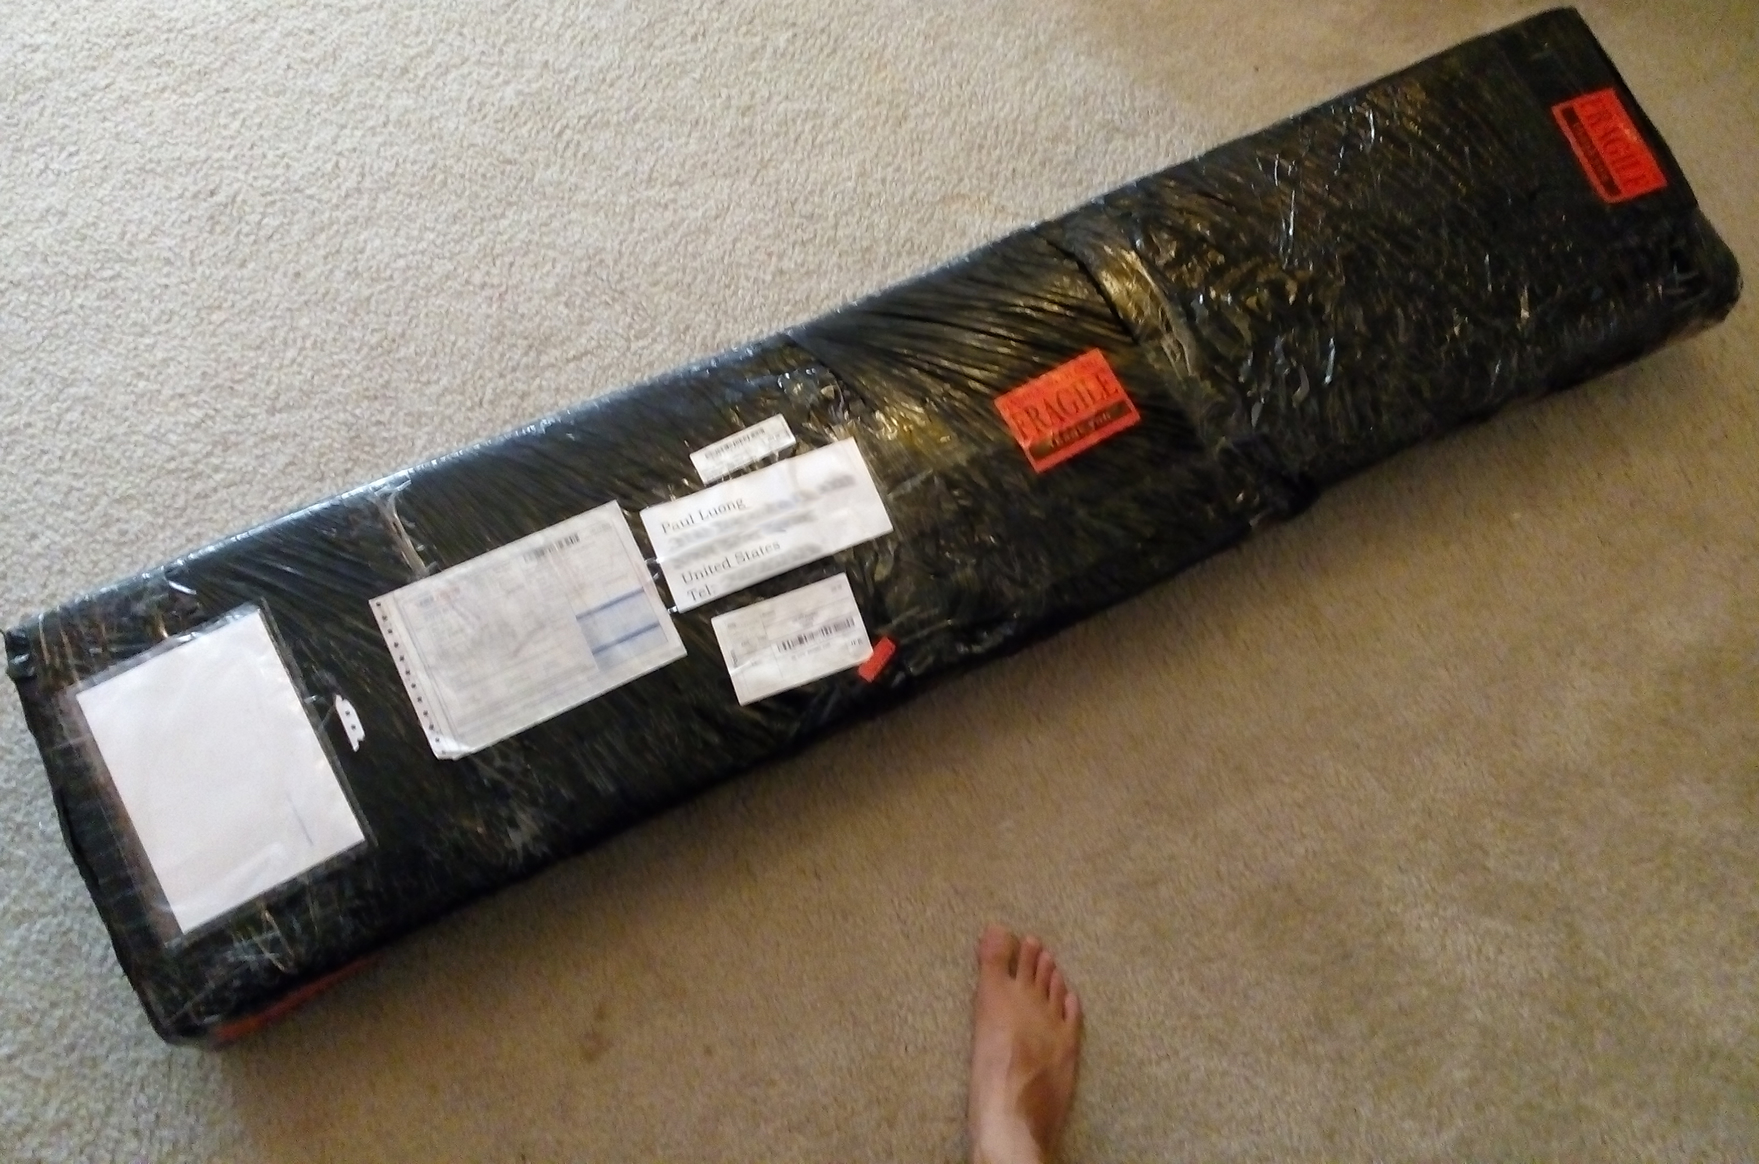
After a lot of bubble wraps. Props for very careful packaging from Quality Tuning.


![]() DIY Waterless Car Wash & Wax for 35 Minutes – Low cost, No Rinse, Drought-Friendly, Winter & Summer.
DIY Waterless Car Wash & Wax for 35 Minutes – Low cost, No Rinse, Drought-Friendly, Winter & Summer.
First (Failed) Attempt to Paint
I watched this youtube video and planned on following the same method to get my RDX spoiler painted. It’s made from the same material as the demo parts in the video –polyurethane– which is light-weight and does not put heavy stress on the EOS’s trunk mechanism. Here are my preps:
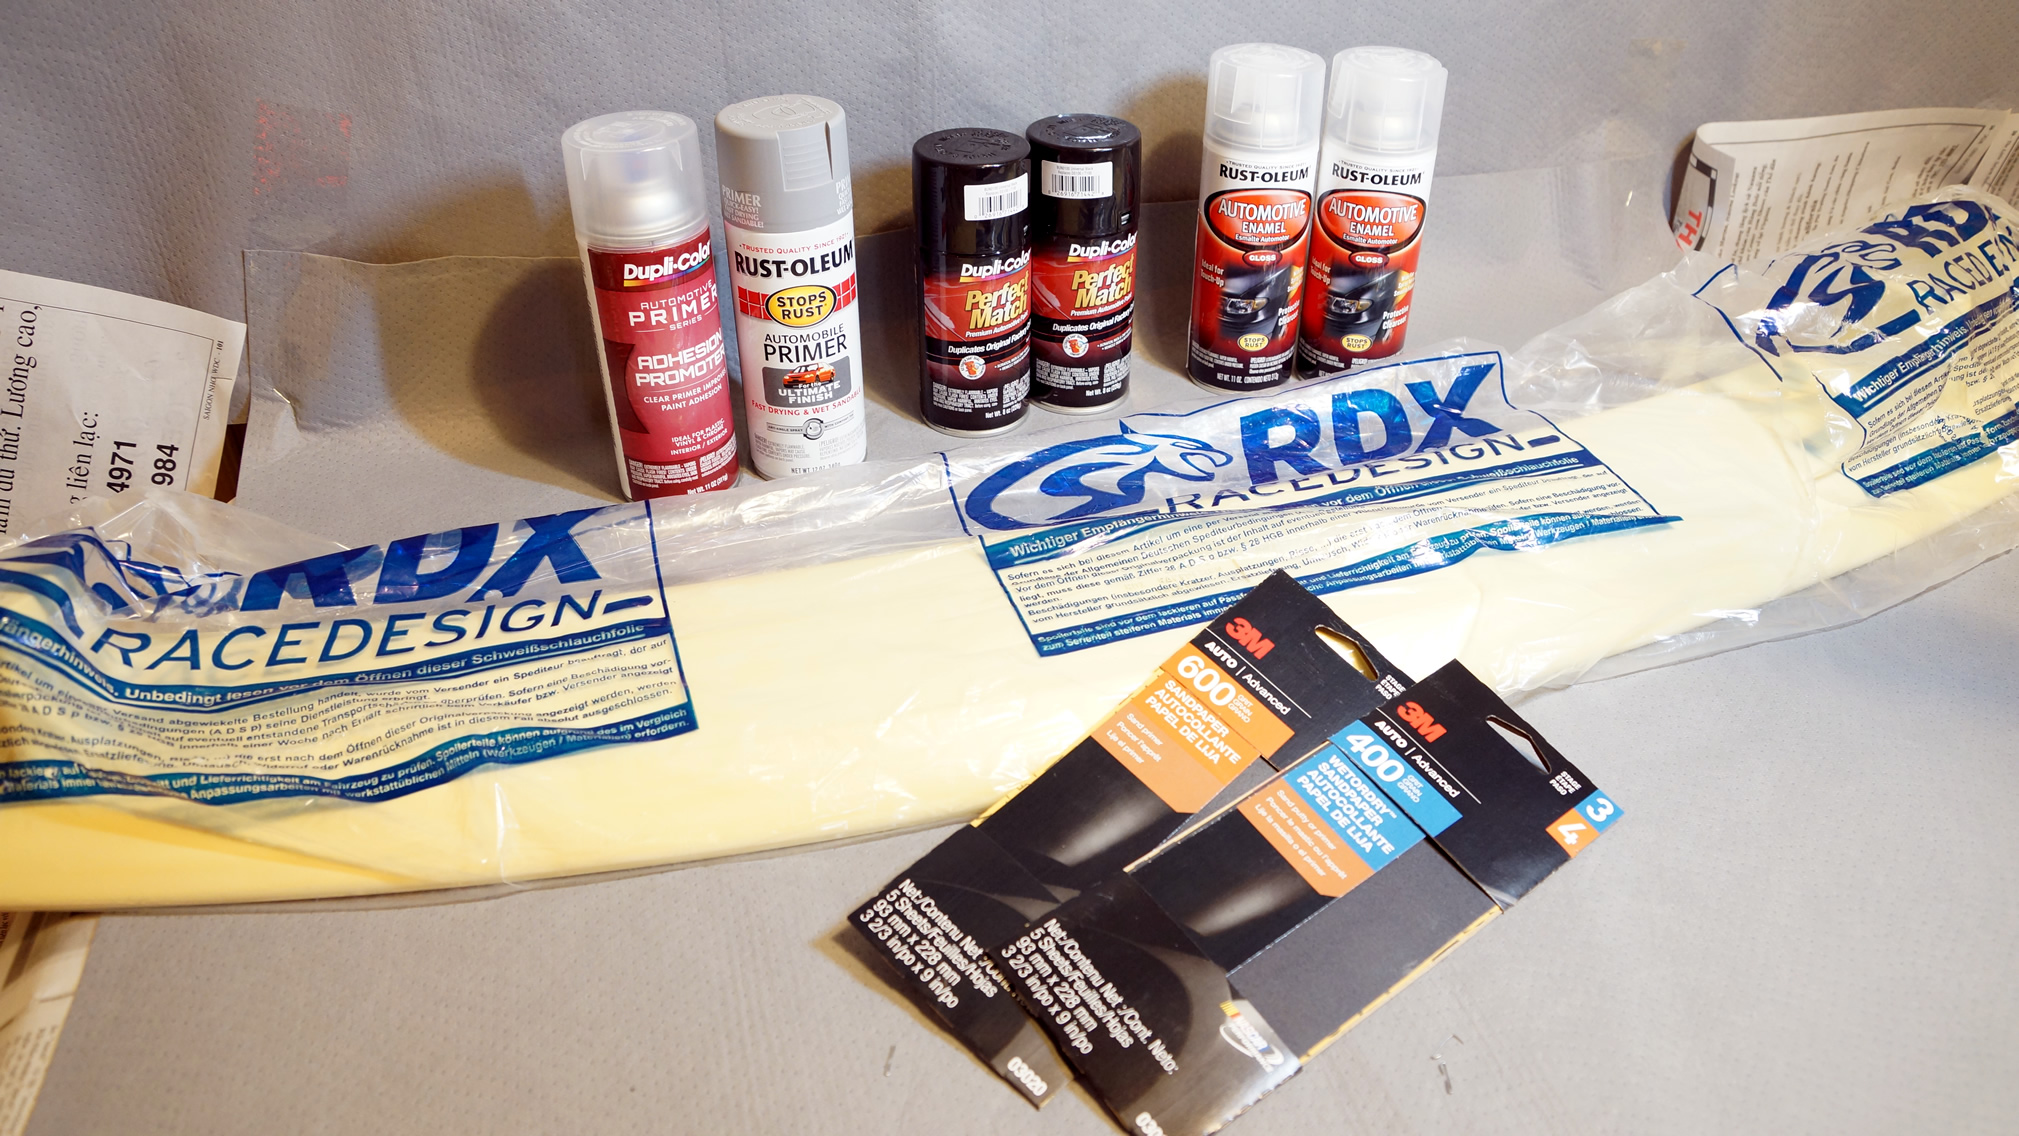
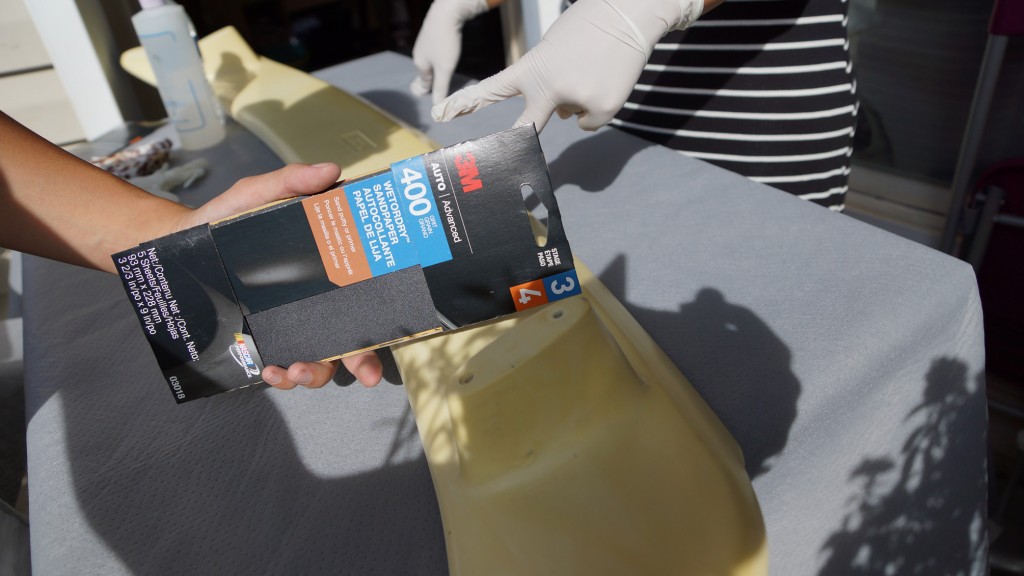
Sand it down with 400 grit paper.
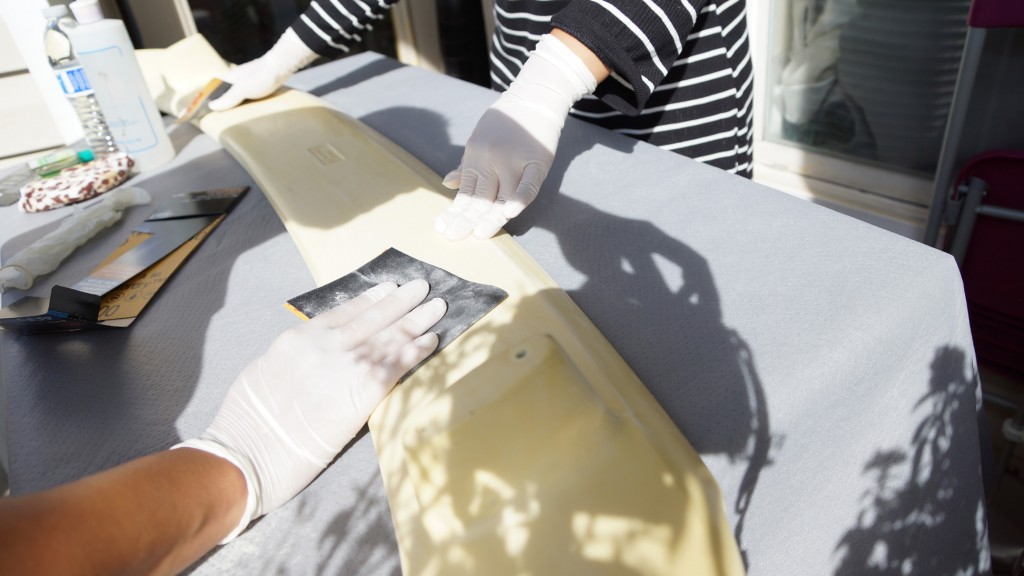
Clean up with rubbing alcohol.
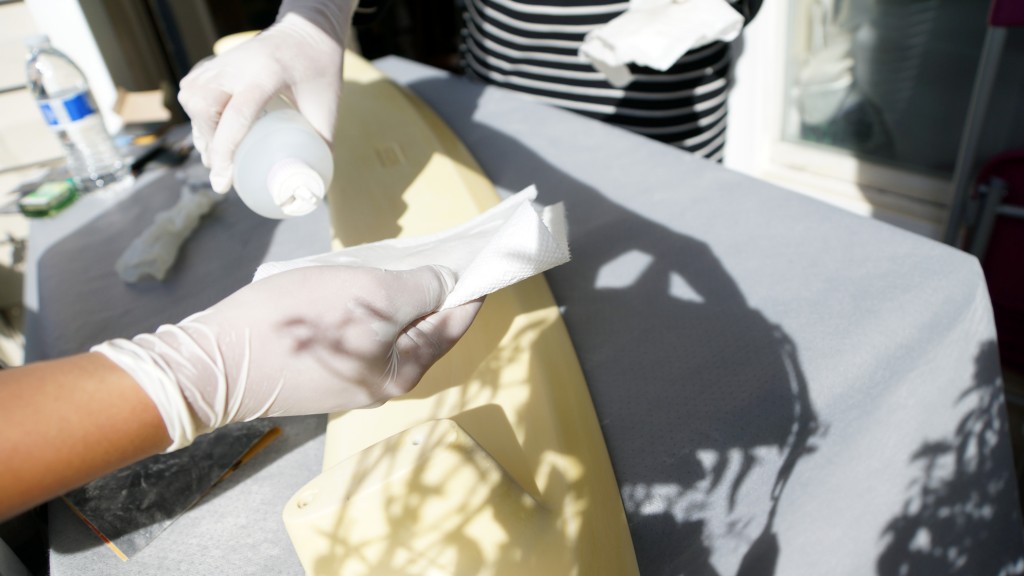
Once it’s dried up (about a minute), spray a layer of Adhesive promoter all around. Then wait 5 minutes. The smell is very strong so you should wear a paint mask.
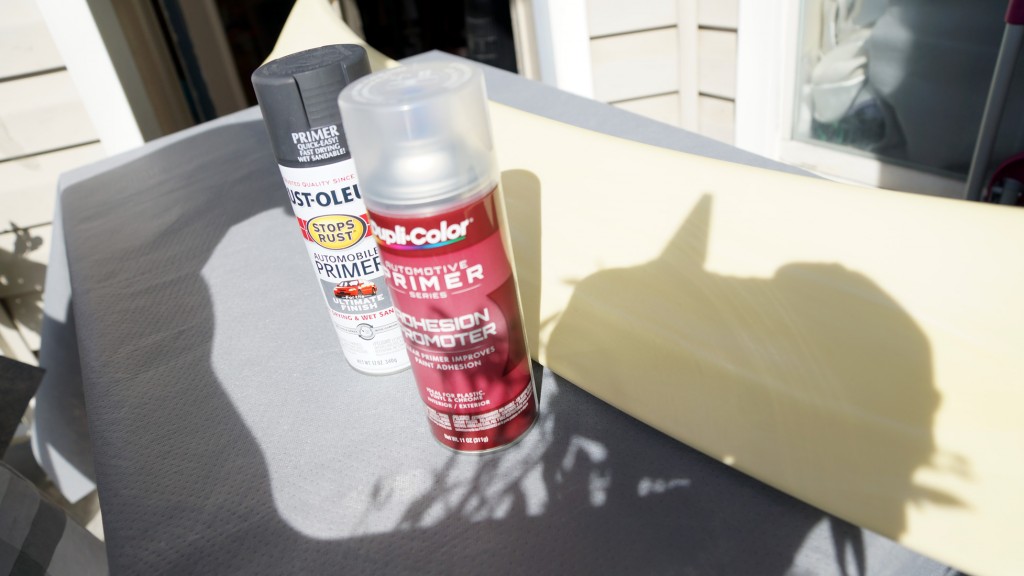
Now it’s time for the Primer. You’ll need 3 coats and each one goes 15 minutes apart.
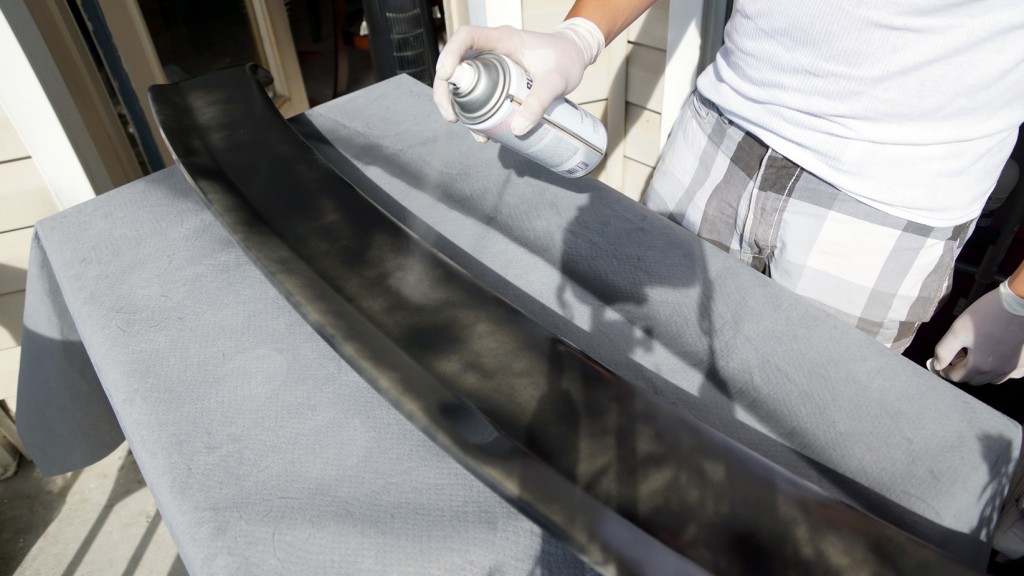
After the 3rd coat, you have to leave it sit for a day or so; depends on the room temperature. On the next day, you need to sand then clean the spoiler again with rubbing alcohol.
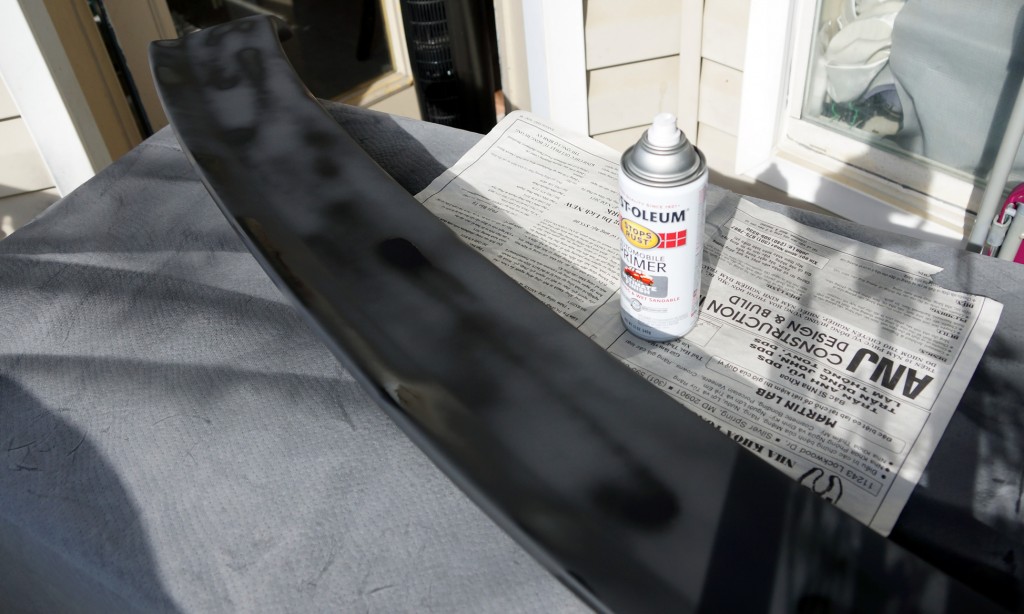
Day 2. Wet sandded with 600 grit paper and cleaned up with rubbing alcohol.
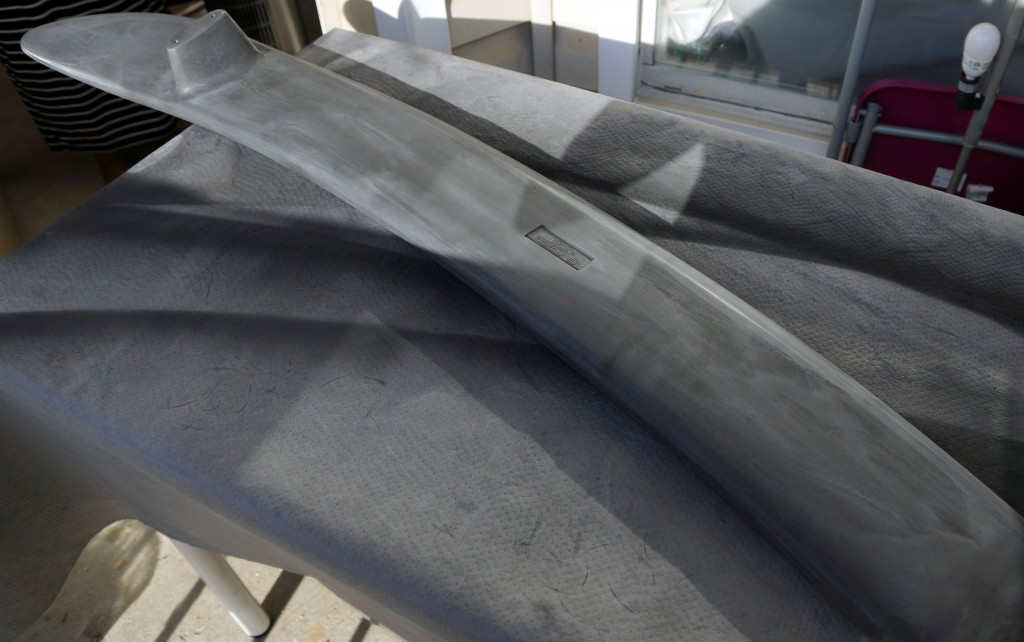
Applying 3 coats of black paint. 20 minutes apart. Wait 6 hours when done.
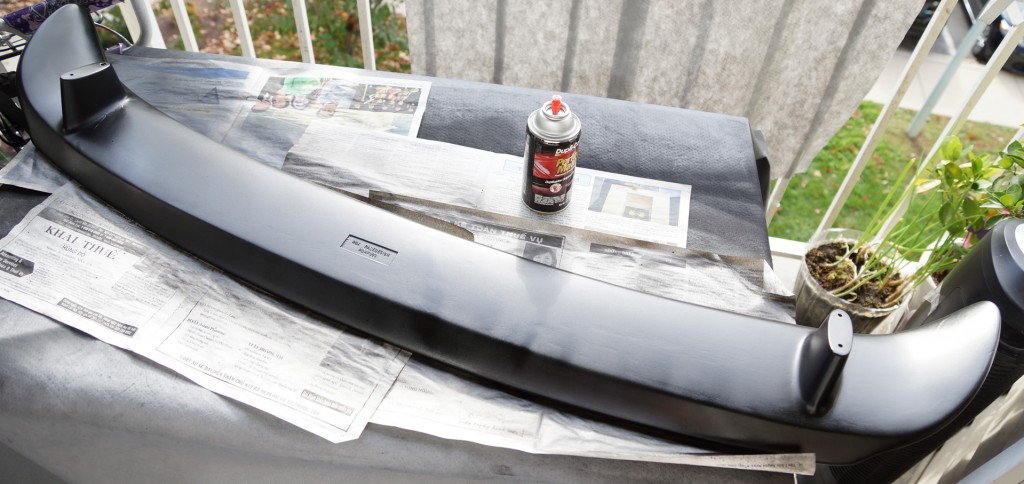
Applying 3 coats of clear coat. 30 minutes apart.
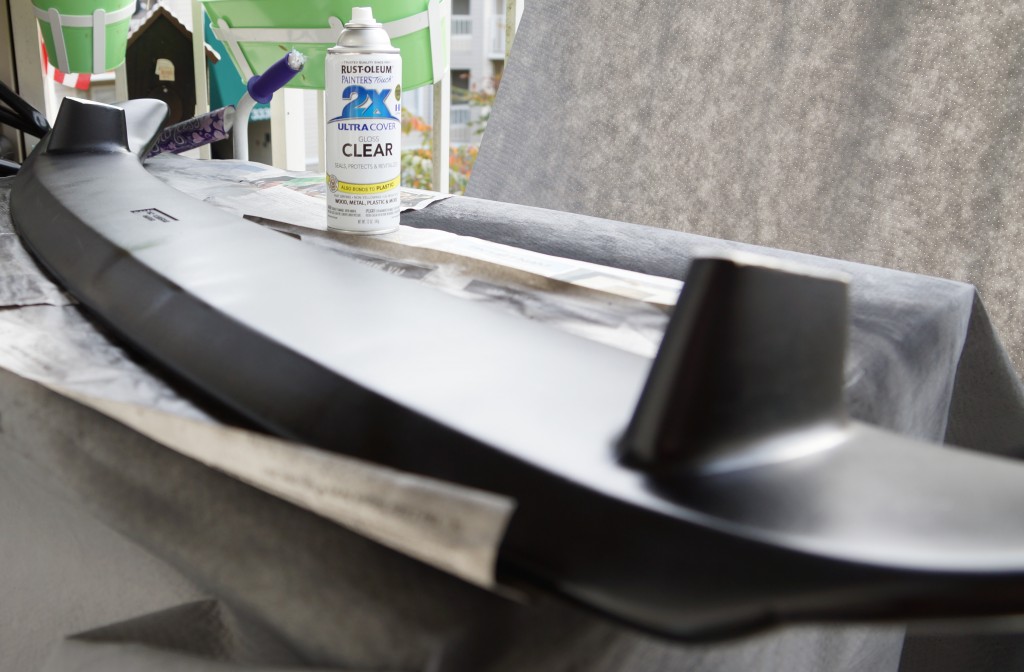
End result.

As you can see, it does not turn out as great as it should be. I made several mistakes during the sanding process and rushed through the color coat. There was a consistent layer of cloudiness in the paint. I didn’t like it one bit.
So my plan B was to find a professional autobody shop to do it for me. Which I should have done in the first place but it’s good to at least have some of this experience for future dad story. Now that you see the process, you might be getting a better outcome than I did. Otherwise, a professional autobody shop would definitely ask for about $200 just to paint it.
Second Attempt to Paint & Install Professionally
So I spent everyday for 2 weeks scouting for a local shop in Maryland that could take care of the paint job. This is the result:
- Elite Autohaus, Inc (Caliber Collision) – $280 (paint only).
- E & E Auto Body – $200 (paint only).
- General Auto Body & Repair – $300 (paint only).
- JR’s Auto & Body Center, Inc – Not ready for business at time of inquiry.
- Autobody Creations – Does not do custom paint job.
- Wheaton Body Shop – $400 (paint only).
- Franklin’s Auto Body – $200 (paint only).
- Gilis Autobody – $415 (paint & installation)
- CRG Autobody – $400 (paint & installation)
- Randolph Auto Body & Paint – $500 (paint & installation)
At this point, I grew tired of running around and almost pulled the trigger with one of those shops above. It seems $200 is the minimum plus another couple hundreds for installation is the norm for this kind of job. Fortunately on my way back from work last week, I decided to stop by one more location just to check out their price and I’m very glad I did so.
Auto Dent Care, Inc – $280 (paint & installation)
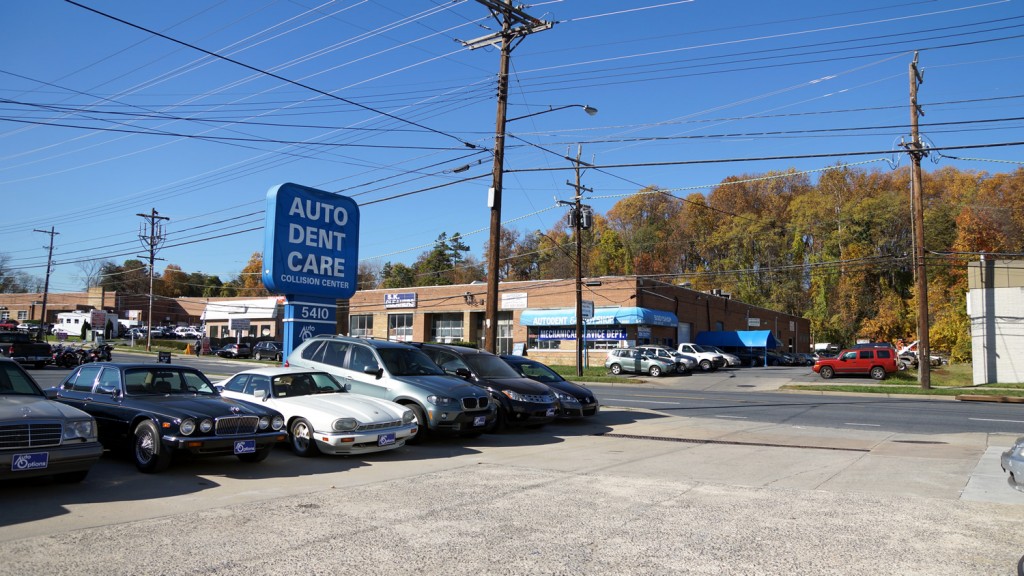
This might as well be one of the best hidden auto body shop in the area because 1) I couldn’t find them online –despite the fact that they have been around since 1977– and 2) I passed by many times but their curb appearance made me felt like it was an up-scale expensive shop. Good thing I was wrong and I met some of the nicest guys here. The manager Sam DeCaria is really an honest and kind person to talk to. Plus the price was pretty decent to me.


So I dropped off the spoiler for preps and scheduled an appointment 3 days later for installation.
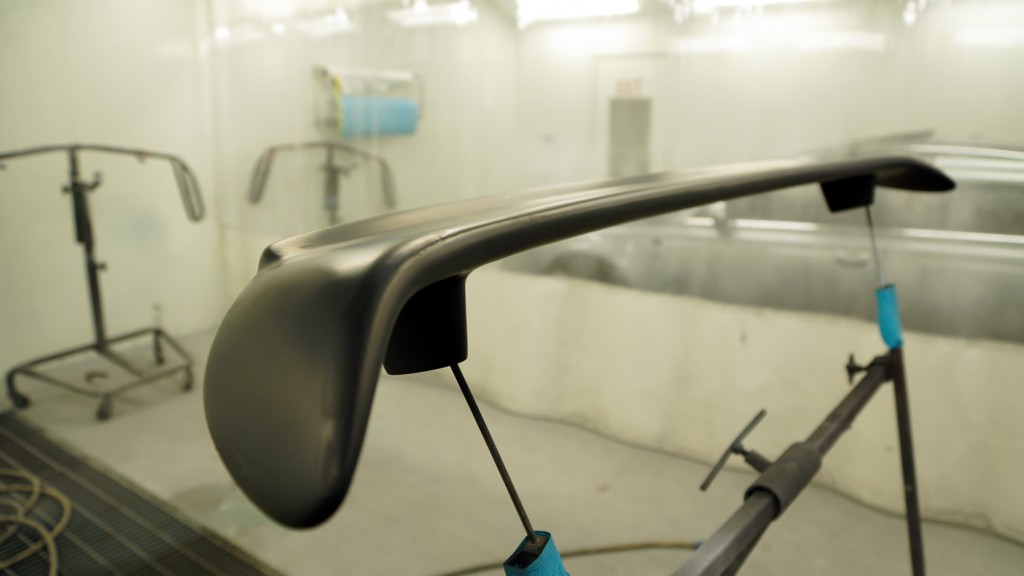
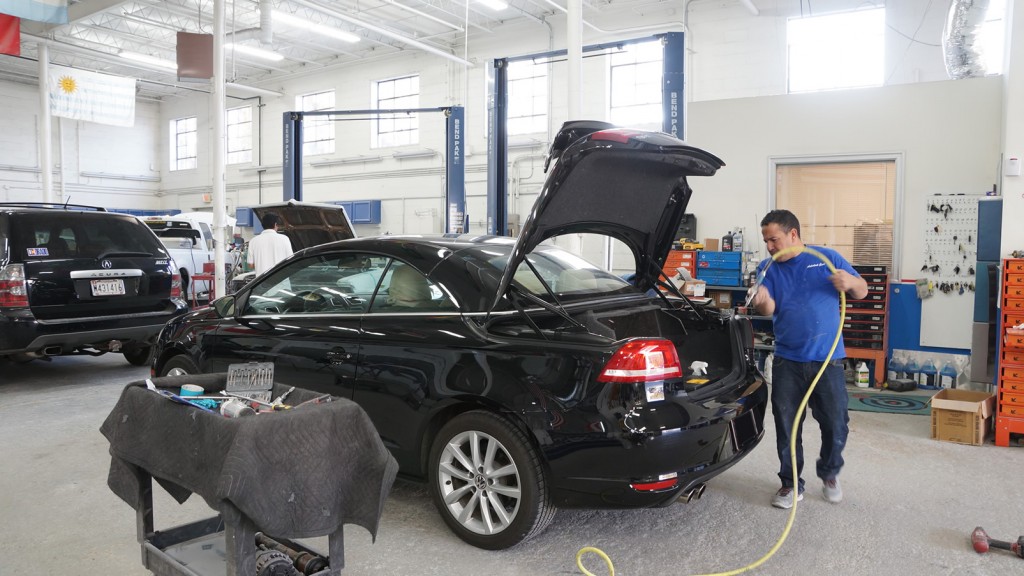
Arrived later in the afternoon that day. They had to drill holes in the trunk for the installation.
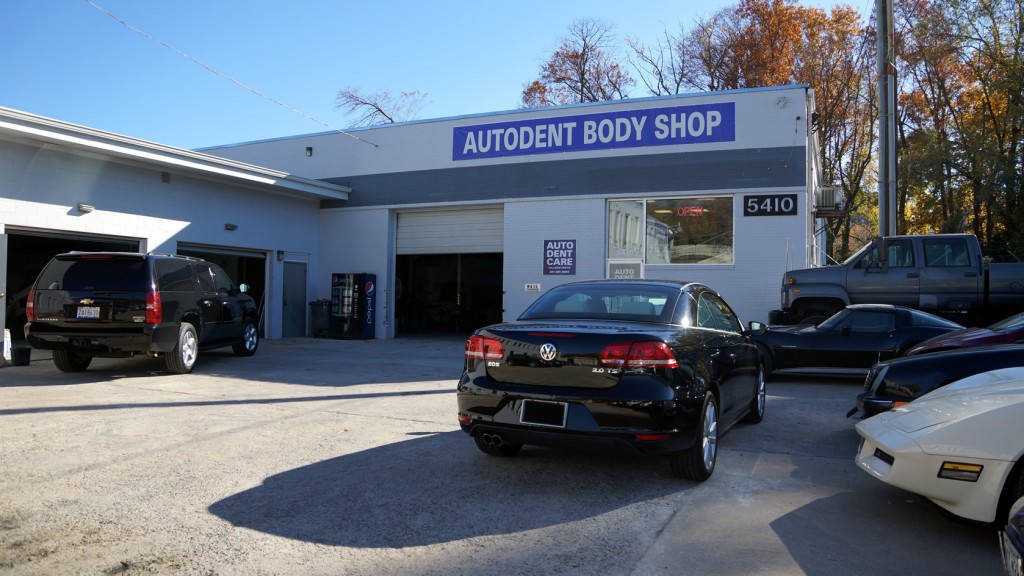
The shop always seems busy. I was excited that they managed to squeeze me in under such short notice; since I was a complete walk-in with no appointment whatsoever. The person who did the installation was Mario, very humble and nice guy.
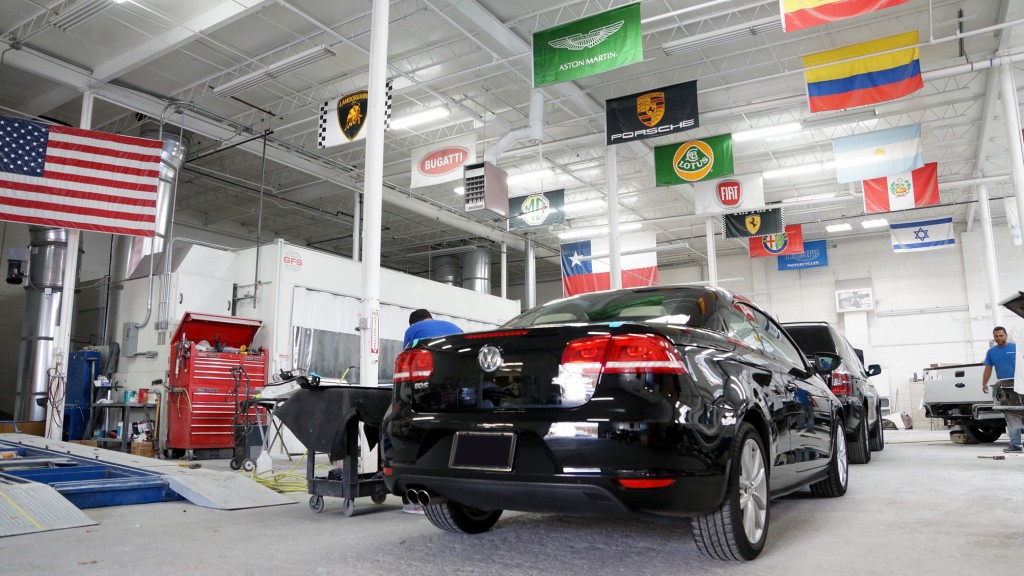
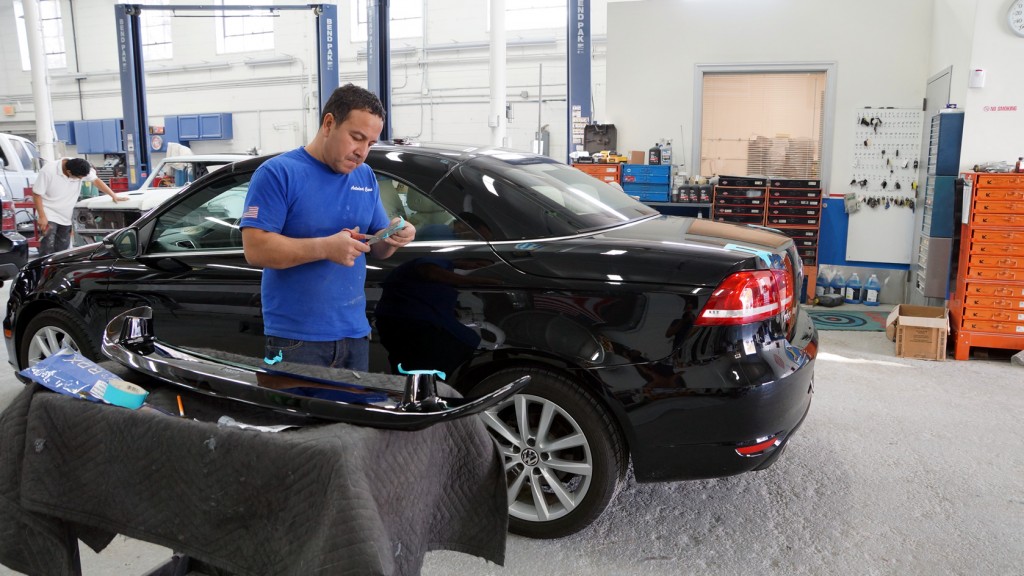
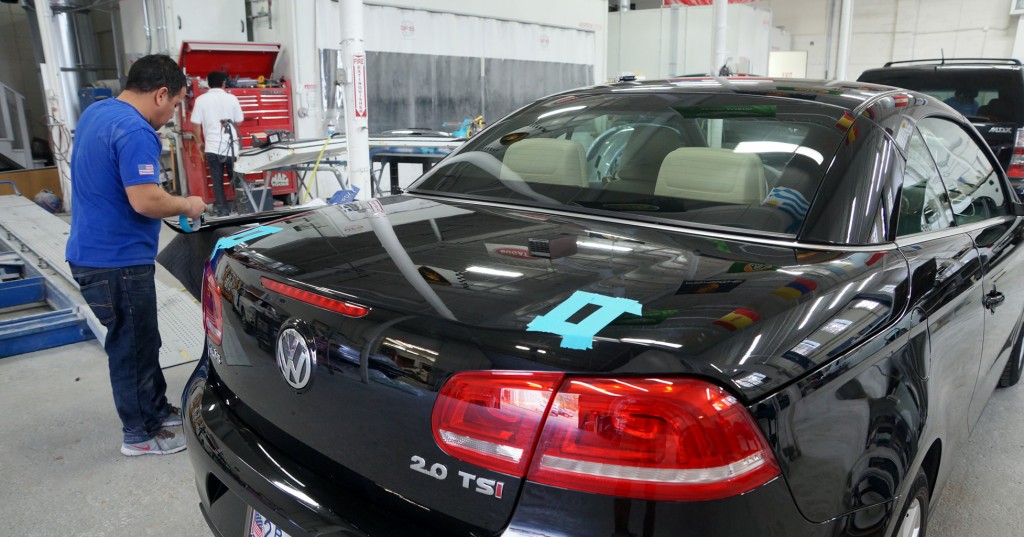
Several measurements later and some masking tapes.
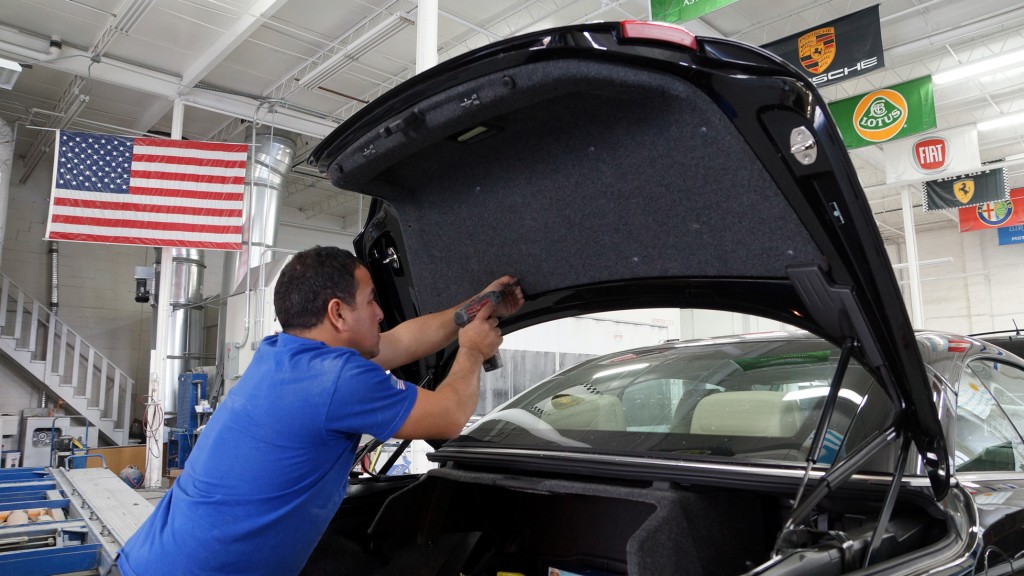
Open up the trunk liner to adjust the radio wiring.
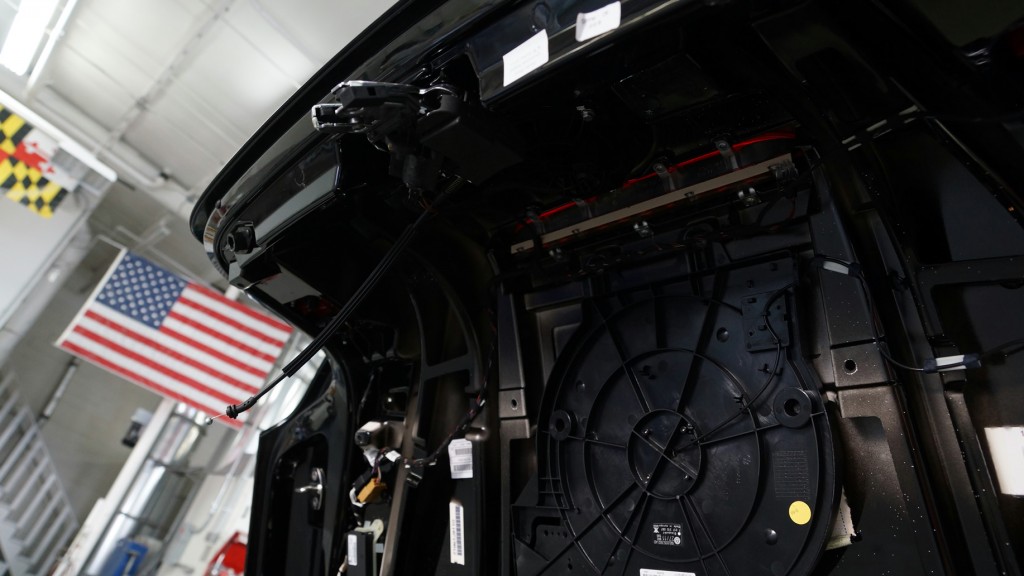
Drilling. Yes, I cringed.
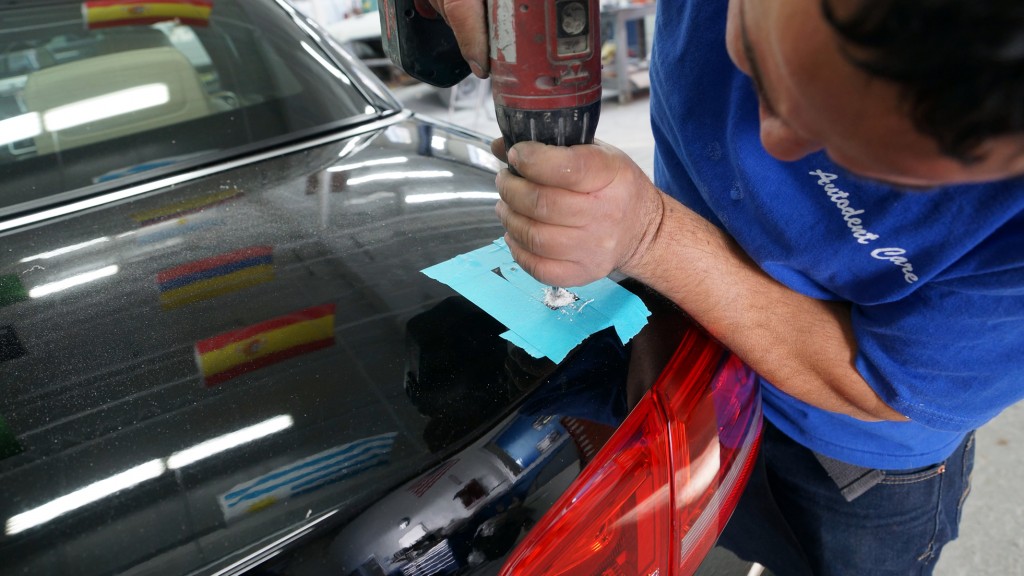
Holes on the left and right.


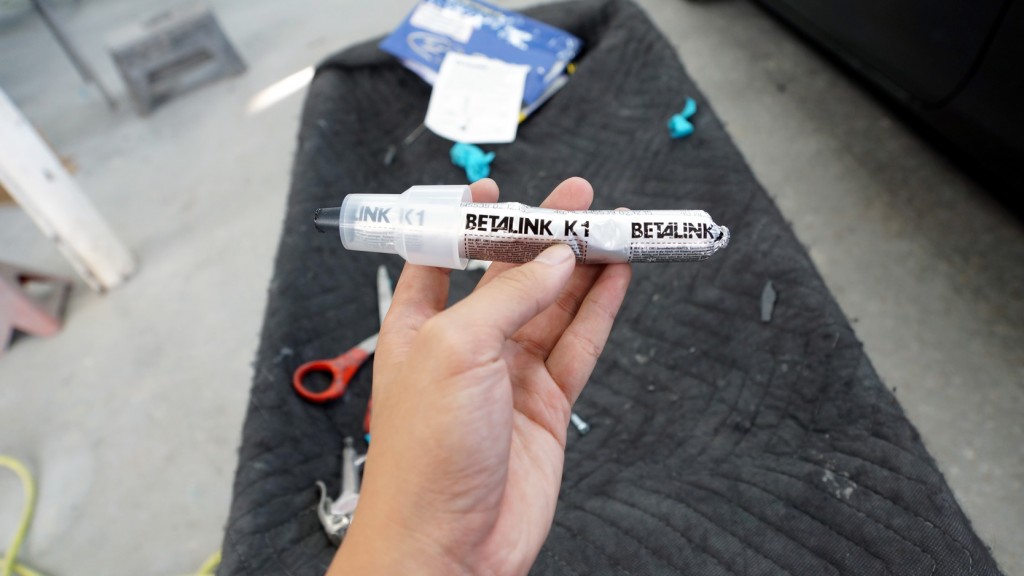
Apply BETALINK K1 adhesive onto trunk outside and inside holes as well as spoiler feet –the glue comes with the package.


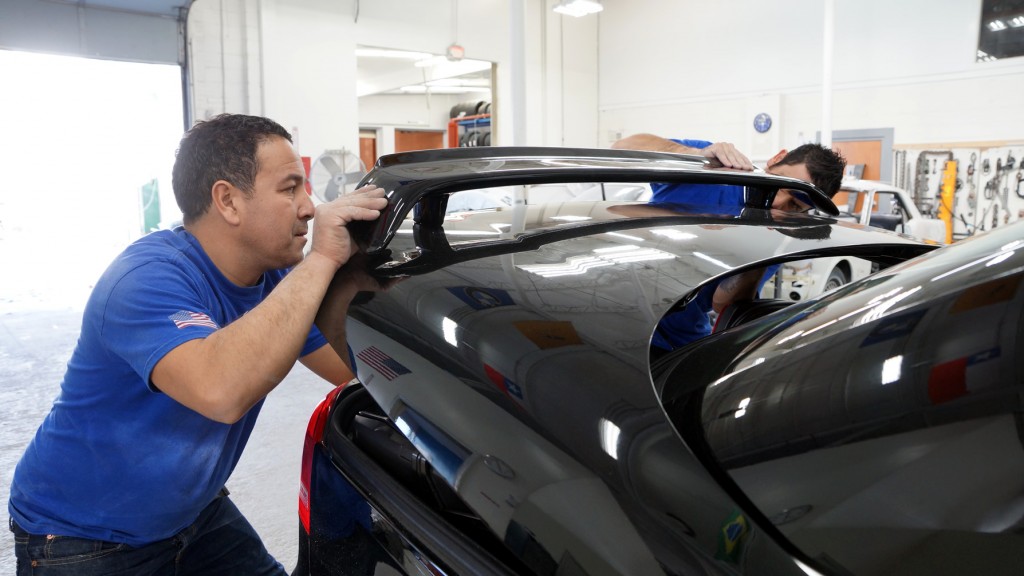
Positioning the spoiler. The glue dries up very quickly, so it might be a little difficult if you are doing this alone.
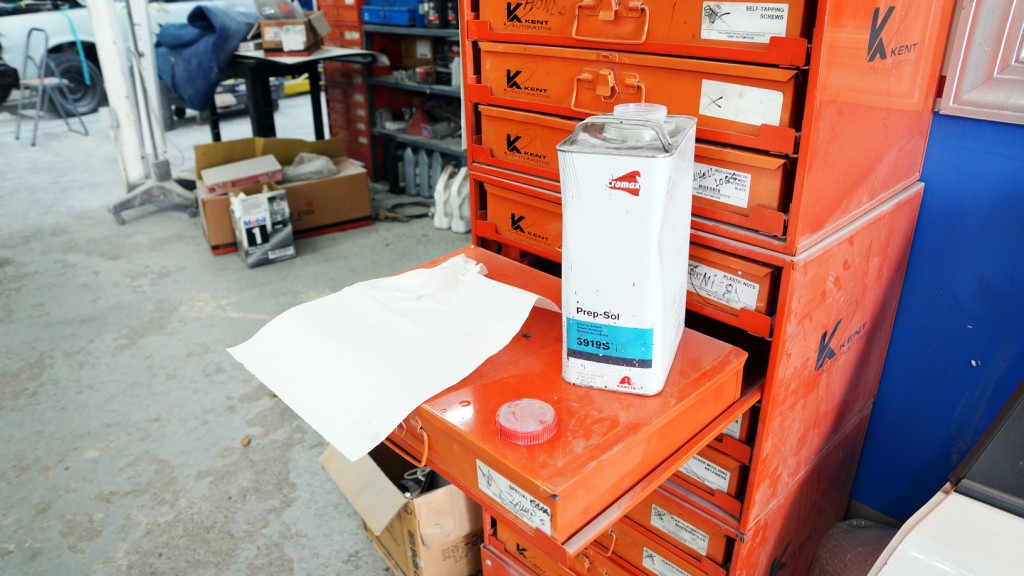
Cleaning up the excess.
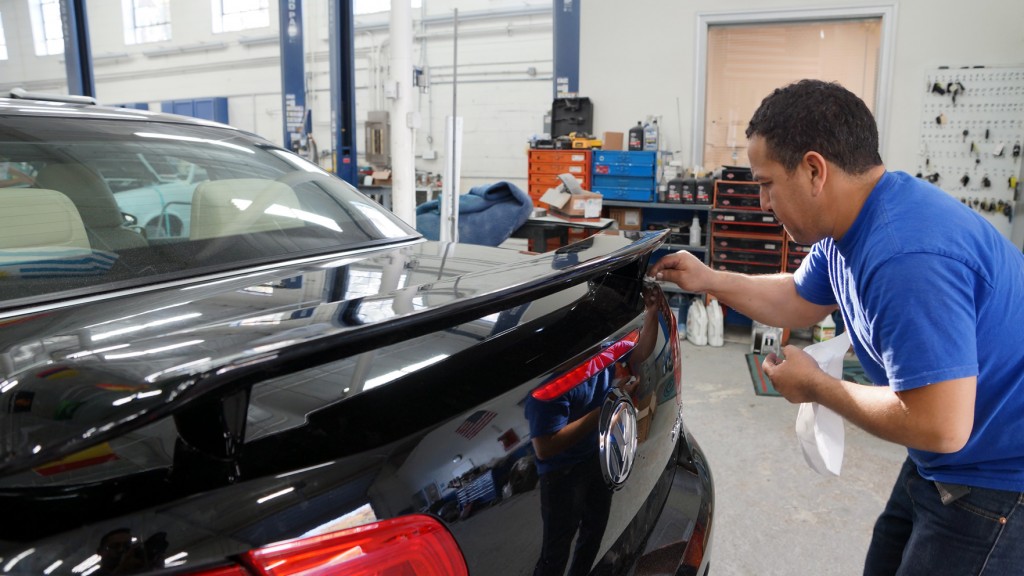
Getting ready to leave the shop. It took about an hour. I was very impressed.
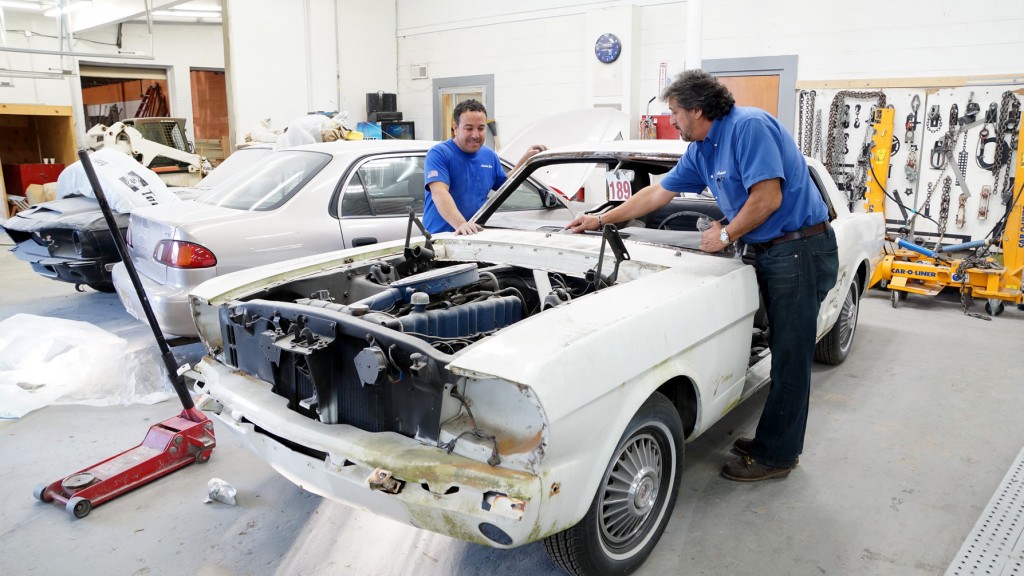
So there you have it. I don’t think I would be able to get the same awesome hands-on experience and photos like this if I had gone with other shop. They even beat the price of all other competitors without knowing it. I’ll be visiting them some day when they finish this project car that caught my attention. Guy on the right side is the owner of Auto Dent Care.
p.s they also do auto repair & maintenance services.
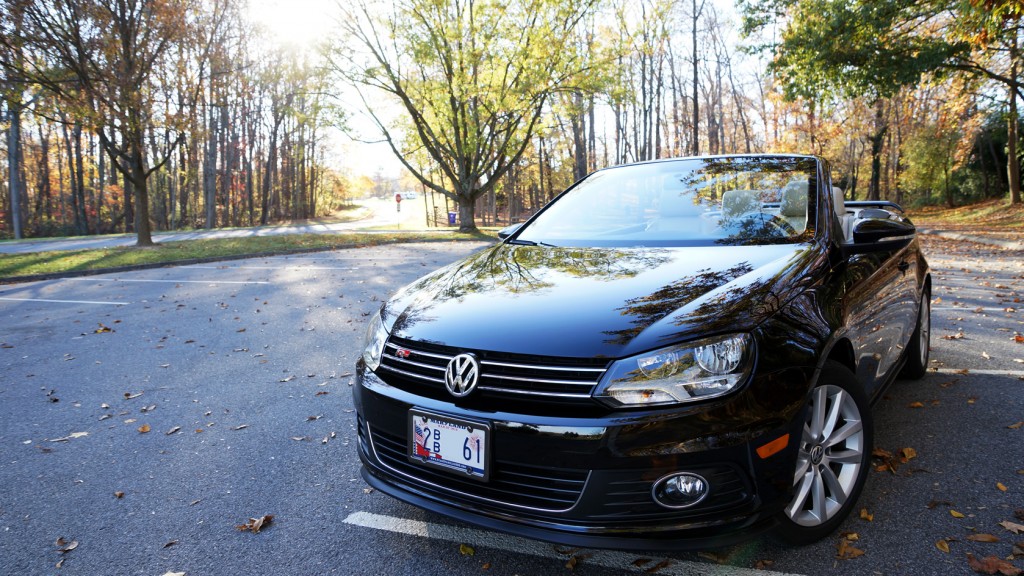
RDX Spoiler on Volkswagen Eos
Here are some extra photos for your viewing pleasure.
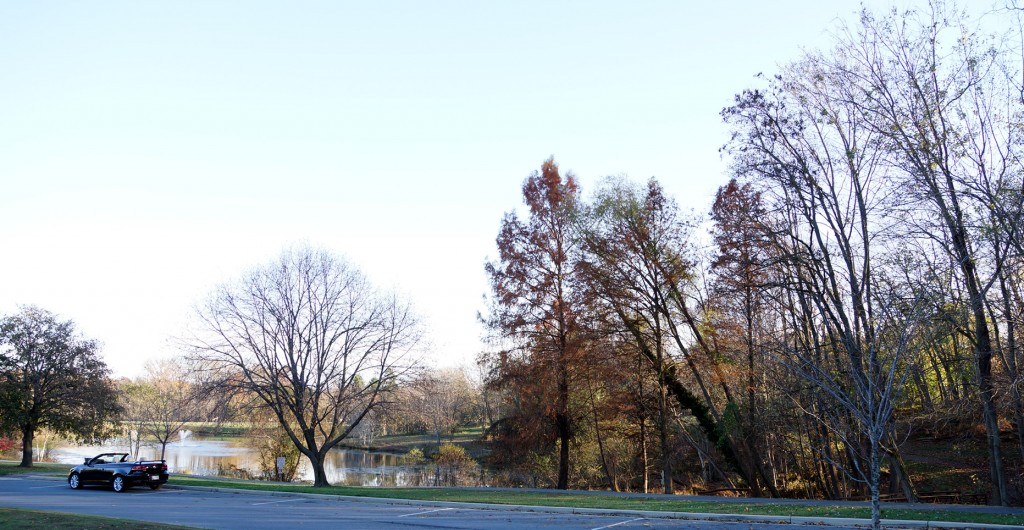
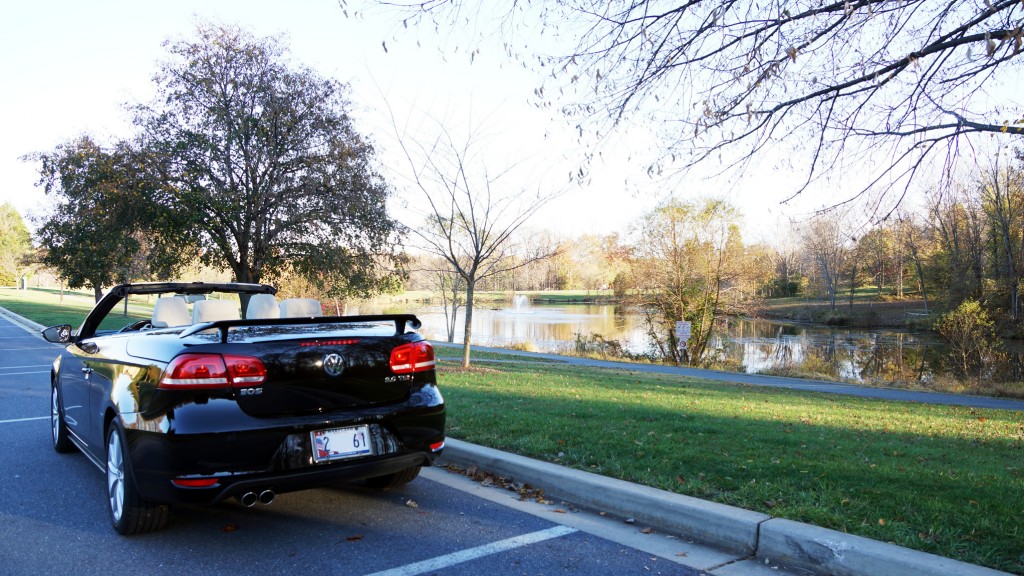
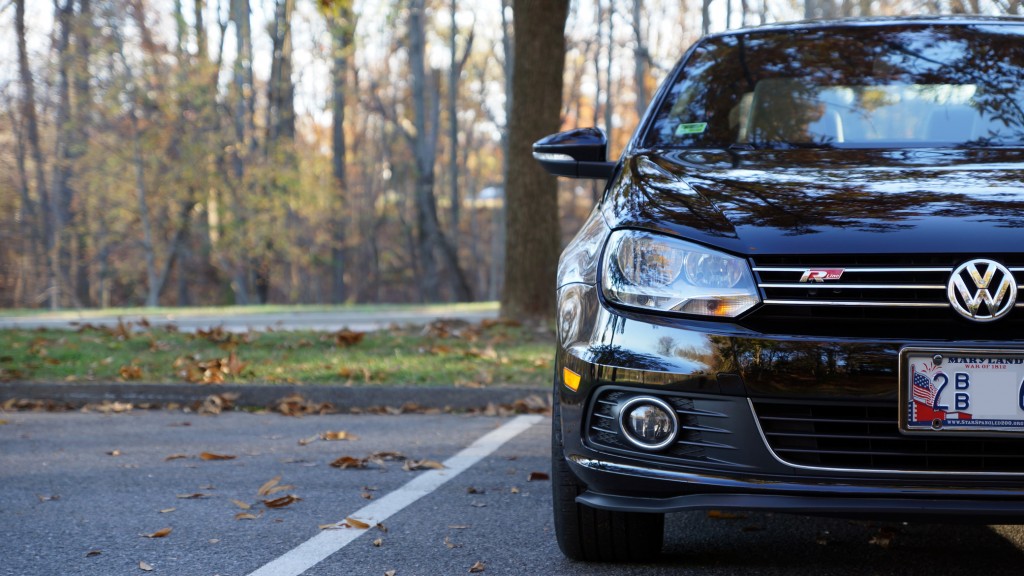
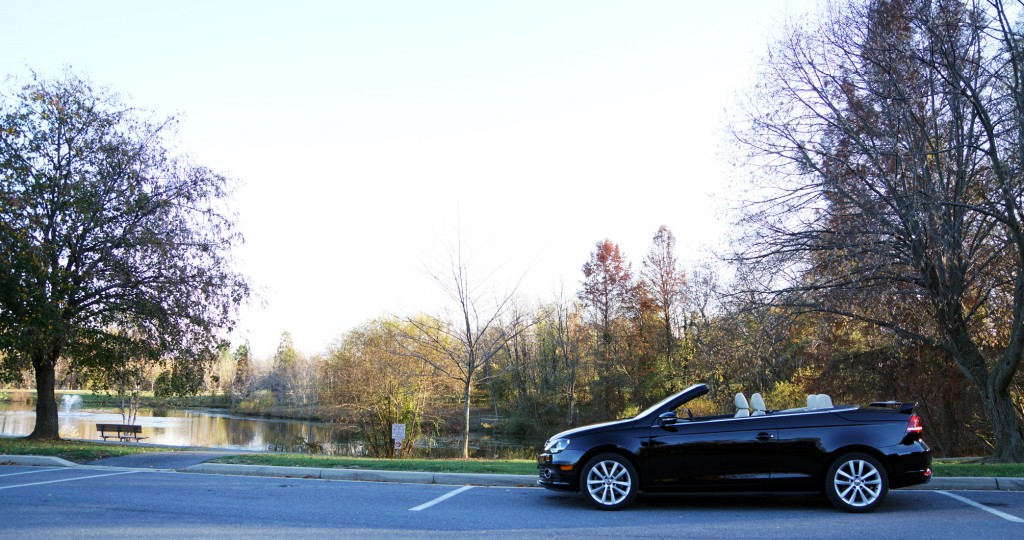
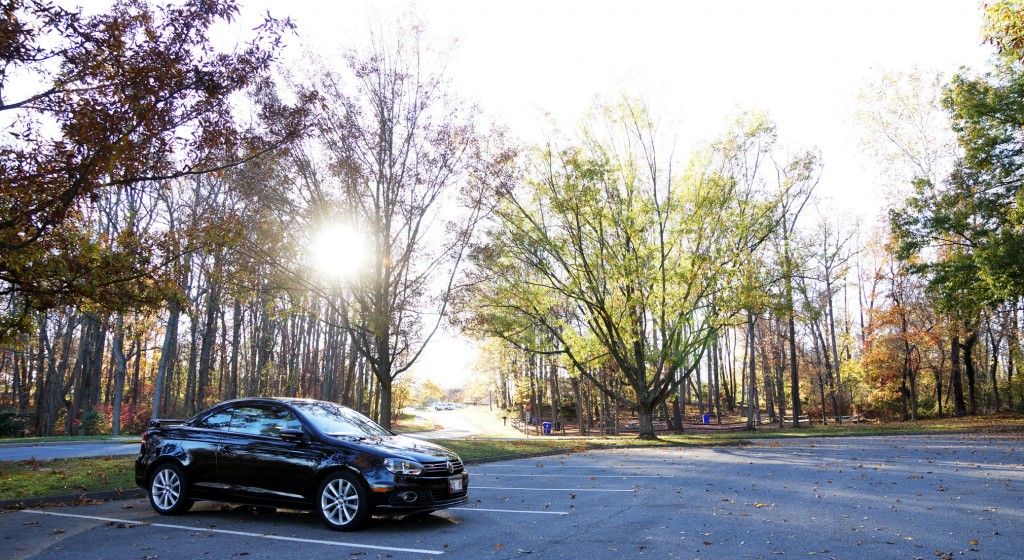
What do you think ? Let me know in the comment section or on our facebook group at Volkswagen EOS Owners
What’s Next ?
![]() DIY Cleaning Mass Air Flow sensor on your Volkswagen Eos to Restore Lost Power
DIY Cleaning Mass Air Flow sensor on your Volkswagen Eos to Restore Lost Power
![]() Eliminating 2.0 TSI Turbo Lag and Hesitation for VW Eos/MK6 GTI/CC/Passat/GLI using S-Drive SP11
Eliminating 2.0 TSI Turbo Lag and Hesitation for VW Eos/MK6 GTI/CC/Passat/GLI using S-Drive SP11
I’m all about making a car fun for yourself– I do like the end result.
I would like to ask why you think the insert is the best mod??
Adding HP is ALWAYS great!! Getting a “tune” and removing the first “cat” IS the GREATEST mod EVER lol.
Oh for sure they are! I was to mean the best mod for the money is the insert, since it’s only $40 vs. $500 tune and such. The difference is noticeable.