Halloween was coming fast and I knew I’d be extremely busy on the very last days of October. As usual caution, I’d be having them trick and treaters undergo a background check before I’m handing out candies. A habit that satisfies my devil soul. Then secondly, as something all other Eos owners wouldn’t usually do, I’d be sitting here contemplating what could be done next on this car to make it a better transformer than it already is.
So one of the things that has been known to all TSI 2.0T owners since Y2K is the Mount Insert made of rubber, or rubber insert/bushing insert. This component costs less than a speed cam ticket and basically could be the best thing you could purchase to improve the driving experience of the TSI 2.0T engine. Essentially, the insert stabilizes your engine rocking motion, hence increases overall performance of the car.
Let me explain further. Your engine shifts back and forth, slightly side to side -sometimes violently- depends on how hard you floor the pedal. You don’t feel any of that because the manufacturer’s bushing does a good of absorbing the energy. But also because of that, some of the power the engine generated is lost and performance leaks at lower RPM (especially acceleration at full stop). /end of further explanation.
![]() DIY Waterless Car Wash & Wax for 35 Minutes – Low cost, No Rinse, Drought-Friendly, Winter & Summer.
DIY Waterless Car Wash & Wax for 35 Minutes – Low cost, No Rinse, Drought-Friendly, Winter & Summer.
But imagine if there is no bushing, the engine is free to rock itself in any direction; soon it will break something. When you step on the brake, it’ll hit radiator. When you turn, it’ll knock the windshield wiper reservoir and the engine mount, effectively takes out the serpentine belt and probably the alternator as well as the oil pan. If you keep burying the pedal at 80mph, you might find the engine sitting next to you in the passenger seat (nah i’m just kidding, probably the back seat).
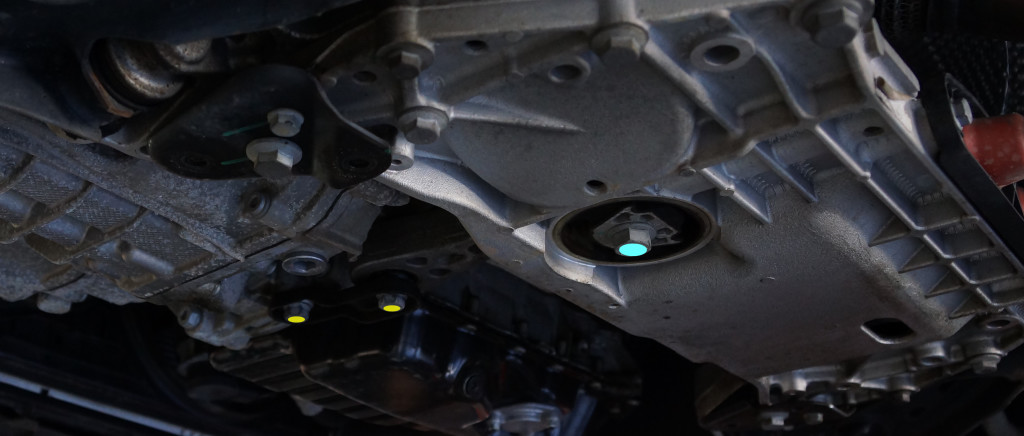
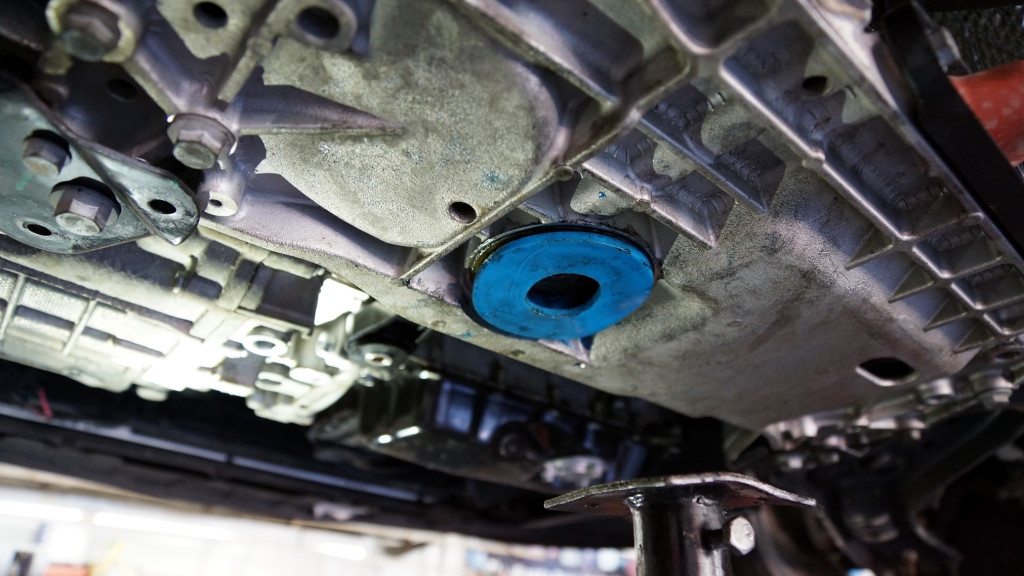
 So to prevent things like that from happening, we have the dogbone (#11 in the figure on your right) and the bushing (#2 and #3) at the bottom of your car.
The whole setup is mainly used to control and absorb the movement of the engine, also sometimes used to teach dog how to play fetch. The dogbone connects to a rubber bushing that both work together to keep your engine steady at where it should be; which should make you happy, your car happy and your dealership occasionally wondering you haven’t brought your car in for fuel pump repair yet.
Now back to the mount’s issue. The OEM bushing is manufactured with great comfort level in mind. Hence, it’s soft and it does a damn good job of dampening the vibration from your engine by giving it more room to wiggle around. Now, guess what ? That is actually good for total zen and quietness in the cabin, but you are sacrificing all the fun and performance of the car at lower rpm and especially acceleration from a full stop. With the engine motion is too open, you would be able to feel the jerkiness, the hesitation, turbo lag, wheel hops, traction loss and other similar first world problems; like having hanging toe nail accidentally got dragged on your $700 shaggy carpet.
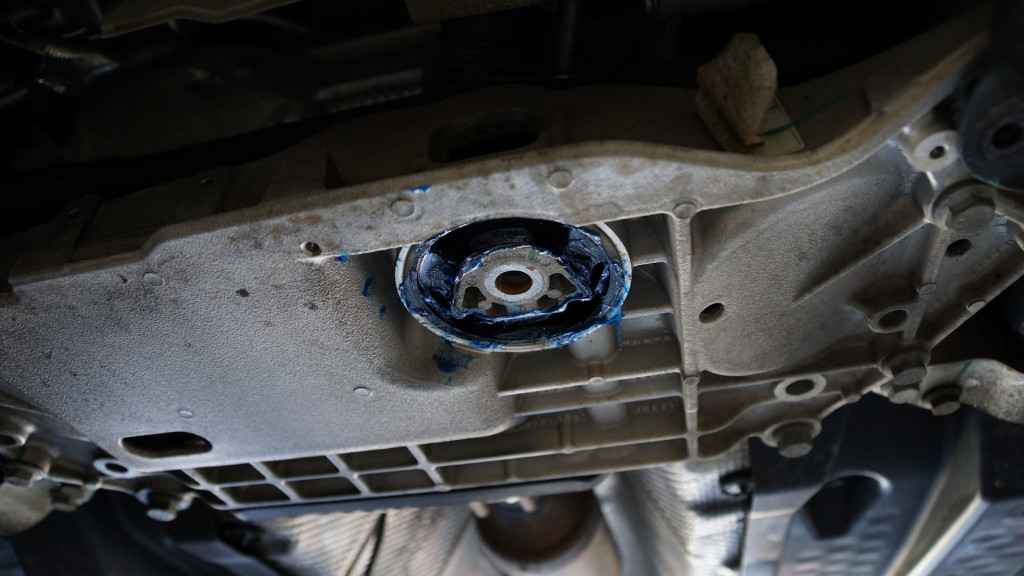
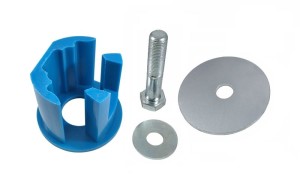 So to eliminate such problem, some geniuses came up with this add-on commonly known as rubber mount insert. You see, that blue rubber insert fill in the void, in the same fashion as common vibrators.
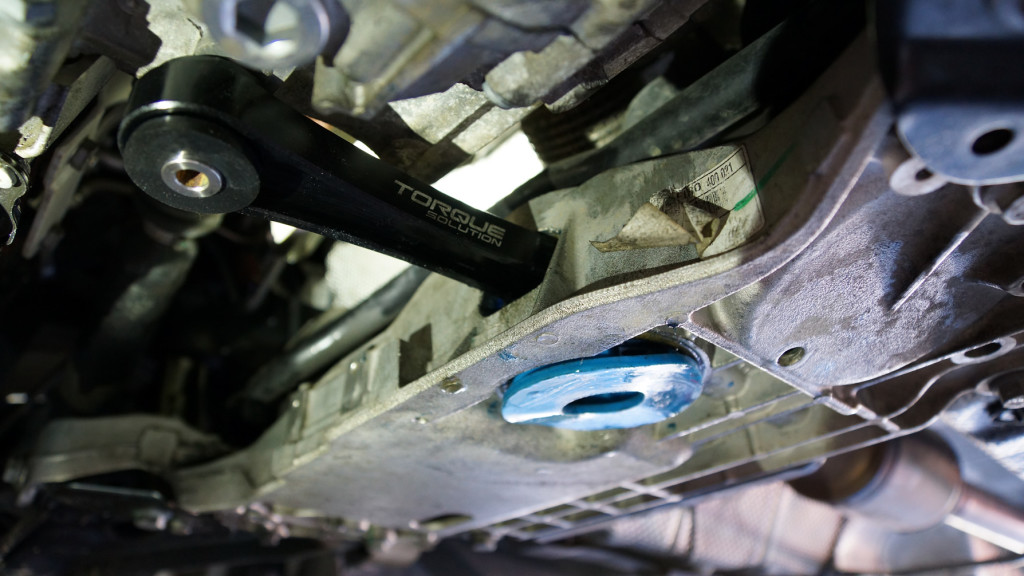
This one on your right is rated 90A durometer, or usually called Race Insert.
Then we also have the red one from ecstuning that’s rated at 88A and the black one at 75A (Street Insert). This rating is one way to measure the stiffness/hardness of the material.
The higher the number, the stronger the insert. The stronger the insert, the more engine movement will be re-directed into the vehicle frame (more vibration & noise); but the power and torque it generates will also be sent more directly to the wheels and reduce traction loss.
Well and also good luck getting that thick thing into the tiny hole. Which was exactly my bloody lesson because I bought the 90A. So please save yourself and don’t get anything above 75A, you will not miss out anything.
The Insert / Dogbone kit

Now for most EOS owners, all you need is the $40 black rubber insert (Street type) to slightly tighten up the engine movement, without feeling like your convertible roof is falling apart every other second. SPULEN and Torque Solution are too good brands you can trust.
In this article, I went the extra mile to purchase the whole dogbone kit and Race insert (blue) just to make such review for you. The kit comes with an aftermarket dogbone –officially know as torque arm/pendulum mount, but dogbone sounds more beasty and less wimpy; it is also much stronger than the OEM one. But to be honest, I haven’t heard of a case where the original dogbone would ever snap.
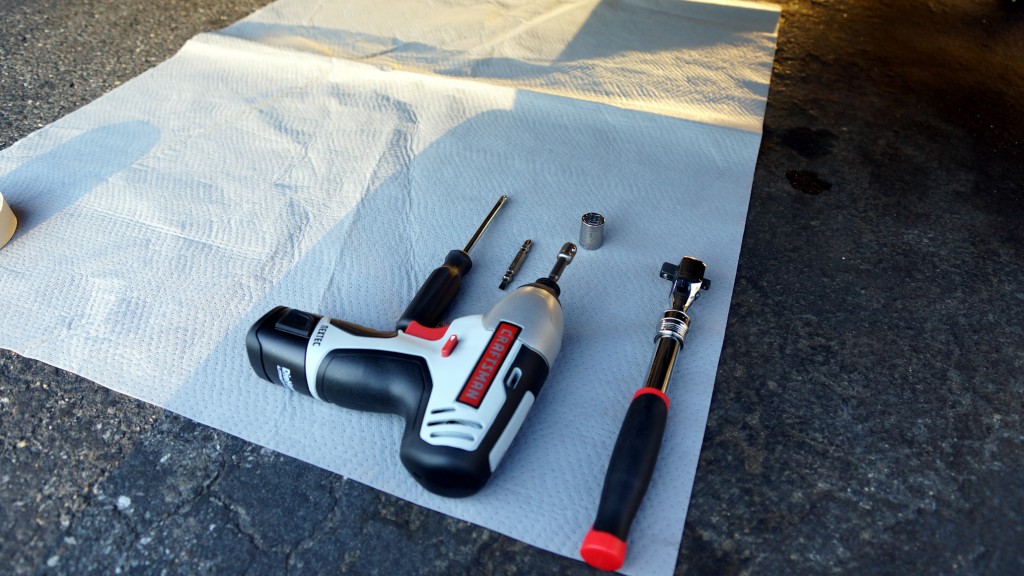
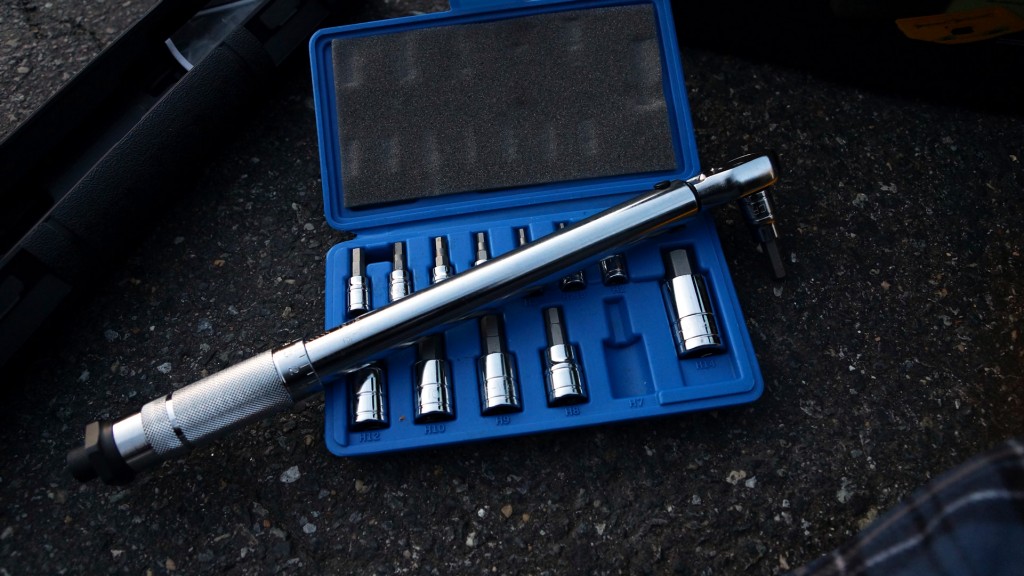
Tools Needed
- This set by TEKTON and the Torx bit T15 are pretty much what you need to remove and put stuffs back together.
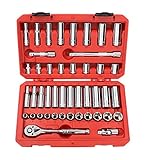
- Master set has every size from 5/16 to 3/4 inch and 8 to 19 mm in both shallow and deep...
- Includes universal joint and extra long 6-inch extension, tools not found in most other...
- Finely geared 72-tooth ratchet needs only 5-degree working swing arc
- High-torque, 6-point sockets grip flat sides of fasteners, not corners, preventing round...
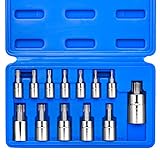
- DURABILITY: bits made of premium S2 alloy steel for superior hardness that reduce...
- TORQUE STRENGTH: high strength chrome vanadium steel sockets provide superior torque for...
- PRECISION BITS: precisely and automatically machined bit tips to ensure accurate size,...
- ORGANIZED STORAGE: set includes a sturdy plastic organizing case for secure storage and...
- The breaker bar is optional. If you right hand is strong enough from many nights of practice, you don’t need one. But I highly recommend it, makes things a lot easier.
- This torque wrench on Amazon is priced right and good enough for weekend warriors + today project. If you are close to a Harbor Freight store, you can get even cheaper torque wrenches for ~$11 with coupons but accuracy sometimes is a hit or miss.
- You also need the Allen socket set to work with the new bolts that come with the Dogbone kit. If you are just installing the rubber insert, you don’t need this set.
- Other standard stuffs : Floor jack, jack stands, creeper, wheel chocks and synthetic lubricant.
Installation
Some youtube hero already made this assembly video, so I’m not going to go milk the same cow again. Check it out and follow along with some of the photos of process I took out of desperation.
Out of desperation you ask ? Well first of all, don’t be fooled by the simplicity of the video. It’s not gonna be easy as it looks. In fact, I think Satan invented this thing. It’s a deal with a demon. You want something good ? Be prepared to trade blood for it. However your experience may be different, or much more pleasant, to mine if you have bought the Street insert (black) instead of the Race insert (blue).
The 90A Race insert is extremely thick. Getting it inside the bushing is a full WWE fight of its own. Or like her first time. Anyway, I haven’t used so much profanity in my life until that 2-hour installation –Fuck this shit. Totally had my blood boiled and seconds away from a rage quit. Yet don’t blame me, I’m a PC nerd after all. But at least now you don’t have to make the same mistakes that I did.
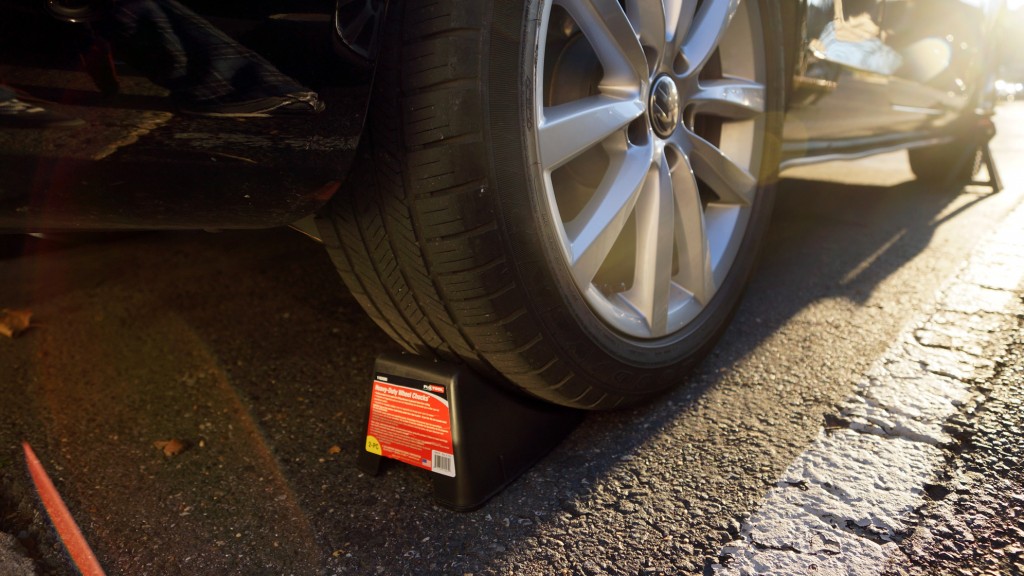
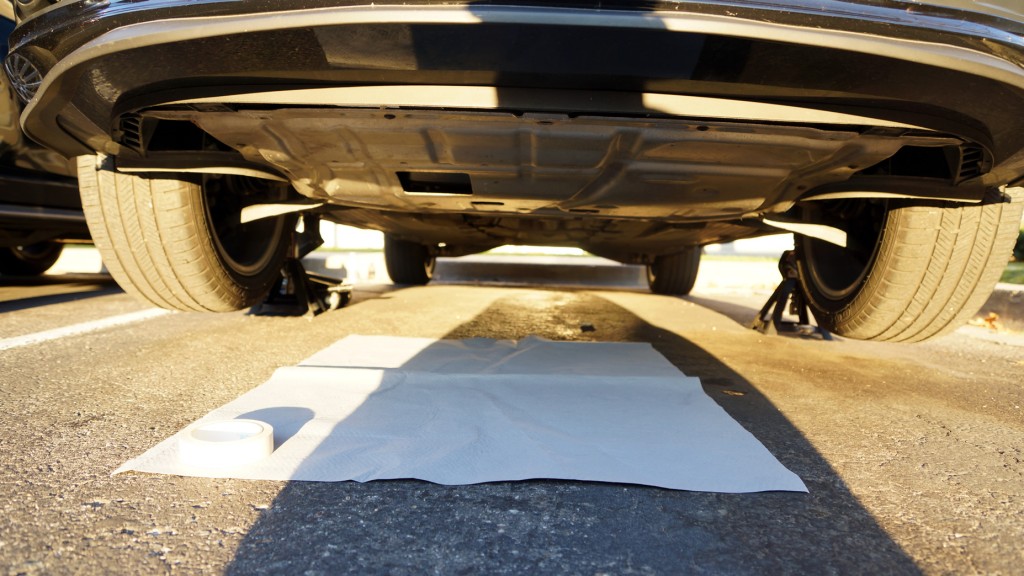
Step 1 : Raise the car up. Place some wheel chocks for safety, void if you’re competing for the latest Darwin award.
Step 2 : Remove the bottom mud-guard. It’s being held by 1/2-in bolts and T15 Torx screws.
You could use your floor jack as a leverage to keep the mud guard in place while you are removing all the bolts and screws. I use the Craftsman small impact driver + Drill bit to Hex adapters to get the job done faster, but you could do it just fine with a regular ratchet/breaker bar.
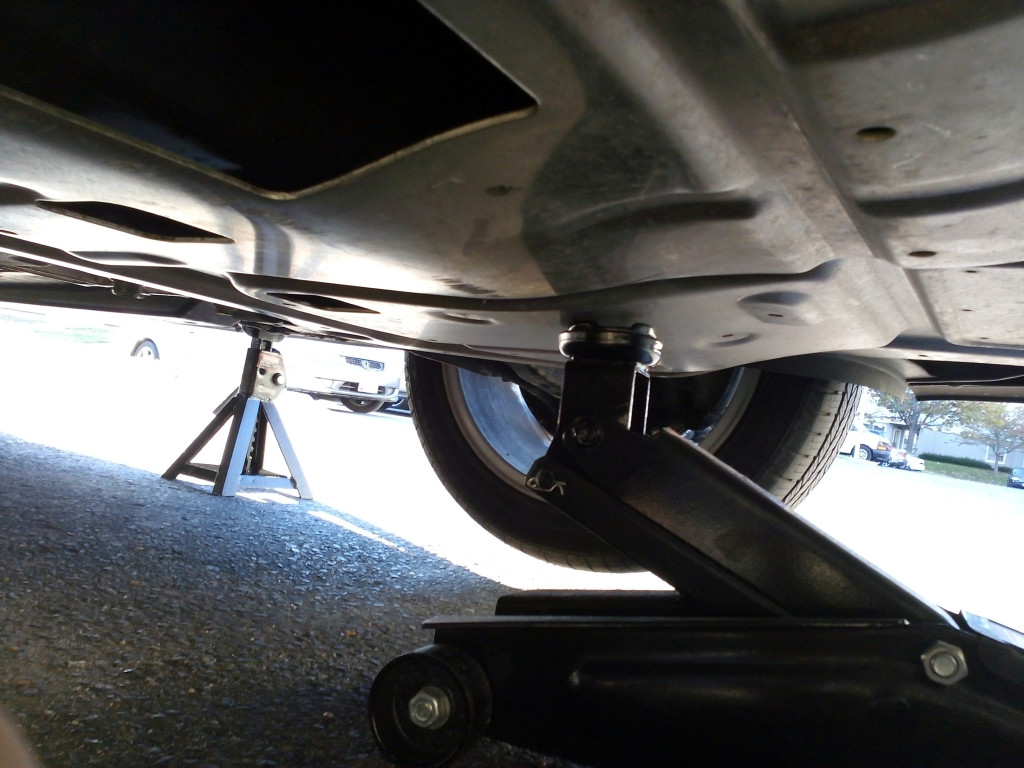
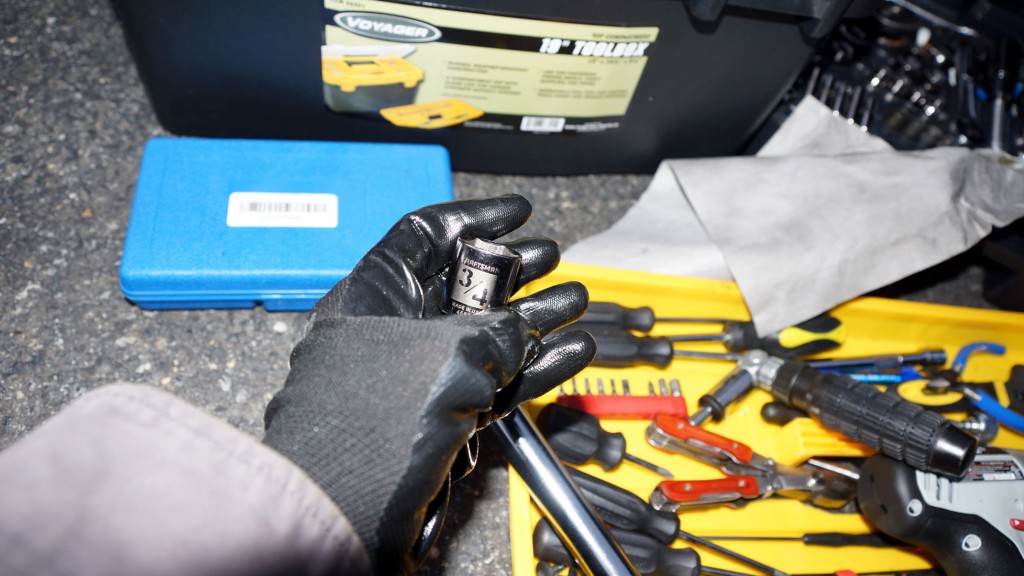
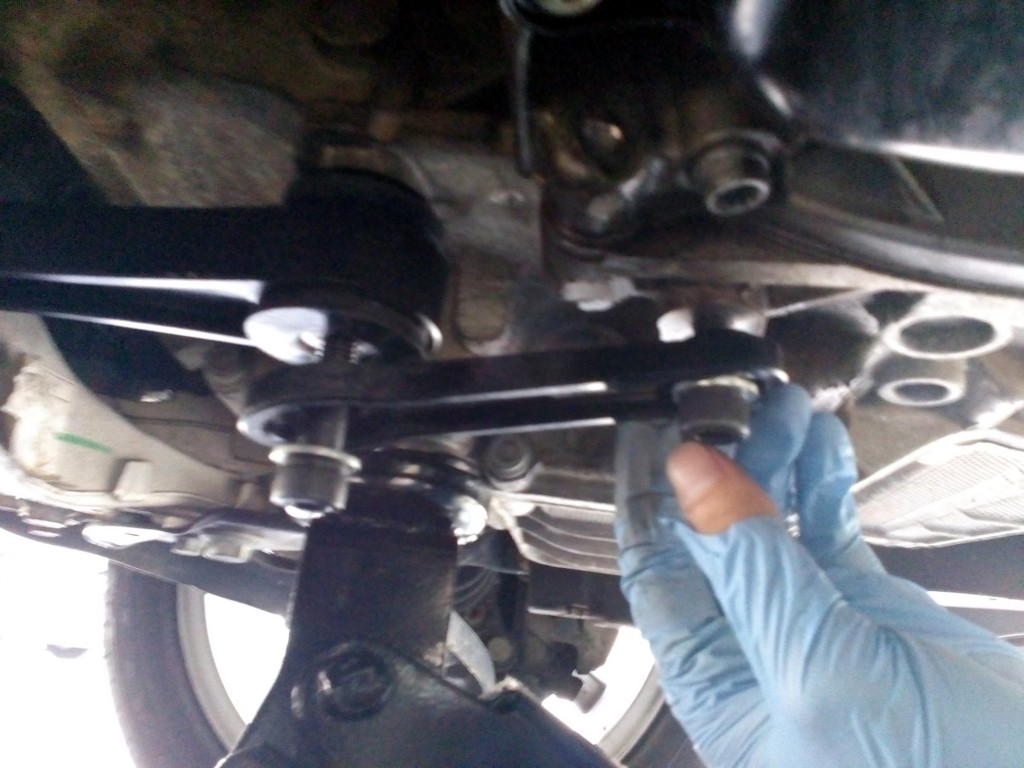
Step 3 : Locate the dogbone. If you bought the new dogbone, remove these 3 bolts:
- 2 x 16mm socket
- 1 x 3/4-in socket
If you only want to add the rubber insert, you don’t have to remove the two yellow-marked (16mm) bolts.
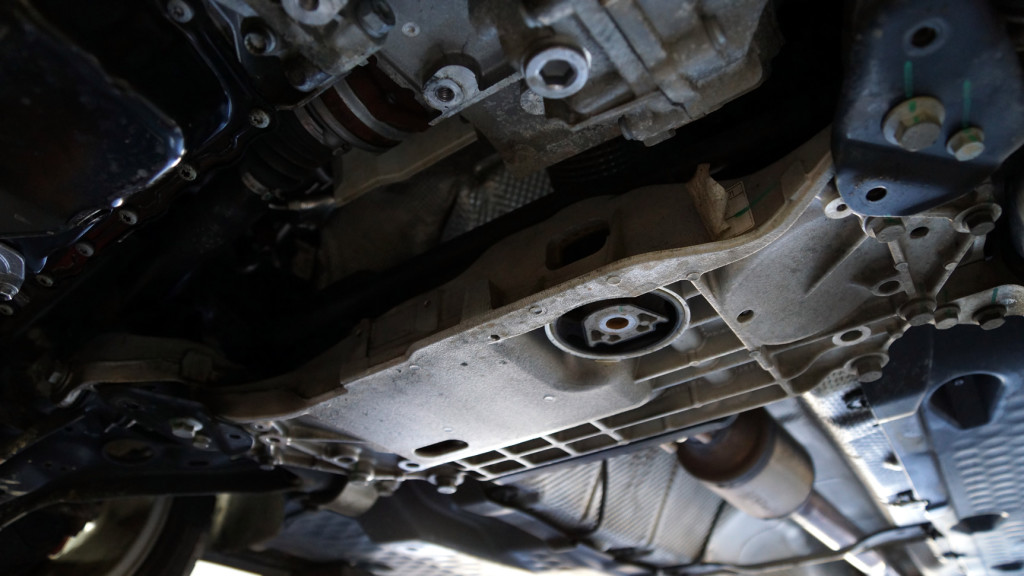
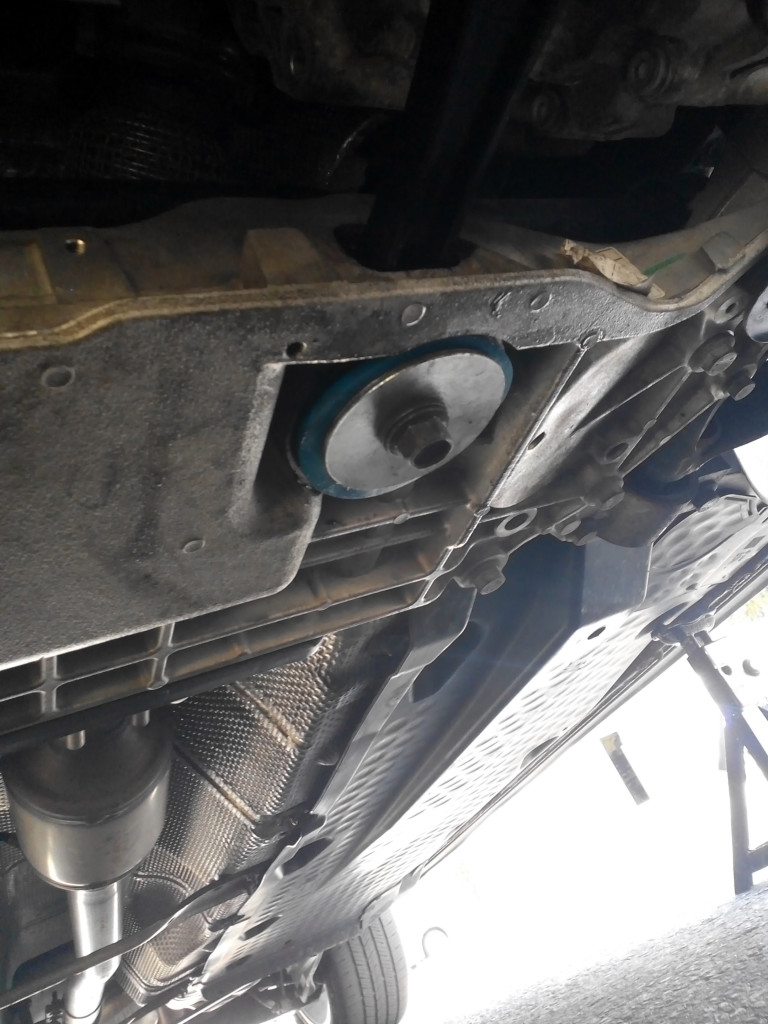
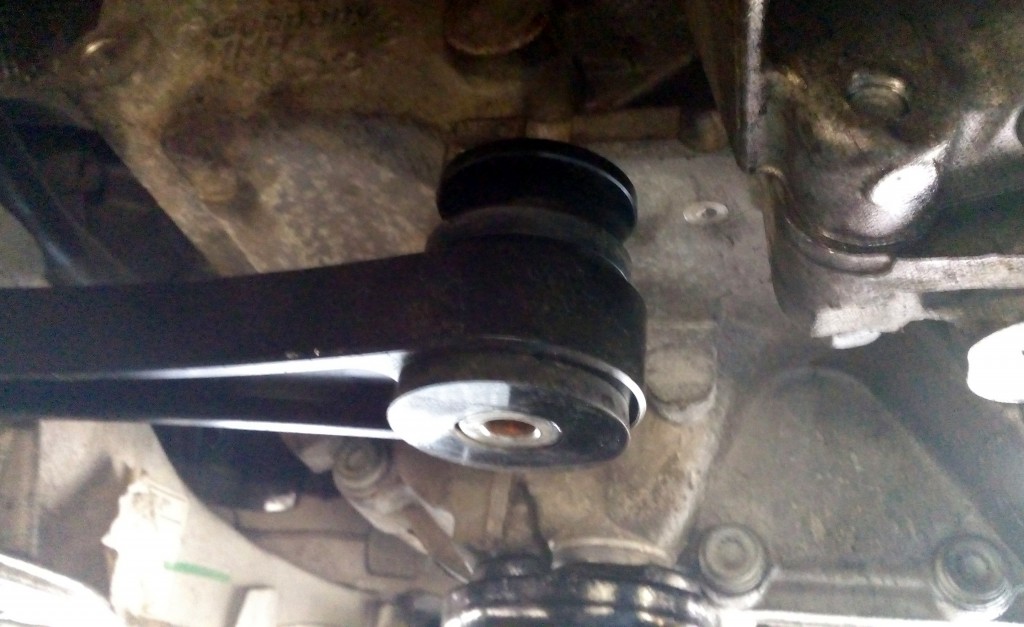
Step 4 : Stare at the bushing without the dogbone.
Step 5 : Apply lubricant on the rubber insert and the dogbone housing using Valvoline Synthetic grease or Permatex grease.
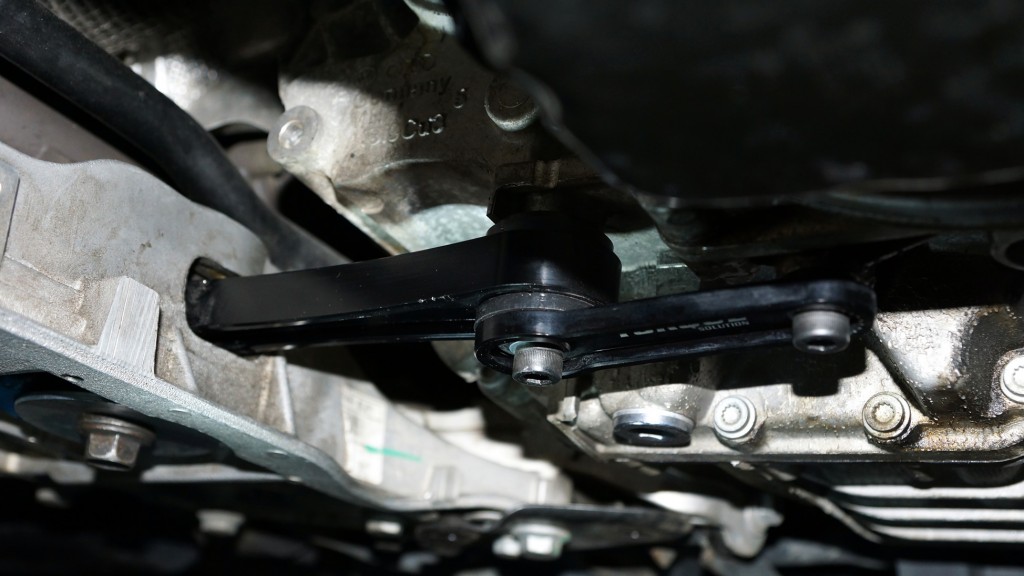
Step 6 : Put your new dogbone into the bushing socket, temporarily keep the dogbone in place by hand-tightening it with the provided 3/4-in bolt. Then, align the rubber insert into the bushing as far as you can with your hands.
Step 7 : Once the rubber insert is deep enough to stay fit on its own, remove the 3/4-in bolt. Use your floor jack to push the rubber insert all the way in.
Step 8 : Close up the bushing with small washer inside + big washer + 3/4-in bolt. Tighten it to 74ft-lbs with the torque wrench.
DONE ! –if you don’t have the new torque arm, you’ve finished here. Re-assemble your mud guard over there and give it a ride! It’ll be pretty bumpy for the first 20-50 miles or so, but once the break-in period is over you’ll love it –as long as your insert isn’t harder than 75A.

Step 10 : if you have the whole torque arm kit, simply install the rest of the torque arm following this setup. Set torque level to 34ft-lbs.
Final Words
 If you are not comfortable doing this on your own and you are in Maryland, stop by C And J Auto Repair at 7045 Annapolis Rd Hyattsville, MD 20784 (301-306-4595) to get the installation done. He’s a friend of mine and his price is pretty reasonable.
Drop us a comment to let everyone knows if this has helped your car. If you are an Eos owner, be sure to join our Facebook group for community help and more DIY articles in the future.