As the US toilet paper shortage is always on the horizon, 2020 has done a tremendous job of making our American’s life utmost inconvenient. On top of that, Winter is coming. And if the Coronavirus is set to write the Season 8, heavy TP consumers are gonna experience many gut-wrenching days ahead. Hence THAT is why we are going to build a rain barrel, something that can provide plenty of natural water to save you and your family in time of dire needs!
 Joke asides –it becomes apparent that during this pandemic, a lot of folks begin to take great interest in a home-grown vegetable garden. It’s a wonderful, absolutely zen thing to do when social life is limited along with the cost of healthy diet is also rising. However for those of us living in a hotter zone, owning a backyard garden may also mean a much higher water bill. So having a rain barrel to save some money on the long run is a complete no-brainer.
But before we go out to buy anything, check with your local code first. Some county would fine you for collecting rain water. So much for muh-freedum, right?! But the reason is actually understandable — especially for areas that are often prone to have terrible drought periods. Letting rainfall water return to nature helps prevent forest fire and protect the circle of life and whatnot. Well in that case, our only hope for you is TP isn’t all out in your area.
Alright let’s get started.
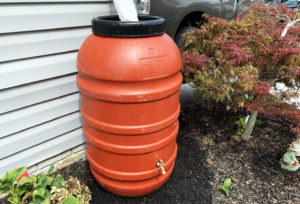
1. Definitely at least 55-Gallon BARREL or larger. People who lived dangerously said a 55-g fish tank could also work, but I haven’t tried it yet.
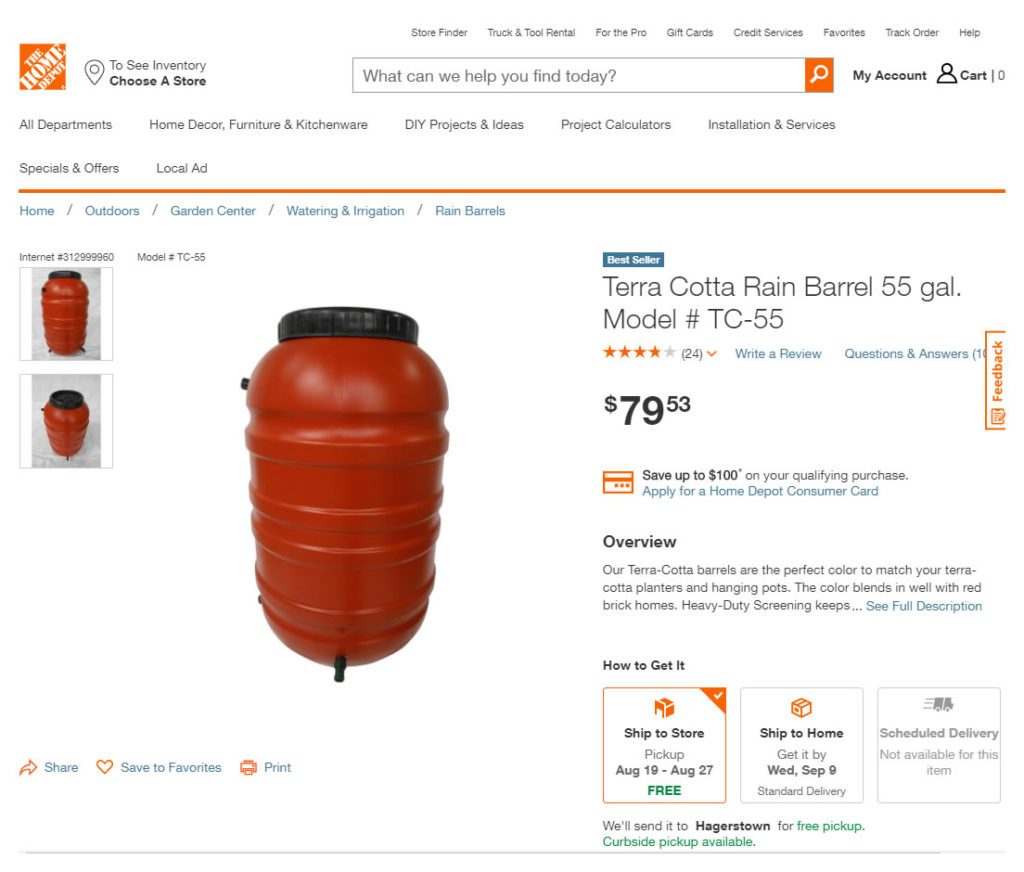
This pre-made rain barrel costs $80 at Home Depot. I bought the same one off Facebook local marketplace for $20, plus $12 worth of additional materials to create an outlet. So the question is whether you want to DIY and save money or buy a ready-to-serve product.
2. MATERIALS
I purchased all of these items at a local Home Depot for a good price, but Amazon links are also included if you’re stuck at home.
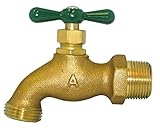
- Duo pattern inlet with solder and IPS
- 3/4-in hose end outlet
- Not intended to convey water for human consumption
- Model number: M71HD 1/2"

- Supply Giant Part Number CNDQM012
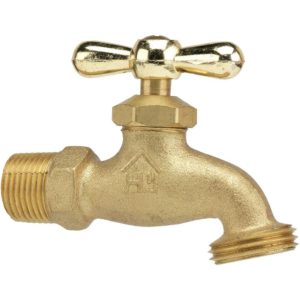
- Black coated malleable iron straight coupling for 150 lb. applications
- Fitting with 1/2 inch female threaded banded connects on both ends
- Part is pressure tested before leaving factory

HIGH QUALITY STAINLESS: These Flat Washers are 100% 18-8 (304) Stainless Steel which...
WASHERS THAT YOU CAN DEPEND ON: Our hardware is very strong and is great for both...
- GREAT TO KEEP AROUND: Bolt Dropper hardware is great to have around for use in wood and...
- DIMENSIONS: Inside Diameter: 1/2" | Outside Diameter: 1-1/4” | 0.062" Thickness |...
- This product adds a great value
- Product is highly durable and very easy to use
- This product is manufactured in China
- Flexible construction to form ideal, customized connection
3. TOOLS
Tools are the expensive part, particularly when you don’t already have them on hand. If it makes you feel any better, it should be a one-time purchase that will become useful for many future DIY projects. You can also grab all of these items at a Harbor Freight store.
– A drill.

- 【Proudly Present KIMO Li-ion Technology】For over 25 years, KIMO has grouped an...
- 【3/8 Keyless Chuck & Forward/Reserve Control】Working with KIMO drill is pretty easy...
- 【18+1 Clutch, 2-Variable Speed& 280In-lb Torque】Equipped with 2 in 1 working mode -...
- 【Lightweight, Ergonomic Design & Front LED】The most compact (7-in from chuck to back)...
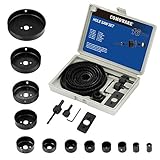
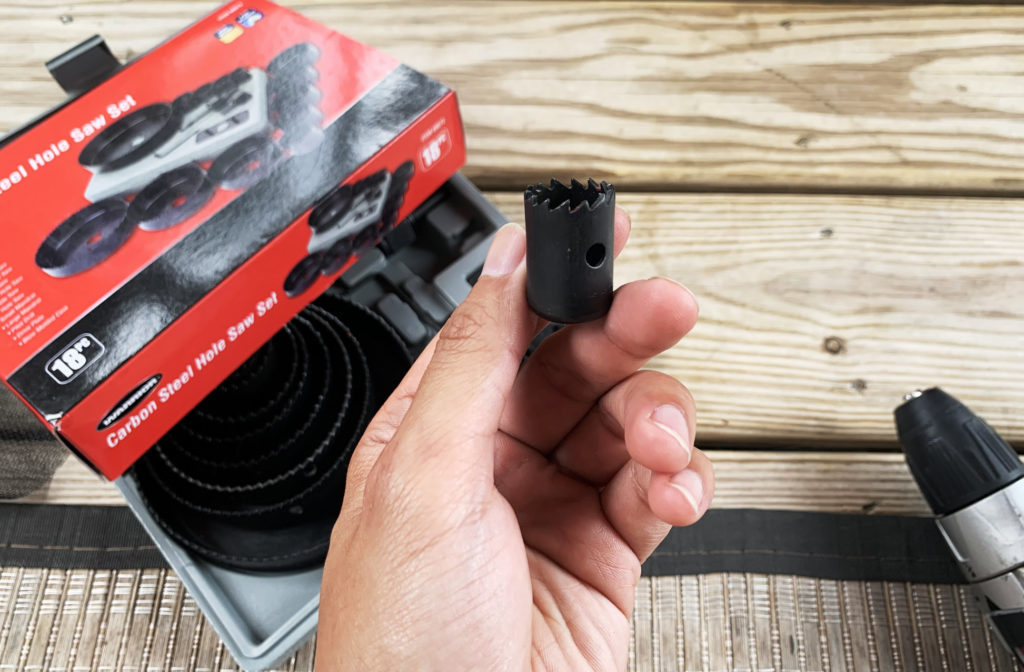
- HIGH-QUALITY MATERIAL: Hole Saw Set is made of Carbon Steel, its surface is treated with...
- SUPERIOR PERFORMANCE: The special gear design makes the hole more accurate and...
- WIDELY AND PROFESSIONEL USE: It is your ideal choice for DIY projects and household...
- SIZE INCLUDES: 3/4''-5 (3/4 " (19mm), 7/8" (22mm), 1-1/8" (28mm), 1-1/4" (32mm), 1-1/2"...

- 【Standard Grade】: Industrial standard quality PTFE tape, suitable for home/ commercial...
- 【Safe and Sealed】Sealant tape is made of PTFE with good tightness,PTFE tapes will...
- 【Easy to Use】Simply wrap the tape around the male pipe threaded end or connector and...
- 【Wide Application】Thread sealant tape is suitable for most kinds of soft water pipes,...
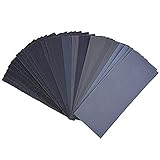
- MEETS ALL YOUR NEED - Including 3 sheets of each grit:...
- PREMIUM QUALITY - Made of waterproof silicon carbide, electro coated ensures the grit...
- MULTIFUNCTIONAL - Suitable for use in art and craft, wood work, automotive, metal, and...
- EASY TO IDENTIFY - The grits of the sandpaper are printed on the back for easy...
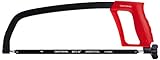
- Solid metal frame designed for tension up to 225 lbs.
- 12-Inch fixed blade length, 4.375-Inch cutting depth
- 90&Deg; and 180° adjustable blade angles allowing flush cuts
- Large, comfortable tension knob with a Full-Grip handle

-Find the lowest area on the barrel where the surface is flat and smooth, then move up two inches. That’ll be your drilling point.
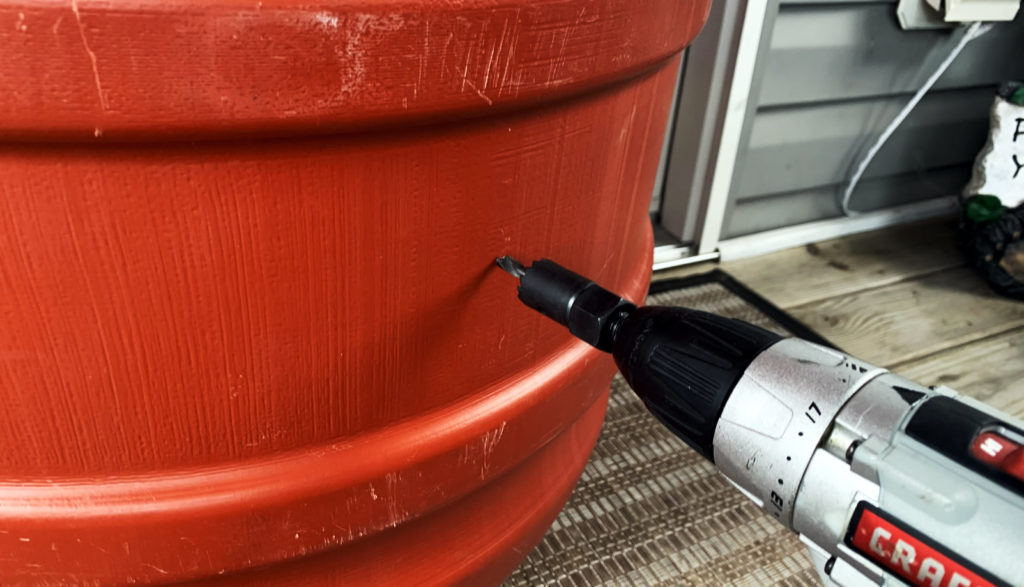
-Take your time to drill this hole, it must be a good and clean cut otherwise you are gonna spend a lot of time to fix all the leakage in the future.
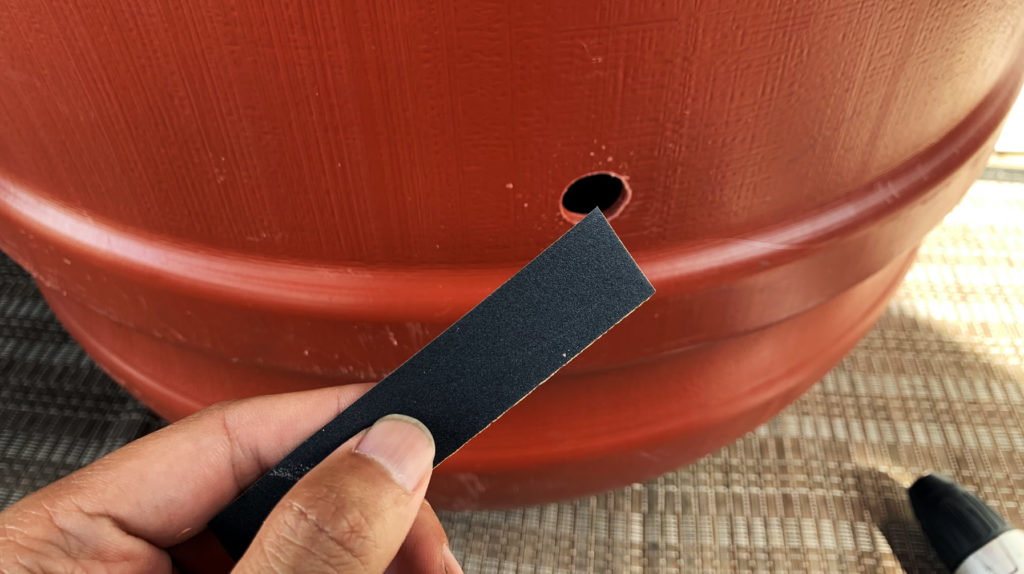
-Cut a small piece of sand paper to smooth out your new hole. Try to remove all the burrs from the drilling.
-Time to lay out all the items you bought earlier.
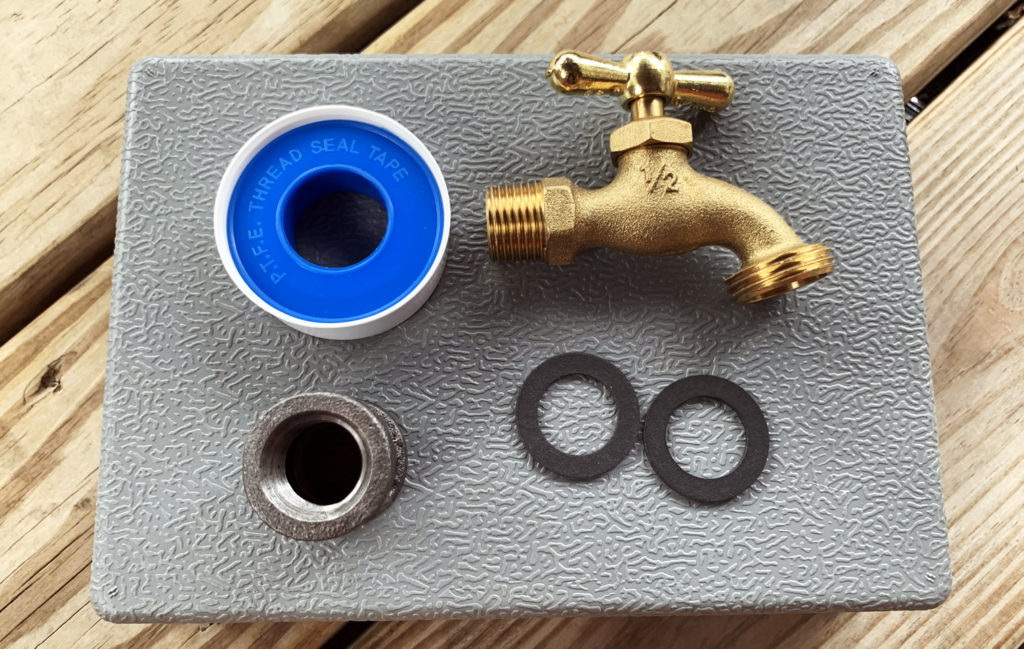
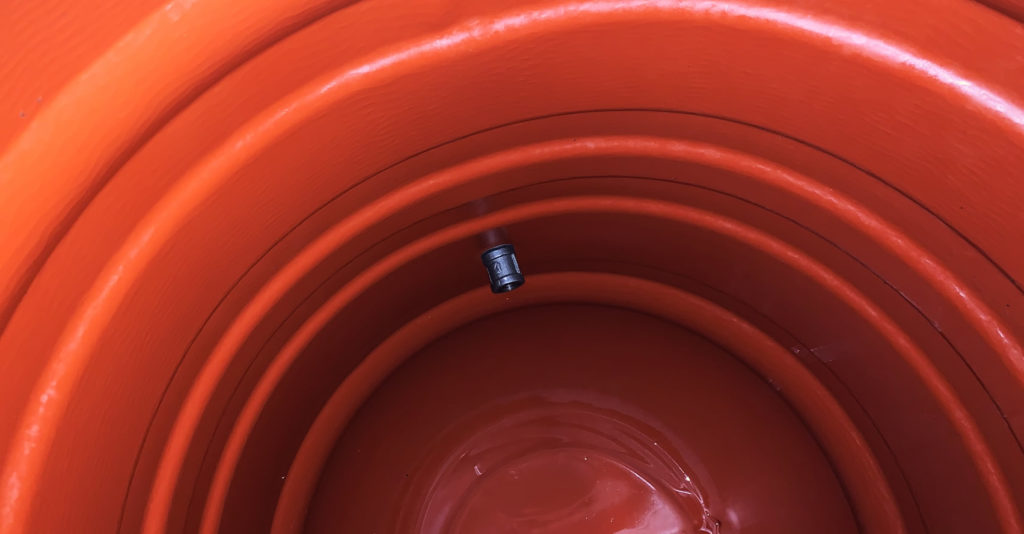
-Slide the first o-ring in the hose bibb’s male connection.
-Wrap Teflon tape around the threaded connection, do it clockwise. This way, when you screw the hose bibb into the barrel, it will not undo the wrapping.
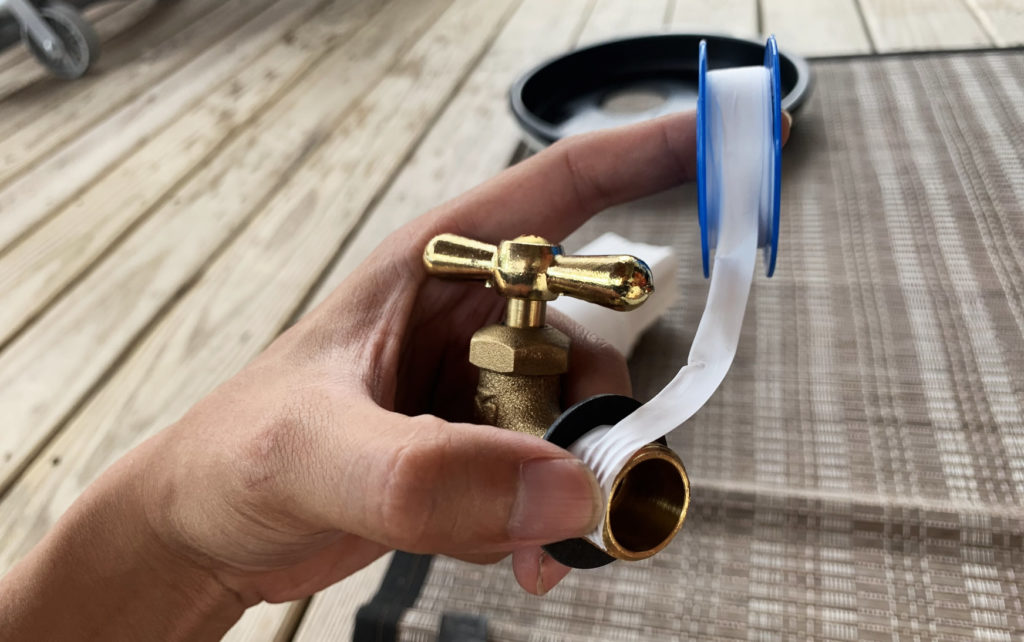
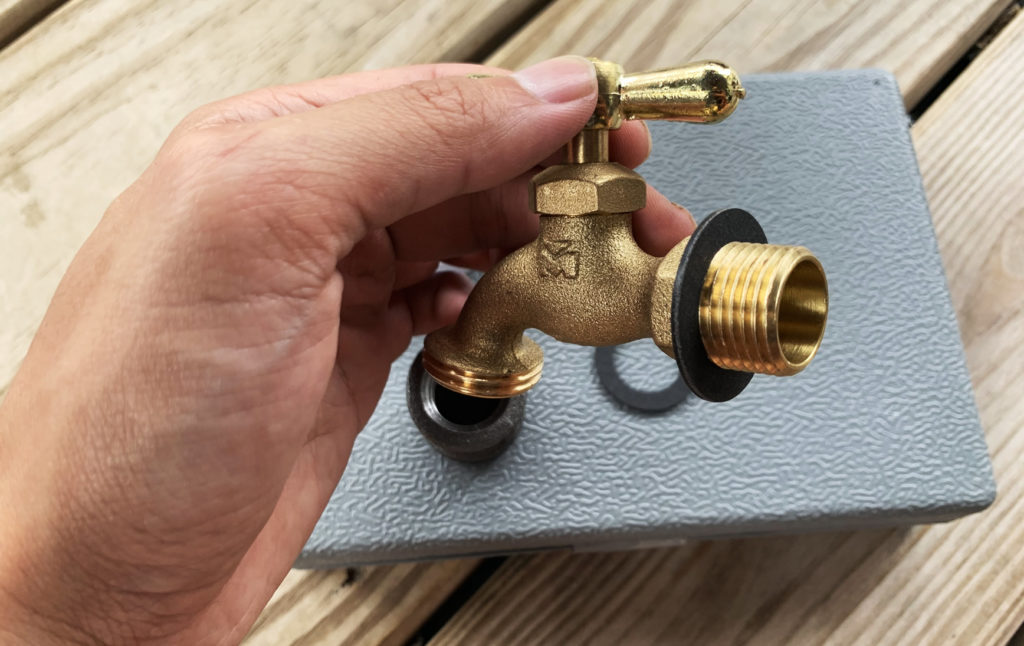
-The Teflon tape, black iron coupling and the o-rings will create a perfect air-sealed, durable outlet for your rain barrel.
-Handtighten the hose bibb until the O-ring has a slight change in shape.
You don’t have to over-tighten it, that will cause tearing issue with the hole which we try to avoid. Instead, the iron coupling will handle the job of keeping the hose bibb securedly in place.
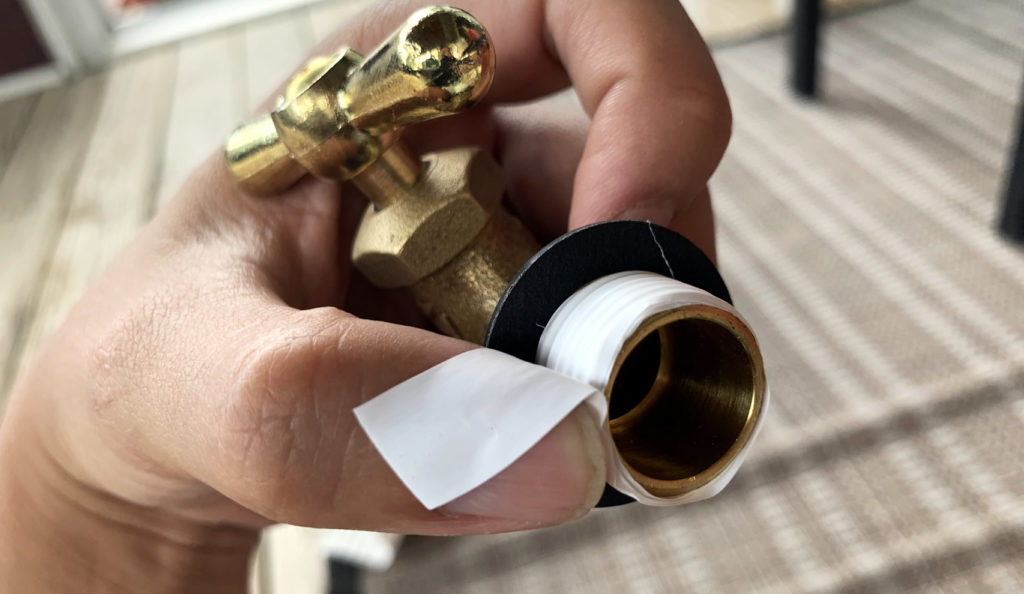
-Now lay the barrel on the side, you can easily attach the second o-ring onto the hose bibb.
-Then you can go ahead and tighten the black iron coupling to the hose bibb. It’s recommended to have a second person hold the hose bibb in place while you turn the coupling.
 -Time to put the lid back on. Grab a larger hole saw of your choice and drill it away!
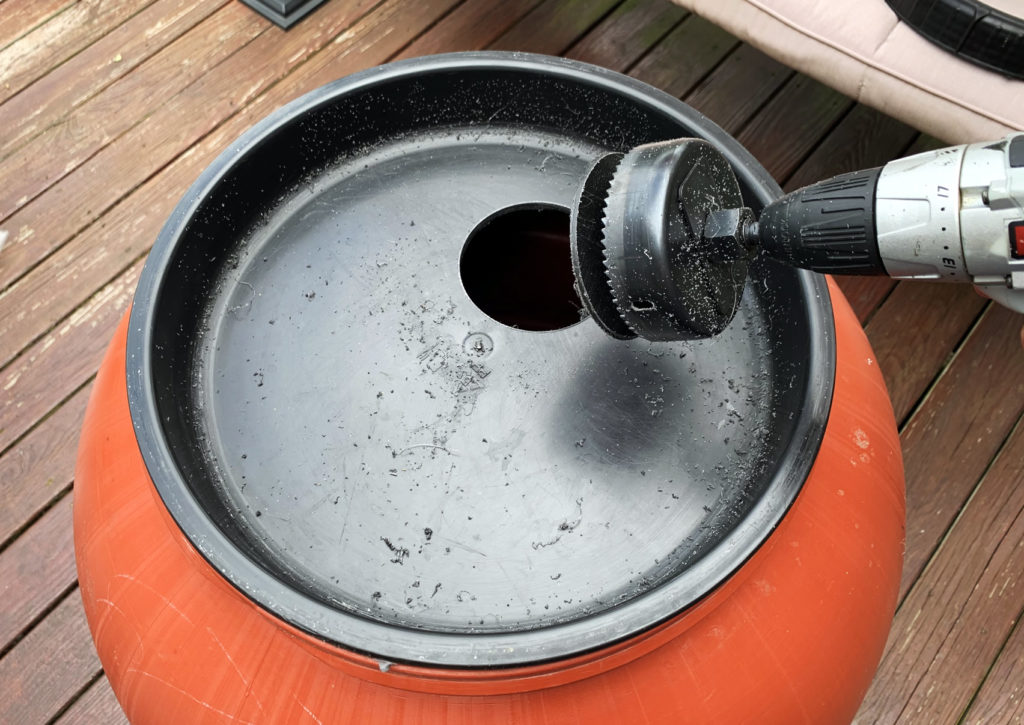
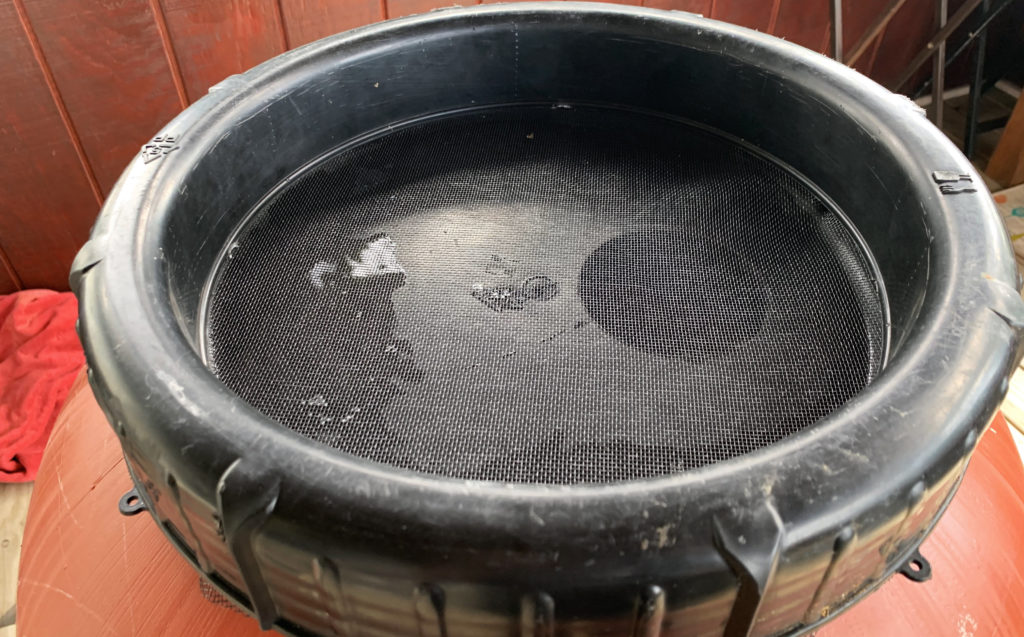
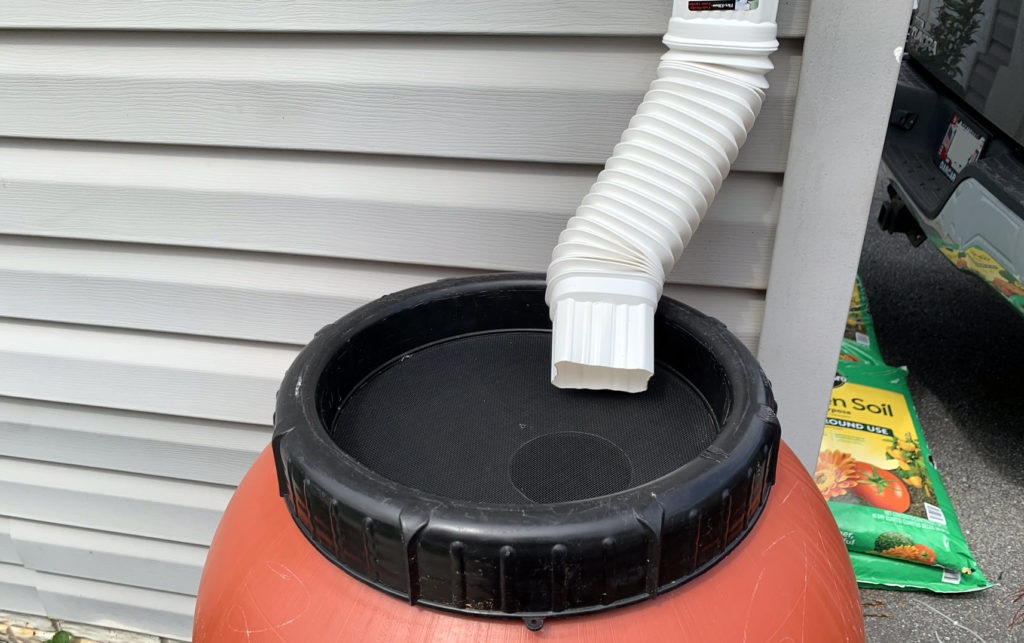
OPTIONAL: Most folks are fine with having water from the downsprout flow directly to the rain barrel.
However, I’d like to have a layer of filter to prevent the accumulation of roof debris at the bottom of the rain barrel, as well as other insects and mosquitos. You can use a window screen/landscape fabric to do this job. I chose a fiberglass window screen for its durability.
-First cut a large piece of the window screen, put it on the inner top, close the lid and start trimming along the side. It makes everything a lot easier to get a perfect fit.
III. Finishing Up
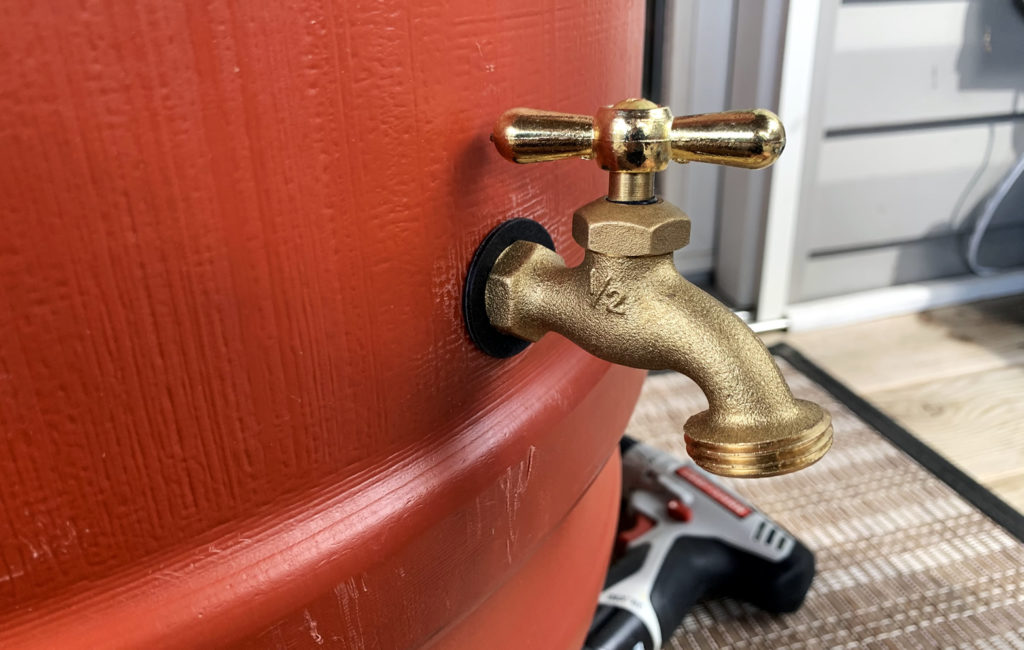
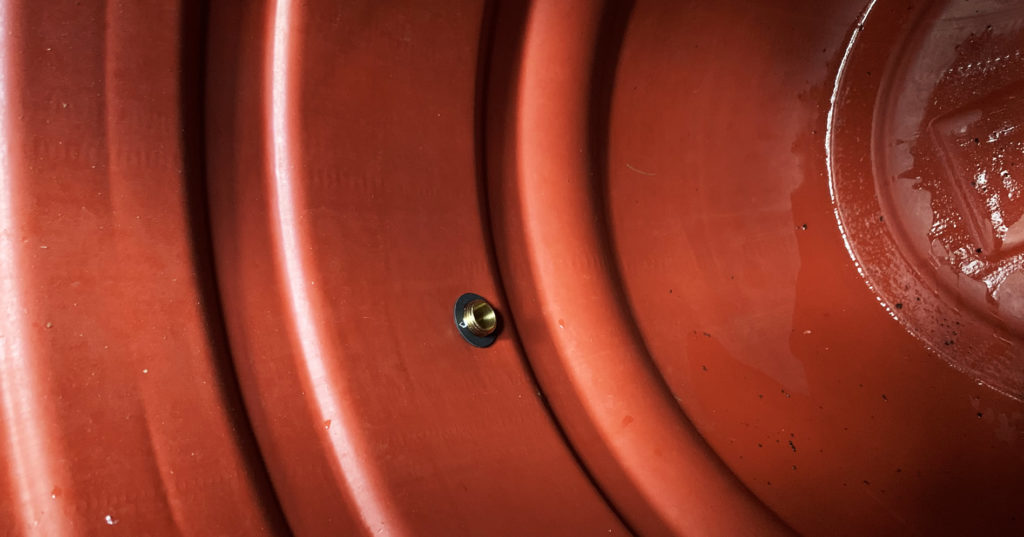
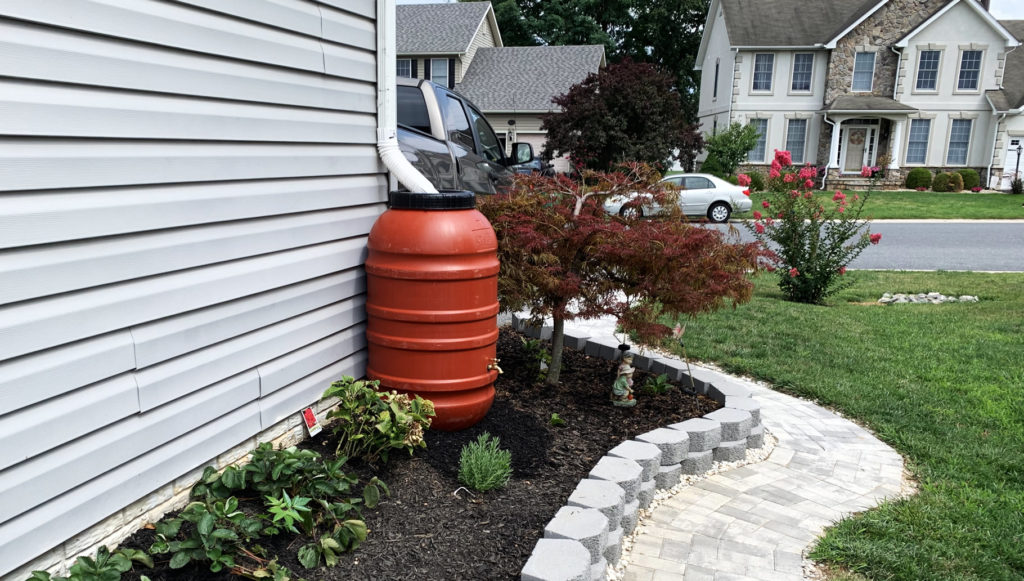
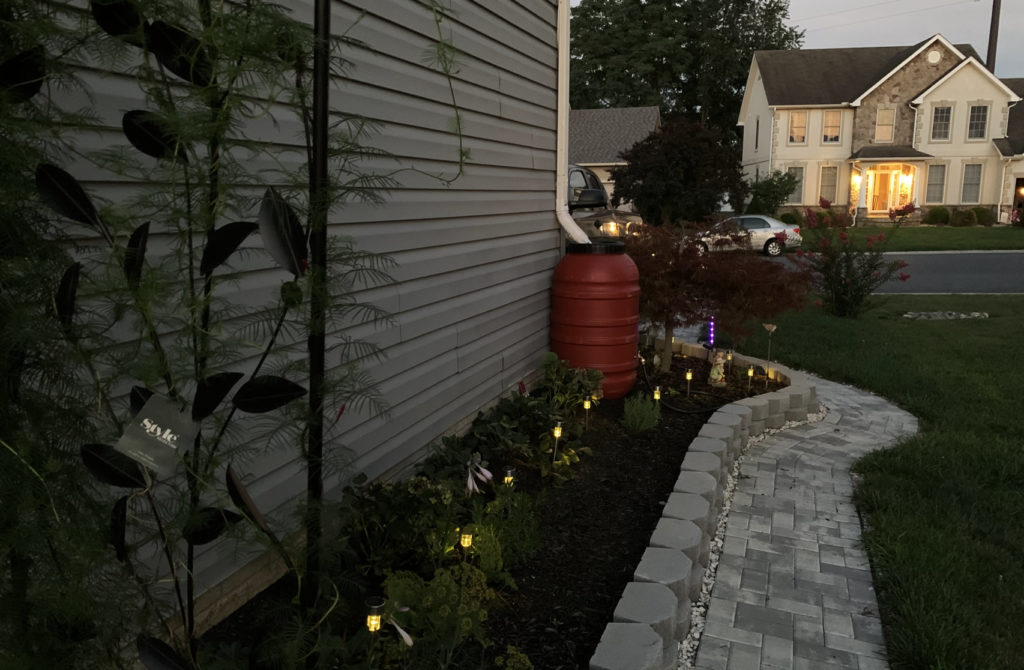
Now your rain barrel is ready to go!
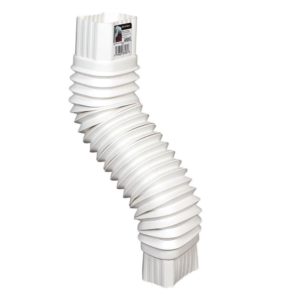
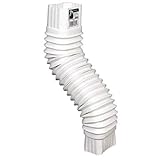
Take a walk around the house and find a downsprout where it collects the most cubic feet of rain fall possible. Then measure and cut the current downsprout with a hacksaw. Install the flexible downsprout, level out the area where your rain barrel will sit and boom! Free water incoming!
Have any question or comment? Let me know right below!
Amazing project!