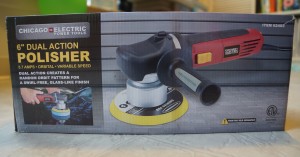
 I bought myself a DA Polisher from Harbor Freight the other day (there’s a similar one on Amazon); since it was on sale for $59.99 and because everyone always happens to have a Harbor Freight 20% off coupon laying around in case like this. Yep, can’t beat $48 for a good DA Polisher –especially if you are new to auto detailing.
It goes nicely with the 35-minute rinseless car wash we did a few weeks ago. For me, I wanted to know how it measured up to Porter Cable’s; but that’s the story for another time –hint: the HF’s actually holds up pretty good!
First off, from what I learned via many online reviews that the stock grease in this Dual-action Polisher is somewhat low quality and causes a lot of noise during operation. Last night I finally had the opportunity to prove it true to my neighbors around 2AM outside my house, in Hollywood hills. They didn’t like it, or the 47 Lamborghinis.
Hence being a good neighbor, I have decided to re-grease this DA Polisher to make peace with everyone temporarily. Let’s jump right in.
I – What You Need
You don’t need a lot of tools for this project. Simply find yourself an additional screwdriver and a long nose plier besides the supplied wrench and hex key that come with the DA Polisher box, here in my garage. And some synthetic grease too if you don’t have one already.
- For all U.S., European and Japanese Vehicles
- Provides superior high- and low-temperature protection (-60°F to 425°F) over...
- Moly-fortified for increased film strength and exceptional resistance to heavy loads
- Extreme pressure fortified
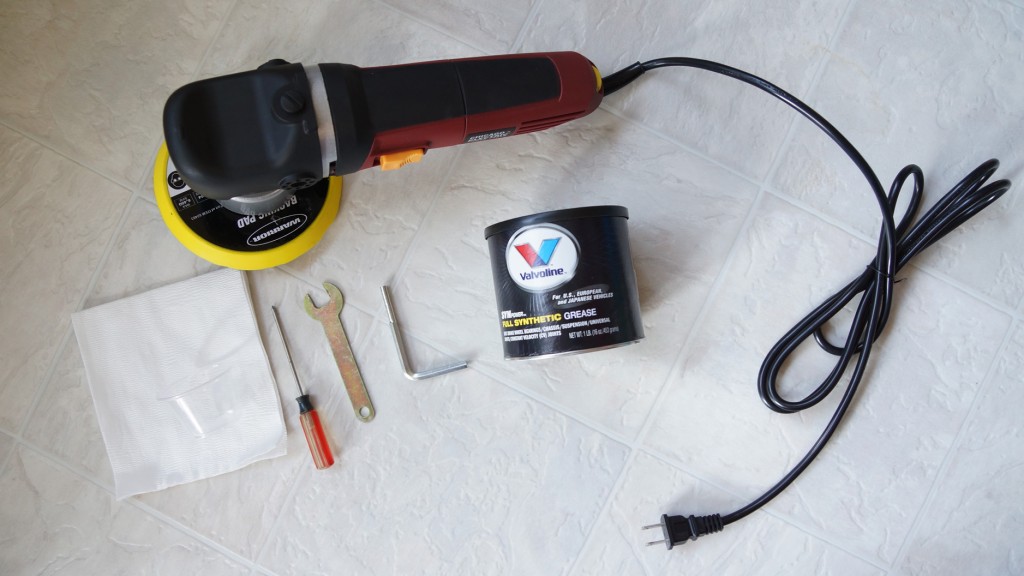
II – Harbor Freight DA Polisher Disassembly
1. Use the wrench to re-position the balance block undernearth the backing plate. When the balance block is out of the way, you should be able to see the black hexagon spindle behind.
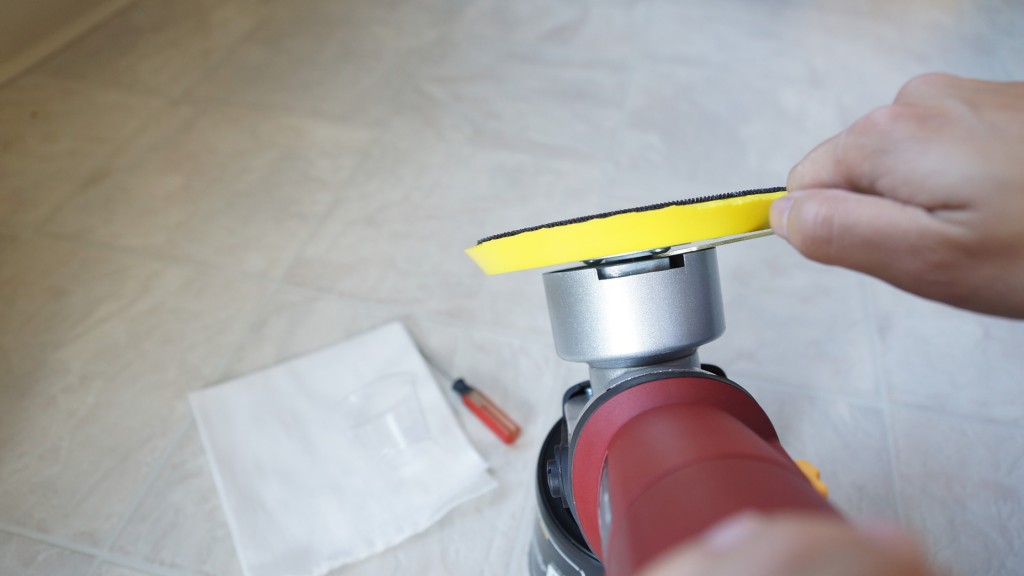
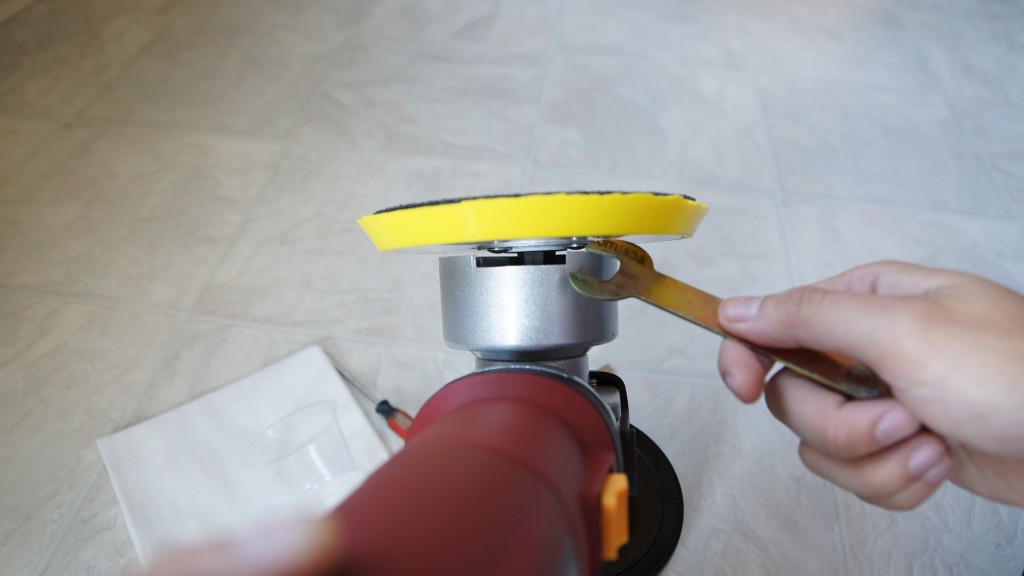
2. Stick the wrench in to lock the spindle from spinning. Then rotate the backing plate counter-clockwise.
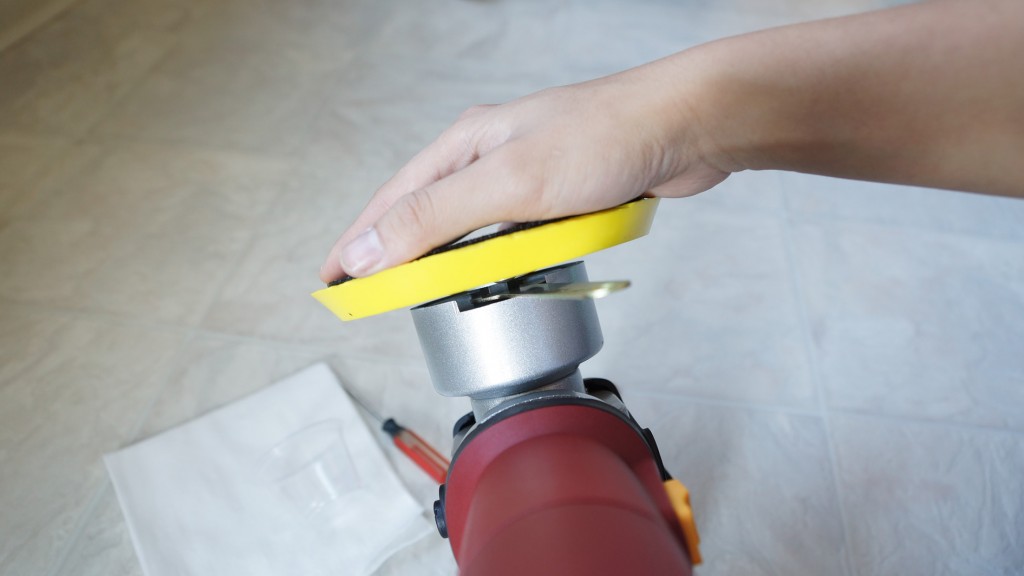
3. Once the backing plate is off, you can remove the 2 screws (size M4 x 16) that hold the balance block to the eccentric block. Give it a consistent down-force and torque every turn; these screws are very easily stripped.
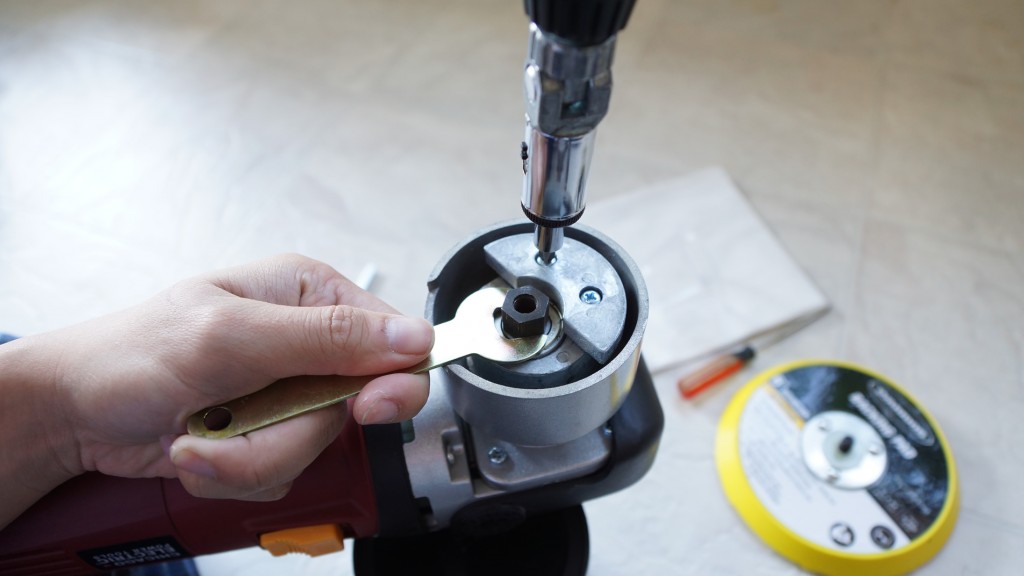
4. Remove the cover. Stick the hex key into the small vent on the back of the reducer block.
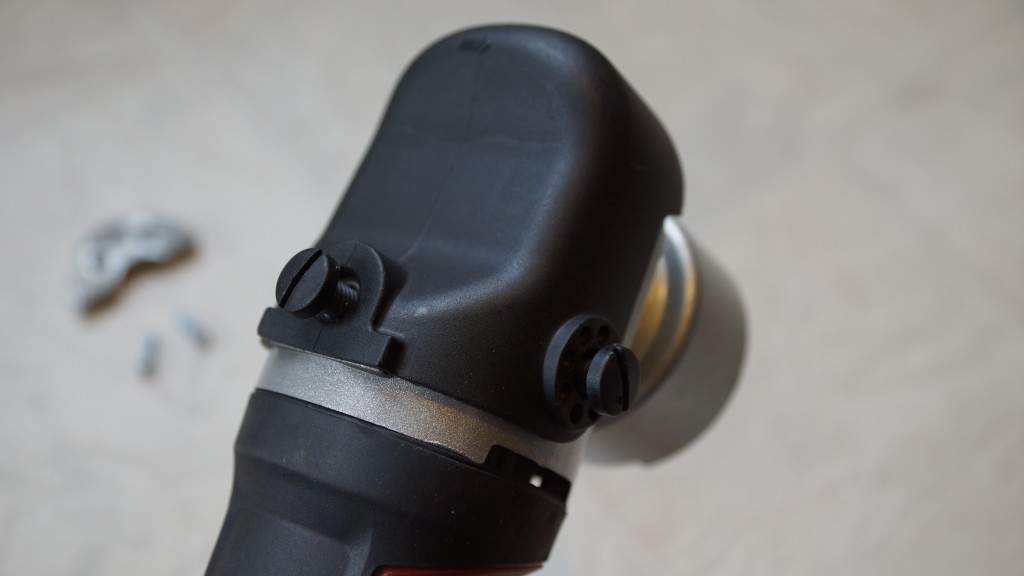
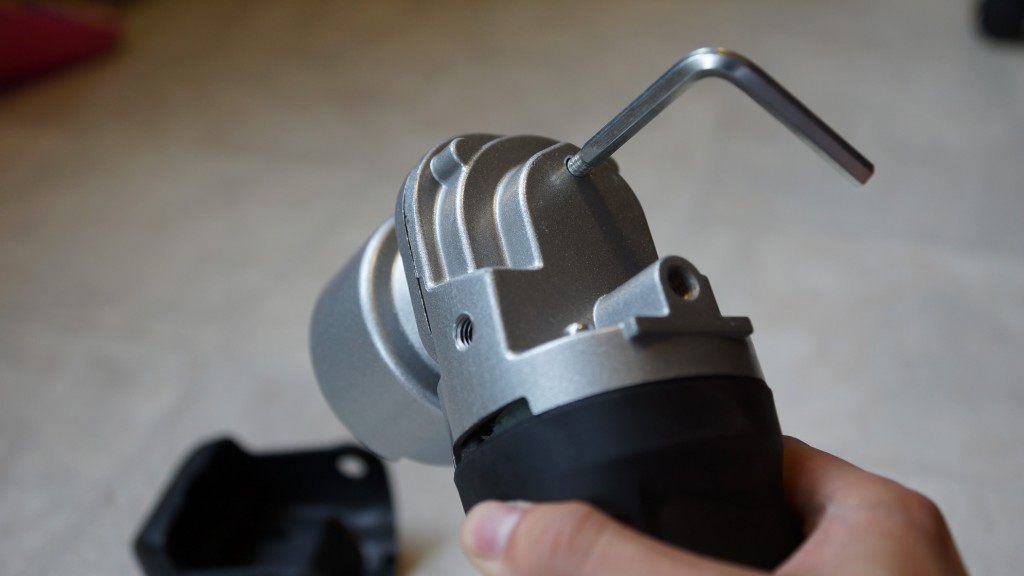
5. Now this is a little tricky. Use a small screw driver, a vise grip or a long nose plier to turn the entire eccentric block counter-clockwise while the hex key in the lock position.
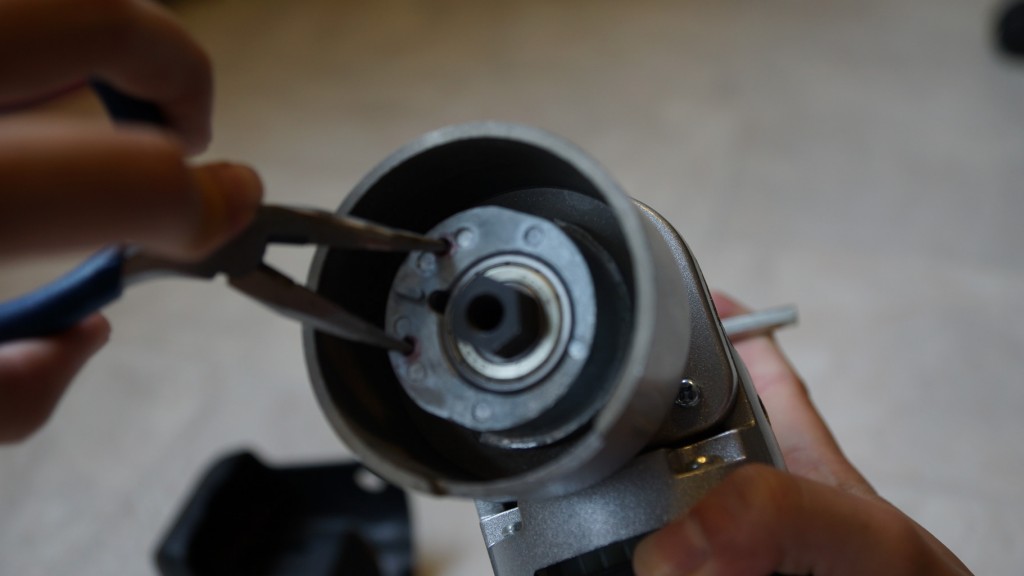
6. Once the eccentric block is off, remove the next 3 screws (size M4 x 14) so you can take the eccentric cover off as well.
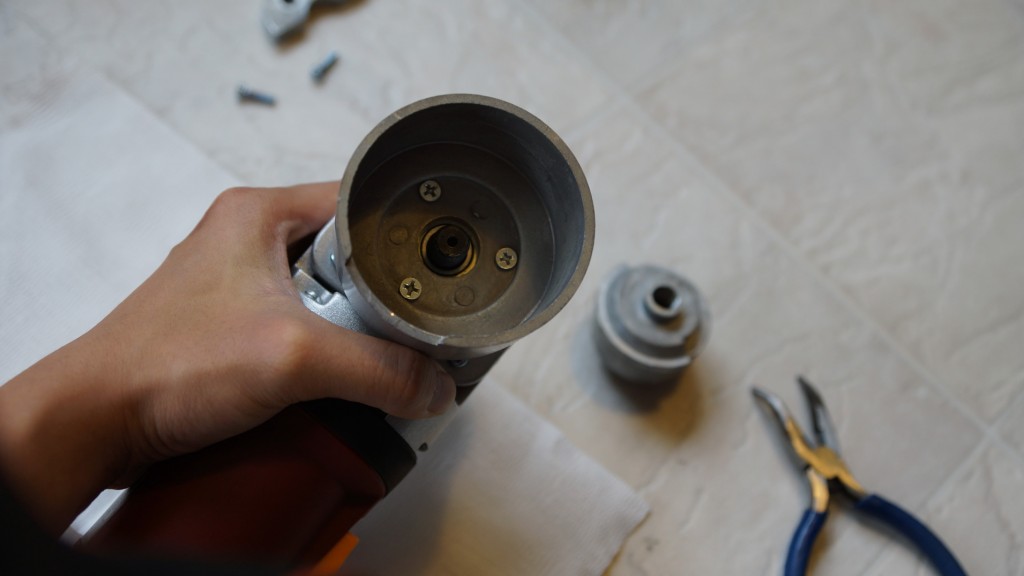
7. Now the only things that stand between you and the cheapo grease are those 4 screws (size M4 x 16) and the fore cover. Remove them.
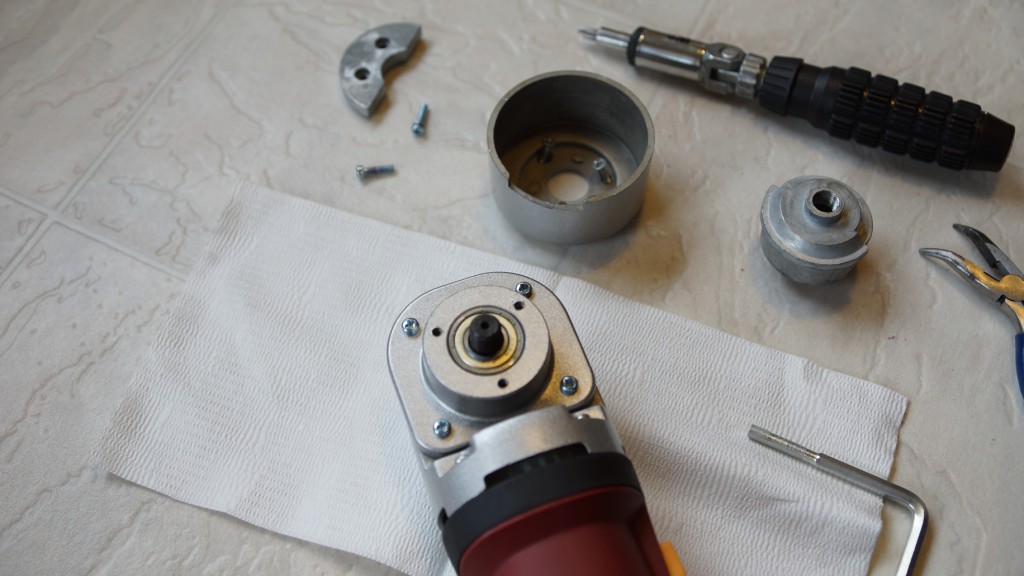
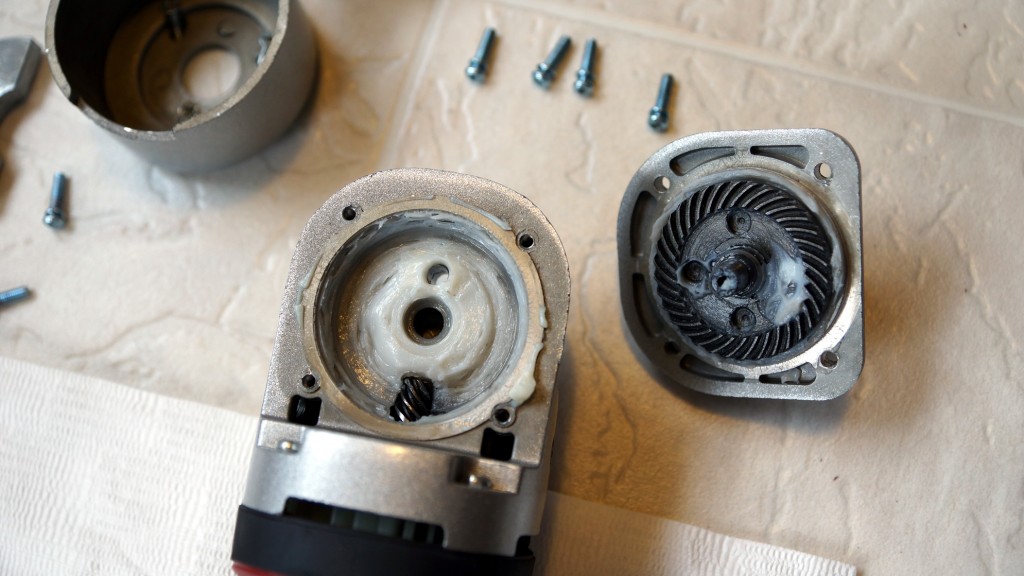
8. Time to get your hand dirty and clean up the stock grease.
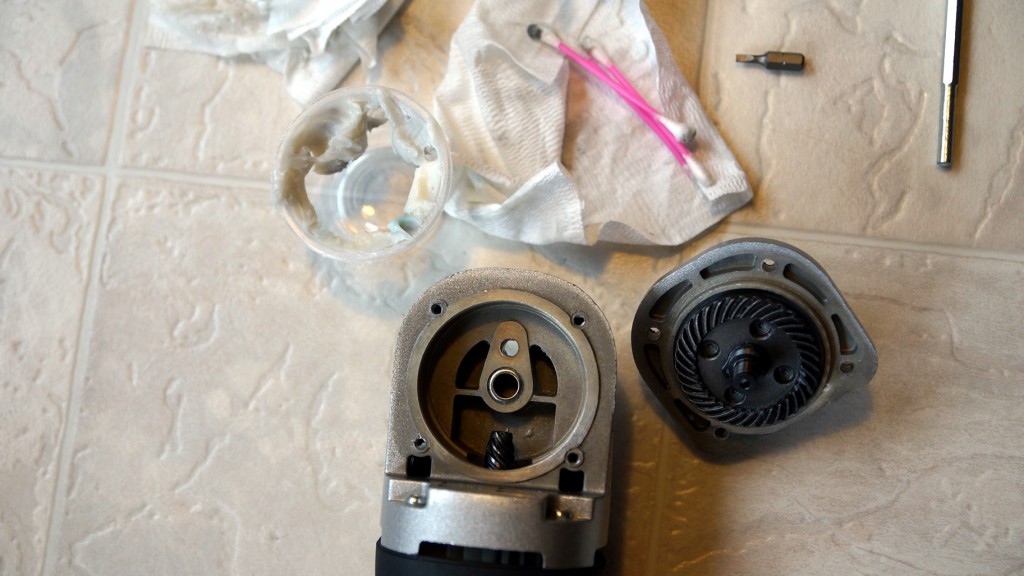
9. Using the same technique you do when you prepare your morning peanut butter jelly sandwich; spread out the synthetic grease nicely into the reducer block. If unsucceeded, refer to your wife.
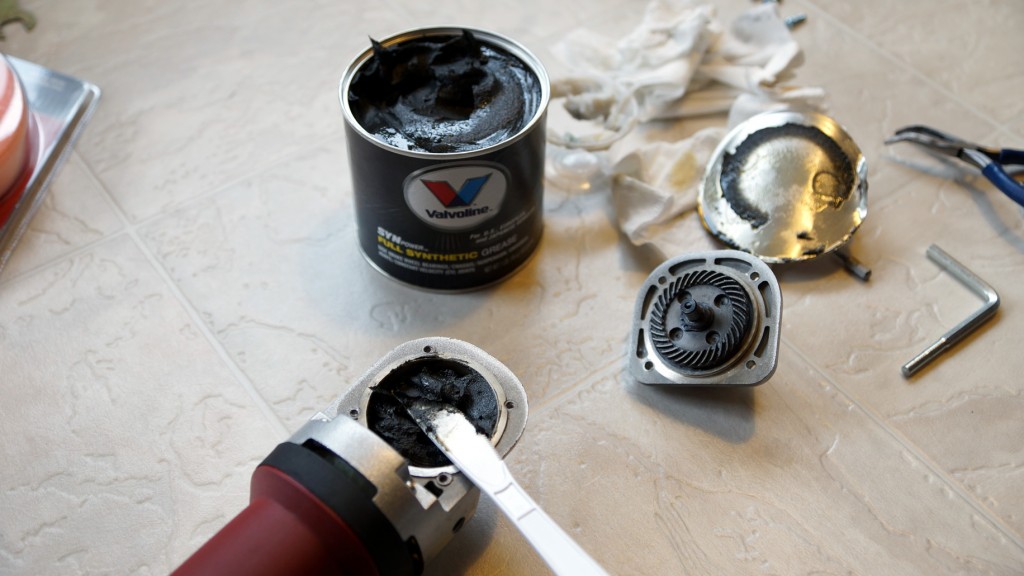
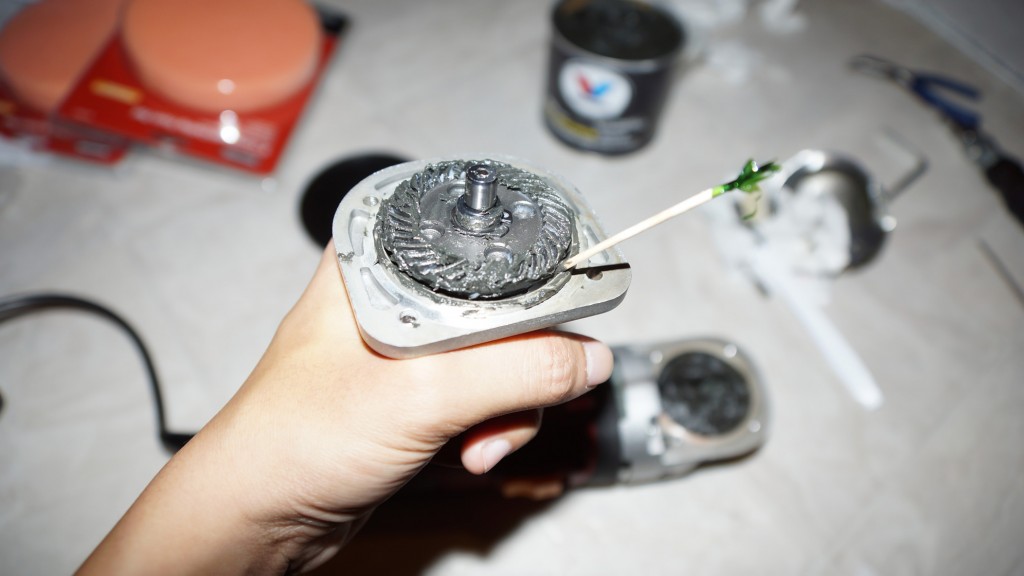
10. Revert the process starting from step 7. Re-install the backing plate and you are done!
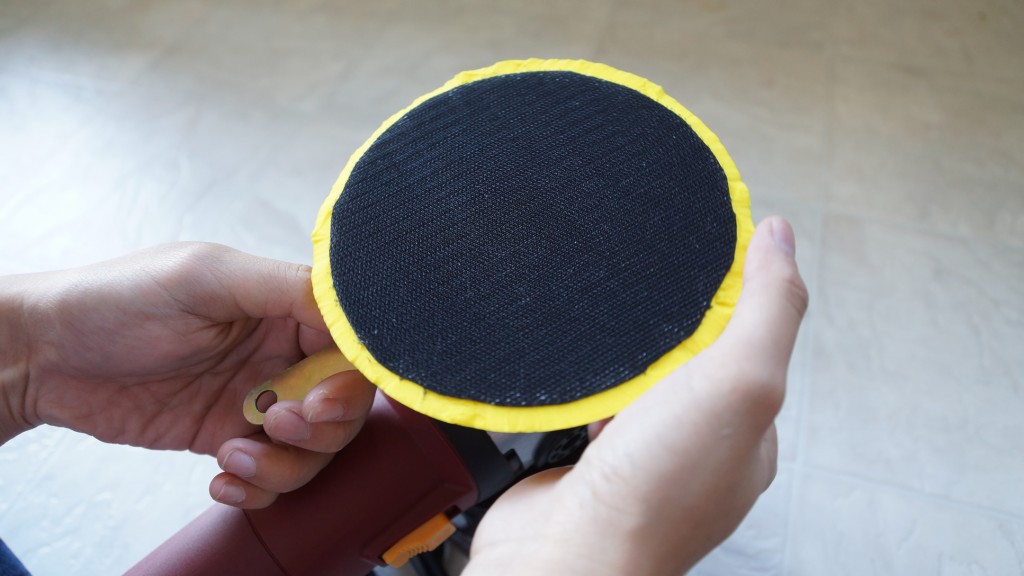
Speaking of backing plate, this thing is famous for chewing up your pads. So either trim off the edge like mine (picture above) or replace it with a better build backing plate like the Meguiar’s one below.
Recommended
- USE WITH POLISHING TOOL: Distributes pressure evenly for optimum defect removal and...
- IDEAL DISC CONTOURING: Precisely tuned outer edges allow you to safely navigate the curves...
- DUAL ACTION POLISHING: Fits all DA polishers with 5/16" diameter shaft; use with polishing...
- HOOK AND LOOP: Quick and easy disc changes with micro hook and loop attachment system
Read another review?
 Car and House Wash in the Winter using the cordless SunJoe pressure washer (with video)
--... ...get the garden hose, the pressure washer, gas or another cord for power then drag them all to the driveway. By the time I finished all this, you probably completed 7 seasons of GoT..
 Affordable Robotic Vacuums Comparison : Eufy RoboVac 11S vs. Ecovacs Deebot N79S.
...hence I ordered two entry-level yet features-packed robotic vaccuum cleaners, hoping they could fight each other like what I saw them Battlebots do on Youtube...
 Home Security Kits Comparison and Setting up ENKLOV-W1 Wifi Smart Alarm System.
--..add this big siren outside so your neighbors are fully aware you are being robbed.


So what was the result?
Slight reduction in vibration but it’s a high speed motor so it’ll cause hand fatigue eventually after half an hour if you are not used to the process. Definitely a lower noise level.