 Every other week, ADT kindly sends me a glossy ad in the mail trying to convince my wife and the kids that their $36/mo alarm system is one of the best in the market. And we should give them money.
The offer was somewhere along the line of ..something..something..$850 value…*termination fees applies. (Sorry, Comcast successfully gave me this permanent fear of any too-good-to-be-truth promo so I always have tunnel vision on the fine prints first)
Now according to this ad and the foot note, for just a one-time charge of $99 and roughly $36.99 per month, I will have a complete 4-piece security system consists of a hub, a PIR motion sensor, keyfob and carbon monoxide alarm in the house; also ADT monitoring my home 24/7. Honestly, that almost got me until I did some more engineering-level basic algebra.
Let me expand.
As homeowners, most of the time we have a budget in mind (unless you are the Malcolm family then what is budget anyway) and it does not matter how they spin it –paying a little over $500/year for a subpar system like this is a waste of money to say the least. Realistically, the $850 value package probably costs less than $35 to manufacture. The $99 installation fee alone that you pay upfront could already buy you a much more decent DIY smart wifi home security kit without spending a penny more.
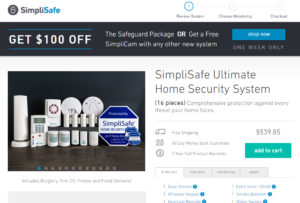 Another option I looked at was the Simplisafe smart home security system. However, they want anywhere from $230 (5 pieces) to $500 (15 pieces) upfront for an over-priced package. On top of that there is a monthly monitoring service for $14.99/mo as the time of this writing.
Then one other option that I like what I saw is Abode. They have a free plan that you can choose –meaning you can get the alarm system from Abode with or without the monthly monitoring service. You can also add said service later in the future. Abode kit works similar to our $90 system here, though a little more polished. However, you are looking to spend anywhere in between $300 to $430 to purchase only 5 pieces of equipment.
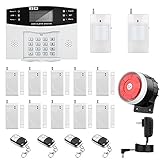
So to stretch the budget to the best without sacrificing features, the package we’re installing today has 10 pieces for $90 and has plenty of room for future expansion (probably still costs a lot less after all).
The Concerns
 There are several discussions on home improvement forums regarding customer satisfaction with the big brand home security systems. Many members are upset that the service often jacked up the price every six months.
Even worse, our staff comes across a confession from a former burglar. He said that he could easily convince the operator’s call during a break in that everything was fine, alarm was tripped by accident and asked them not to notify the police. That very simple phone answer gave him an additional 8 minutes to scoop the house for more jewelry, cash and a bunch of iPads. Really reminds me of this episode on It Takes a Thief back in the day. It shows how fast they hustle for your items. And in the end, it’s also up to laws enforcement to decide whether to get to your home immediately or not; because more often than not they already have their hands tied with more serious crimes in the area.
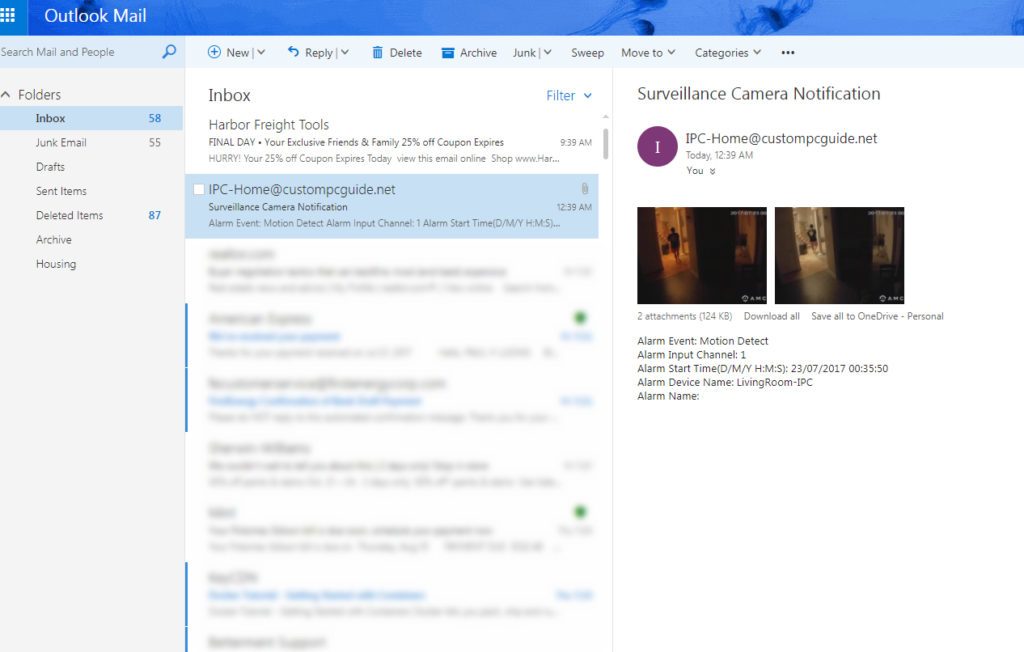
Anyway, as you can see why I didn’t have much confidence in these monitoring services to begin with. There are many things that’s just not right. The system are expensive (just 3-year run costs you nearly $1500!) and they use outdated technology to protect our home. I wanted something that could alert my surrounding neighbors when shit’s happening, or even better –a surveillance camera to capture their face and emails the picture to me instantly.
 Fast-forward a month or so, I came across a post from someone in our neighborhood letting us know that there was brute-force break-in on his house. Having kids in mine, I definitely don’t want this to happen to us while we’re sleeping at night. Hence I set out to test several modern, DIY smart Home Security kits currently in the market and see how they stand against each another.
If they could help me protect my family, I’m certain it will do the same to yours and a bit more.
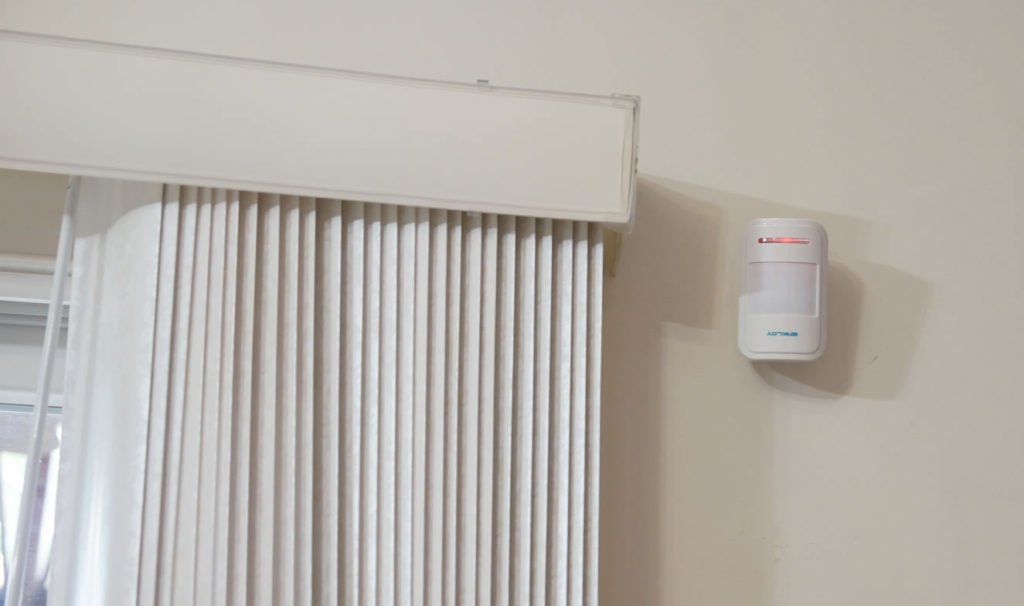
My now alarm system has a big siren on the front porch, on the deck and another on the second floor; I want to make sure whoever breaks in to my house when I’m not home or sleeping, get an opportunity to hear the soothing 110dBi music from my sirens while also have a great chance of getting caught/stopped by my neighbors or at least a glimpse of their face/car plate seen by other people. The synced security camera on each floor probably get them as well.
On another note, everyone else in the family also has the ability to Arm/Disarm the system via their smartphone. However, only owner can configure the system. Here’s a quick 30-second raw footage of me testing the PIR motion sensor right after the installation. Sorry about the low-quality. And the shaky hand. Or the messy table. Damn it, just watch it and ignore other elements.
Choosing a Home Security Kit
So now in today article, I’ll be reviewing/installing the ENKLOV-W1 / W10 security system. I pick this set because it fits the budget for many of us, super easy to install and it has room for expansion in the the future. Some folks also don’t want to spend too much for a system you are not familiar with, so it’s a good start.
I also have other recommendations a little further below if you prefer to go for a bigger and badder kit. You do not neccesssarily have to get the same one I got in this article, since the installation steps are more likely to be the same.

Pros of the ENKLOV-W1 / W10
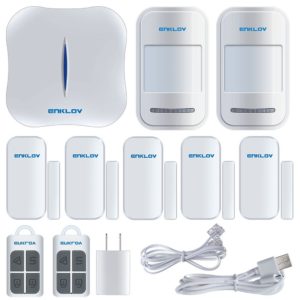 It comes with 5 x set of door/window sensors plus 2 x PIR motion sensors.
- Two Remote controls. The system can support additional 64 more sensors and 8 more remote controls.
- All sensors are battery-powered so thank goodness we don’t have to run wires! If you are concern about battery life, the system will tell you way ahead before the batteries run out. It’s somewhat safer than having the buglar shut off your main breaker and leaves the alarm worthless without power.
- The system can be fully configured via your smart phone once it’s connected to your home wifi.
- It can turn on the siren, auto-dial phone numbers of your choice (via active phone line) as well as sending you/your family notification on phones (WIFI) when the alarm is triggered.
- You can configure how long the siren alarm should go off. Mine turn off after 10 minutes so it doesn’t go on for the whole day, especially outdoor siren. You want your neighbors to notice the bad boys, not starting another shenanigans in the hood.
 Option to categorize different living areas in your house into different zones. Each zone can include different sensors and triggered differently, so you know exactly where and when something is happening.
For example: My Zone 1 names Living Room and it has Front Door sensor, Garage Door sensor and Rear Deck sensor.
My Zone 2, which is in the basement has Basement Door and Motion Sensor. This way I can manage different alarm triggers easily.
Someone opens the Front Door? That’s Zone 1. So Zone 1 is configured to play Doorbell sound if the system is not armed. Someone opens basement door? Dear God, go full blown on these 110dBi siren speakers EVERYFREAKINGWHERE!!!
- No monthly fee, no install fee / contract nor termination fees.
- Control hub has built-in Lithium-ion battery so you don’t lose protection/alarm siren when someone disconnects the power.
- Security camera can be added on in the future for live video, motion detection and notification (maximum 30 cameras).
- Option to add this big siren outside so your neighbors are aware you are being robbed. Simply plug it into an outlet.
- Amazon offers a 4-year warranty on this kit for just $10 more. It’s worth it. If it breaks four years from now, you get the Amazon credit back to buy whatever you want.


Cons of the ENKLOV-W1 / W10
- It relies on your home 2.4GHz wireless network –not 5GHz. Fortunately, most home have standard 2.4GHz band wifi.
- If the router is off, the system cannot contact you. Hide. Your. Router. –if your router has weak reception, read 5 Tips How To Increase the Range of Weak Wireless Signal
- It needs a working phone line for automated dialing. There is a alarm kit below by OWSOO, which uses SIM card instead.
- Hub’s built-in siren is not loud enough. You should acquire the Strobe/Siren speaker if prefer something louder.
- I’d love to see more sensors in the package but for less than $100, it’s a good starter deal.
- Not sure if it was an issue with my Android phone, but my W10 time often goes out of sync. After a week, the alarm will arm itself 4-5 minutes earlier than the original schedule due to the app clock was going faster.
- It takes up to 30 seconds for the app (Android) to connect to the hub, hence it’s a little hassle if you are in a hurry to disarm the system. It’s a lot faster on iOS.
Other Alarm Kits
Besides the ENKLOV-W1 / W10, there are several other kits that are similar by features and functionalities. Some of them have more add-ons and accessories, but they all seem to use identical smart app to control the system.
BEST – More sensors, big siren, outdoor siren, glass sensor, camera. All shebang. 40 pieces of equipment. Supports both landlind and SIM card.
- 🔥 Loud Emergency Alarm and Easy to Get Help: Children and seniors at home in emergency,...
- 🔥 Network Support: The alarm panel built-in GSM Module, it support GSM SIM card,...
- 🔥 The alarm system can be used internationally, it can work under two conditions: No...
- 🔥 The alarm panel built-in AAA Ni-Hi rechargeable battery that can last about 8 hours...
STARTER – Basic home security kit with 5 x door/window sensors, 1 x PIR motion sensor, 1 x hub and 2 x keyfobs. Notification via app only. No auto-dial.

- Multi-Purpose: Most Cost-effective professional wireless security home alarm system Kit...
- Easy-Operation App: Our enthusiastic programmers develop the APP to be extremely...
- Best Kit Solution:WP6 home Alarm system kit includes 1x PIR Main Panel, 1x wireless PIR...
- Cost-effective PIR Main Panel: 2-in-1 PIR main panel with PIR motion detect sensor that...
NEW ARRIVAL– Similar to ENKLOV-W1 but instead of landline, this system by OWSOO below uses a $5 prepaid monthly SIM card to make emergency call. Little more technical to setup hence the lower rating on customer reviews. You definitely get a much bigger package deal than the ENKLOV-W1 for a few dollars more. You could go with this if the budget allows.

- SCARE BURGLAR AWAY When someone trigger this alarm system that will be alarm to scare...
- BUILT-IN BATTERY This system work well when someone cut wires or power off. You don’t...
- CELLPHONE FUNCTION This main unit can make the phones like a cellphone(Work with T-Mobile...
- EMERGENCY HELP You can press an alarm button on the remote control when some emergency...
Versus ADT / Frontpoint / Guard Dog
- The smart security system like ENKLOV-W1 or OWSOO sends you an instant notification plus auto dial when the alarm is triggered. You can even view and record live action of the bad guys with an optional add-on camera.
- Other monthly services monitor your home but there is a delay due to false alarm pre-caution. That means within the first 3-5 minutes, the system is simply on standby. Then the service operator calls and checks on you. However if they come across a smart burglar like the one I mentioned above, then he could earn another free 5-8 minutes for his operation. Then there is a chance the police officers won’t be able to arrive within 5-45 minutes depends on the priority of other crimes they have on hand. In total, it will be anywhere between 10 to god-know-when minutes delay before someone takes an action. The thief might have been long gone by then without anyone knows.
- Outdoor loud siren. When all eyes of your neighbors are on your house during a robbery, good luck to the thief trying to make a decent escape without leaving traces. They might not have the nerve to continue the attempt at all.
- Top of it, the system does not cost you $450 a year to have the same benefits or more.
- Easy expansion. Need more sensors? It’s possible and only costs you $13 each. It’s not possible to do this with other commercial monthly service systems.
- If you also purchase the add-on camera, you also receive an email with snapshot attachment of the event during a motion dectection trigger. This is like, the future. But no flying car, only more $3 fidget spinners…
Setup Guide for ENKLOV-W1
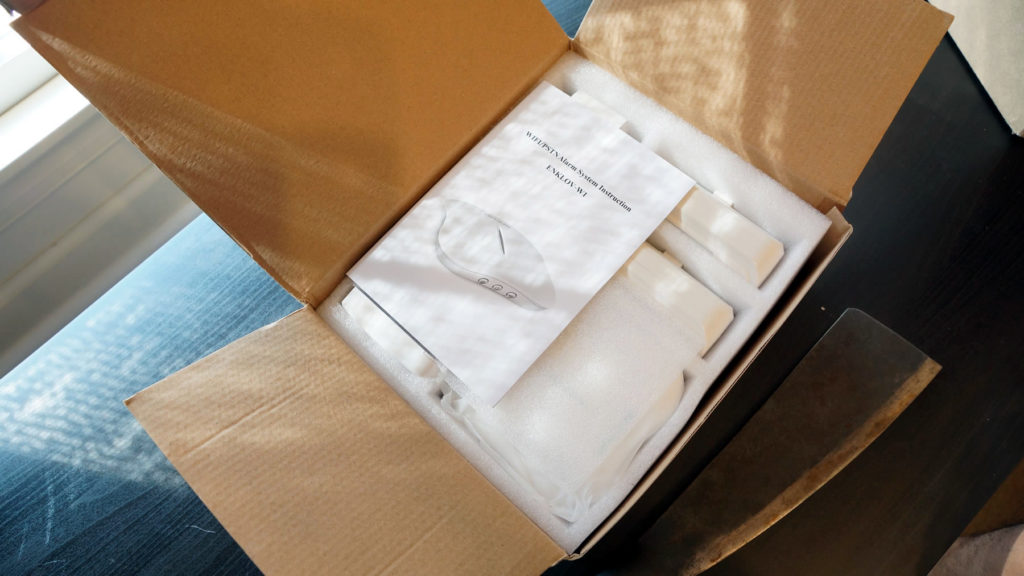
- The shipment arrived on time. Free one-day shopping is the best thing since pizza and Game of Thrones pre season 8. I opened this package in the honor of the King of the North and the Mother of Dragons. And the red wedding.

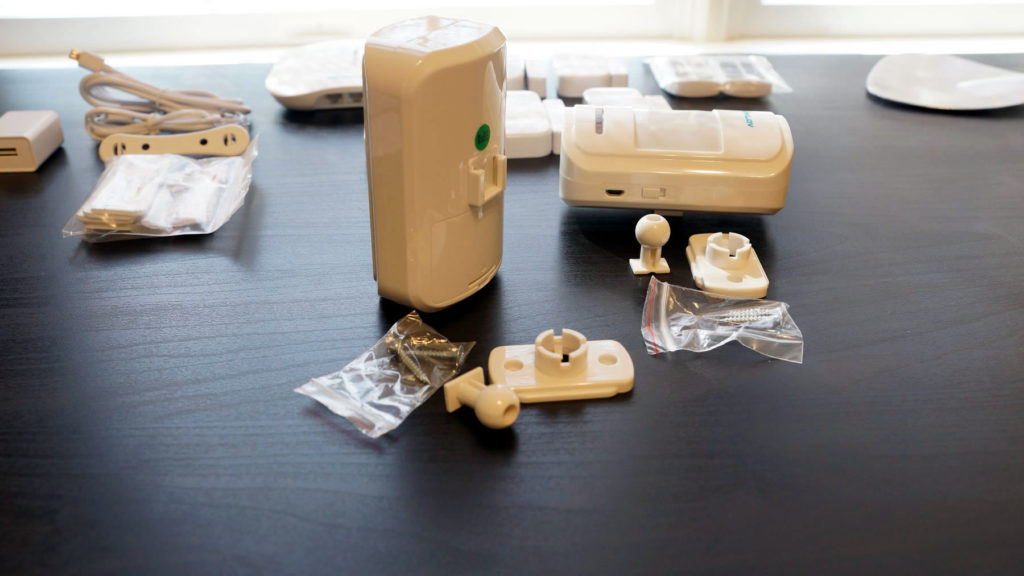
- Here we have the main hub in the middle.
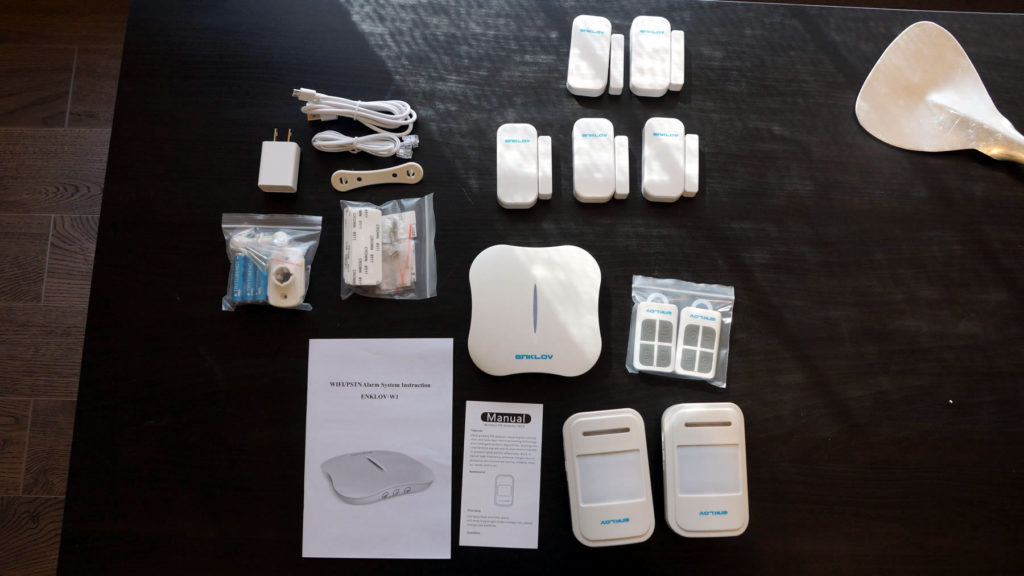
Next to it are the two keyfob in ziploc bag that allows you to Arm/Disarm/Panic/Stay Arm the system. At the bottom right are our PIR motion sensors and the top are the 5 sets of door and windows sensors.
The other bags on the left are mounting brackets and batteries for PIR motion sensors, landline cable, USB, charger and bracket for the main hub. Last of all, the bag right above the manual booklet contains double-sided tapes for door/windows sensors. The spatula is for cooking and not included in the kit.
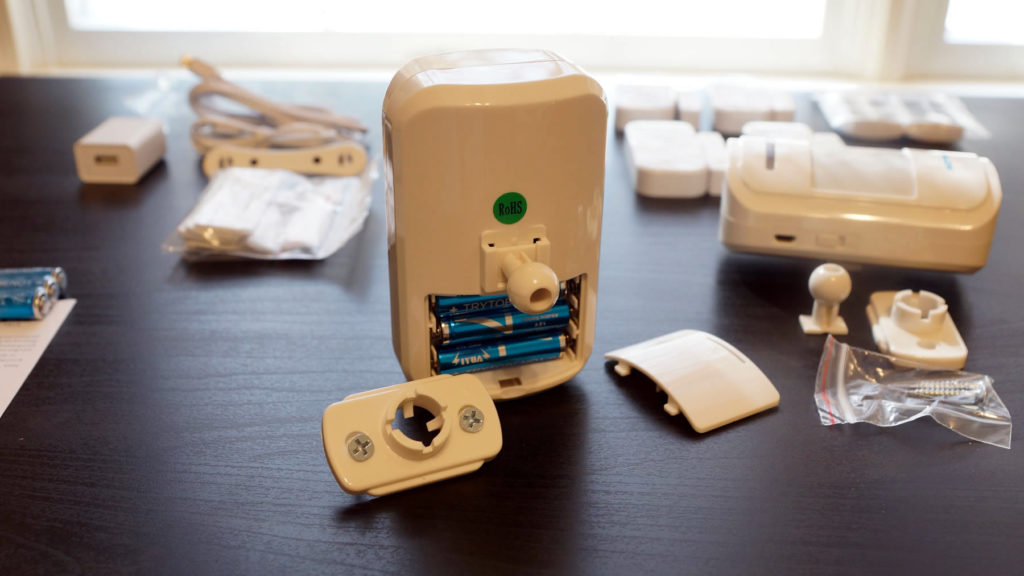
- First, let’s assemble the PIR motion sensors.
The batteries have interesting and ambitious name. I think it could run for President.

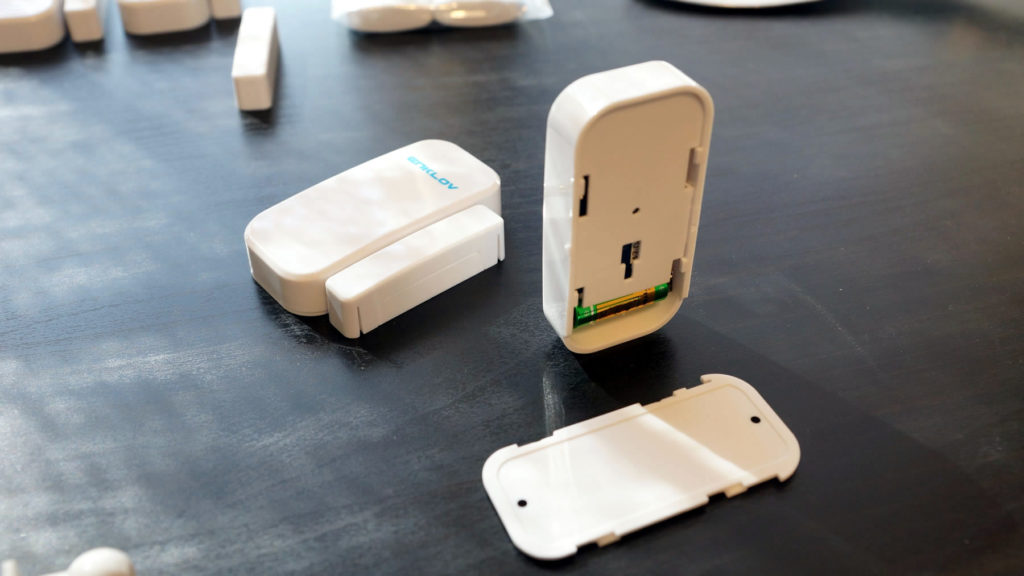
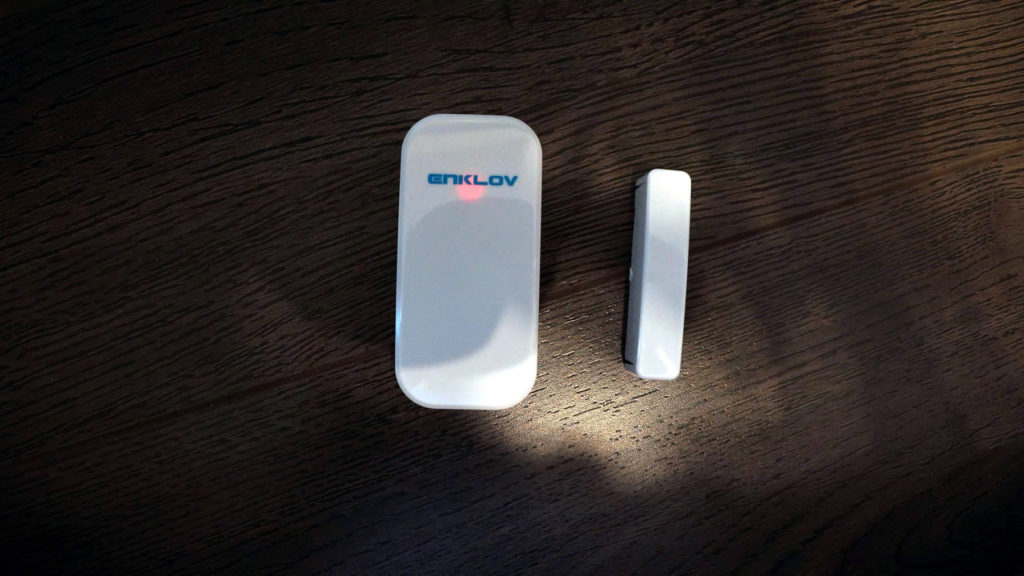
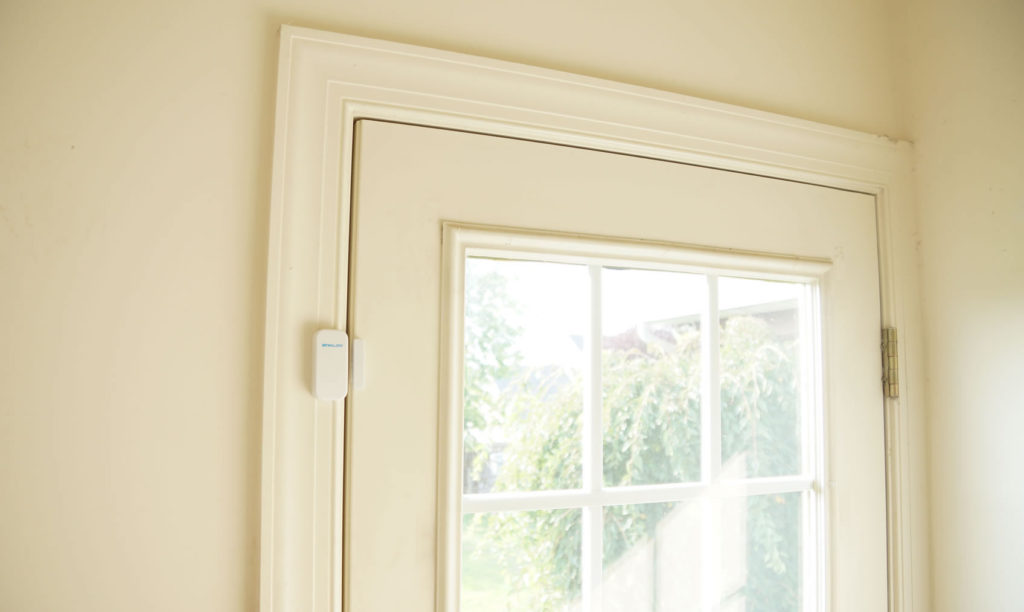
- Now we line up the door/window sensors and their accessories.

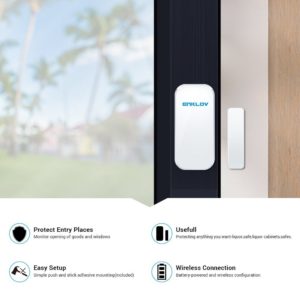
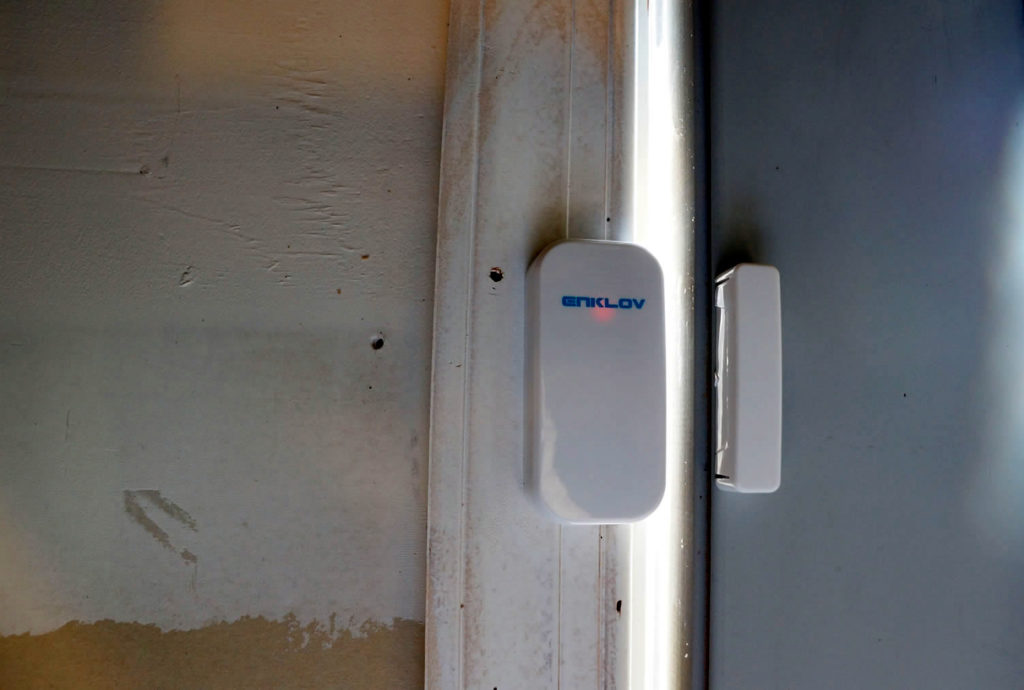
- You can either put these sensors up with the double-sided tapes, or use the mounting screws for stronger security. The back of the door/window sensor can be slided open for easy mounting setup, it also reveals the 23A 12V battery that these sensors use.
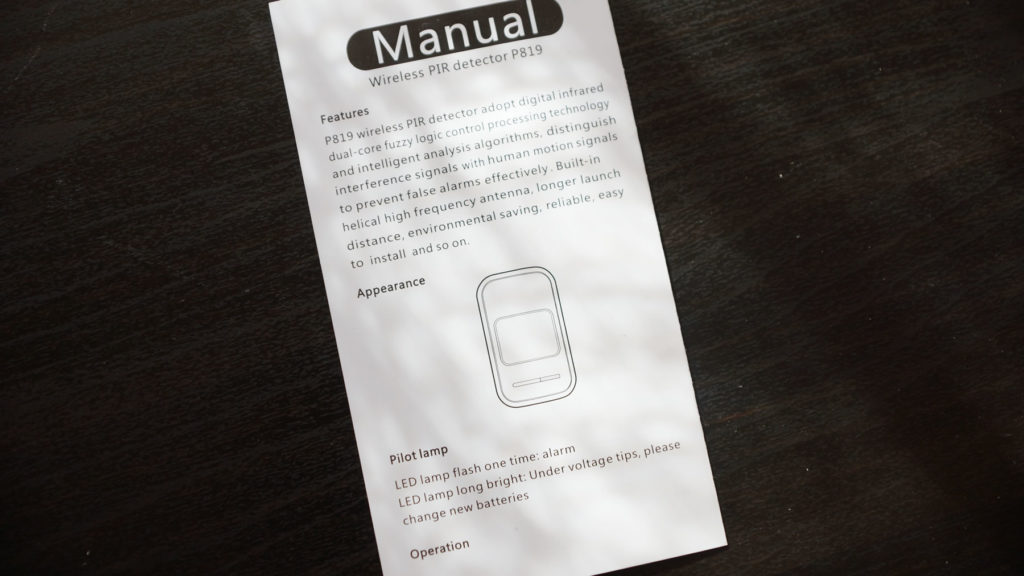
- Before installing, you should learn how these sensors work.
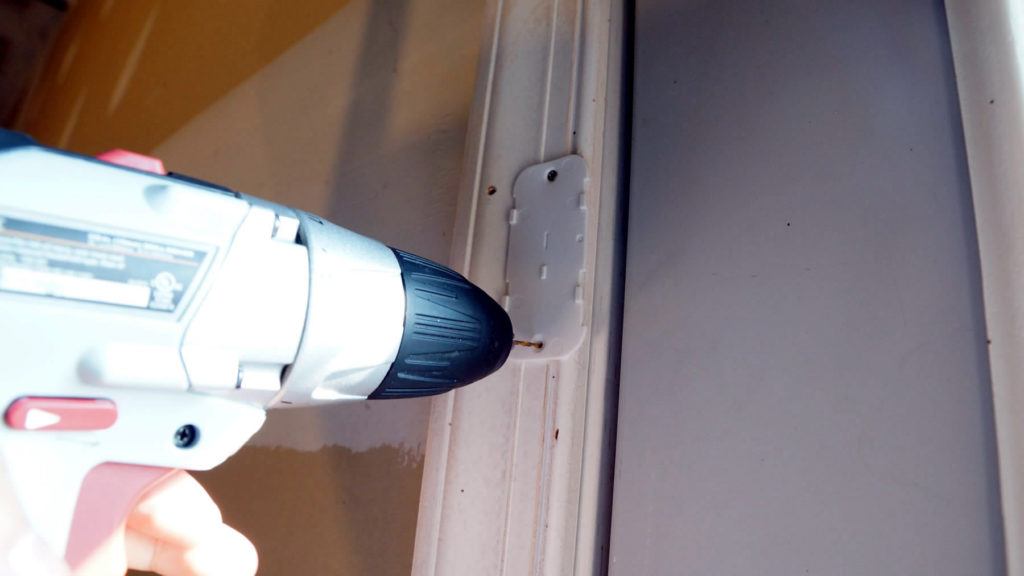
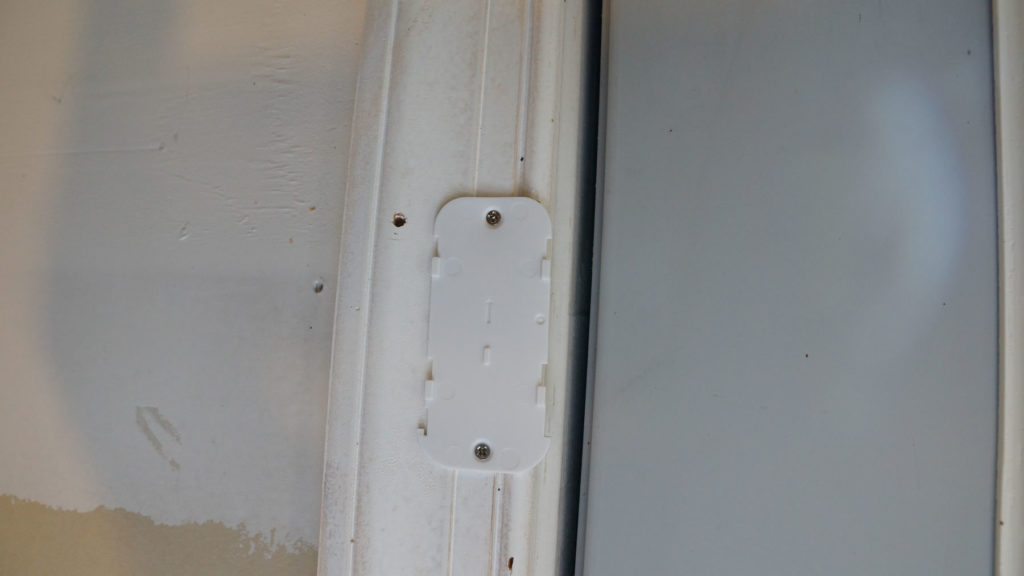
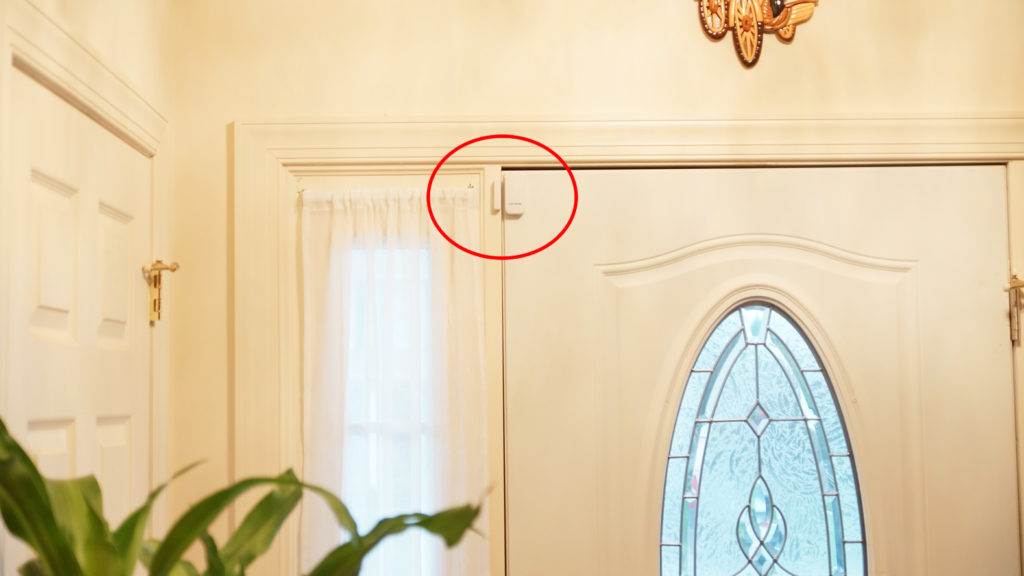
- Now it’s time to bring all those sensors, mounting screws and double-sided tapes around the house for installation. Remember the ADT ad? You are actually doing a $99 installation work here.
There are many to mount the door and windows sensors, but I highly recommend drilling holes and putting up screws in hot area such as in the Garage; since tapes are prone to fail on inn the summer heat.

Good opportunity to clean the garage door that has never been cleaned for years! I gave up cleaning half way though. Too hot..
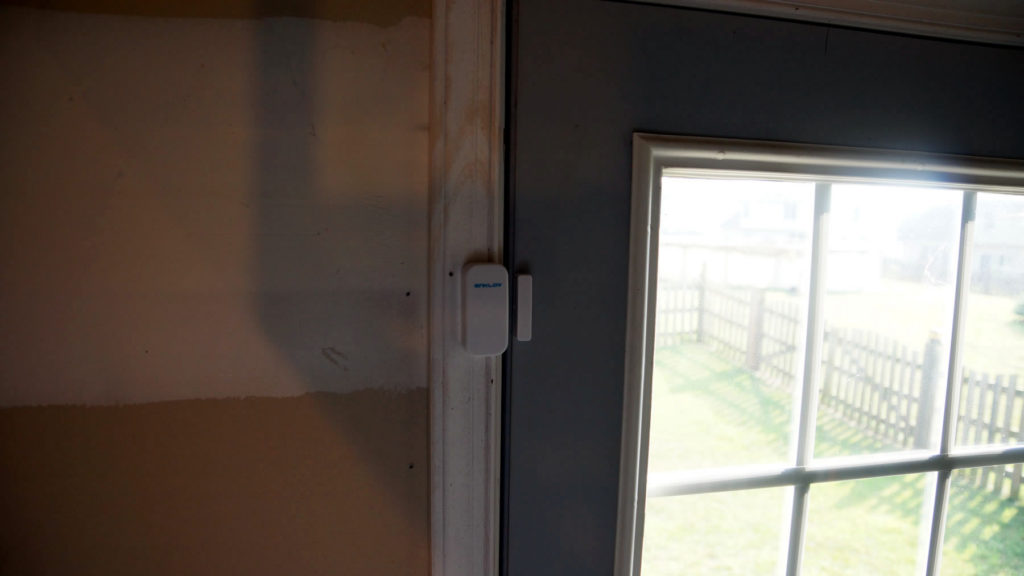
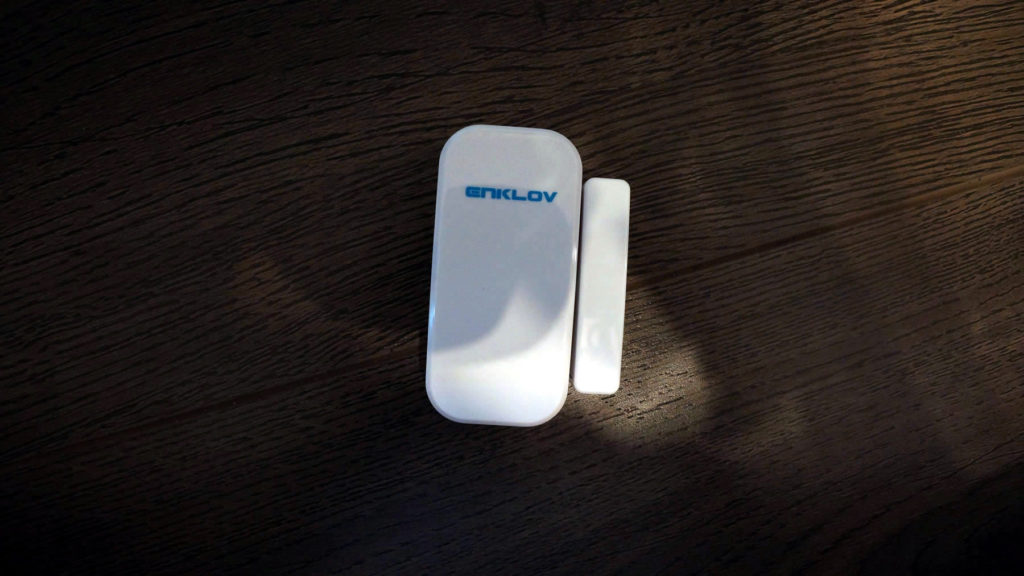
Open and close the door for testing. If the LED is not lit when you open, you are installing the sensors incorrectly. They don’t necessarily have to be sticking like pea and carrot to each other but the arrows must face.
Continue on for the rest of other doors or windows you want to monitor.
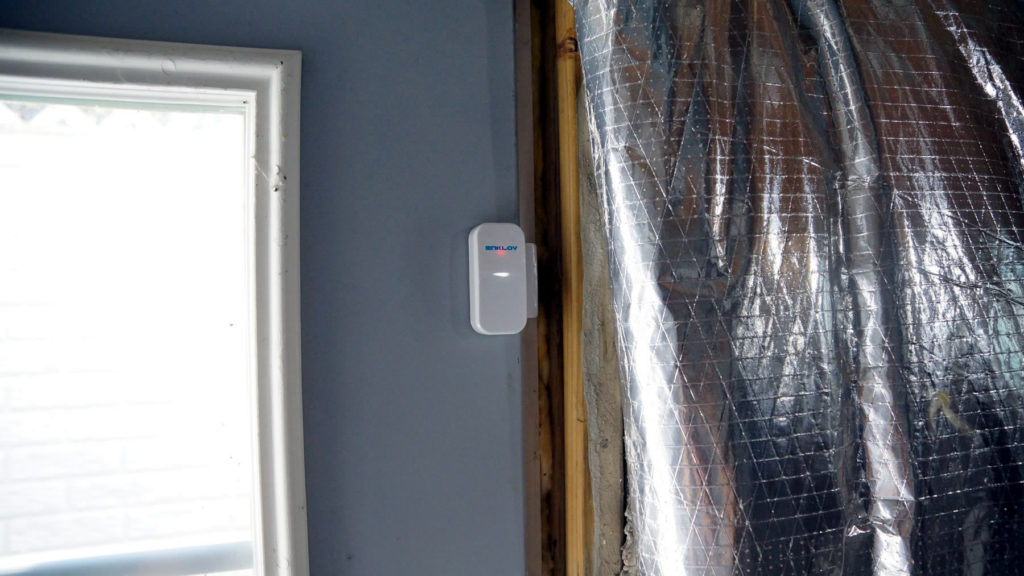

- Motion sensors are great in open area where someone must walk across to get to another room, or in the basement. I wonder if it can monitor flood and fire. But I’m not going to set up such disaster just to test that capability today. Need a house to live in and whatnot.

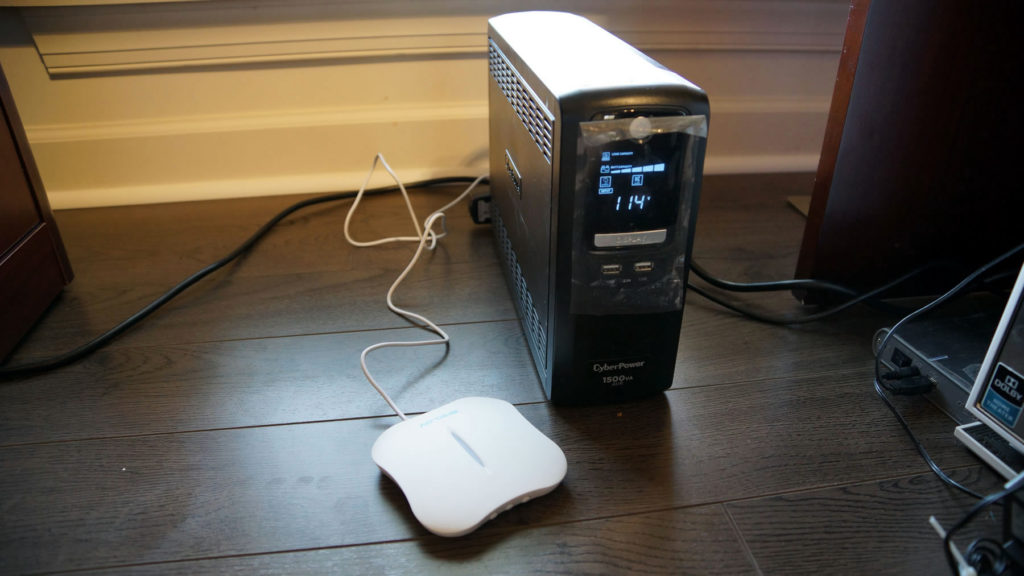
- Now find the hub an out of reach location. For extra security, you could run it through a back-up battery but don’t hide it in a closet since you will not be able to hear the siren –unless you have the external add-on strobe/siren speaker.
Configuring Using a Smart Device
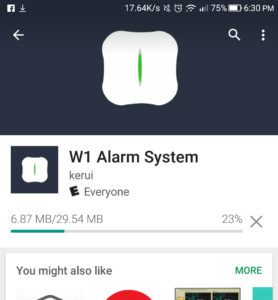
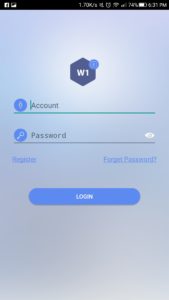
Sit back and downbload W1 Alarm System from the App store or Play store, then register an account with your valid email address.
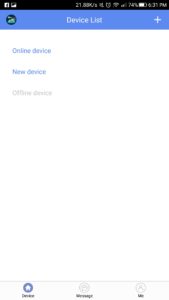
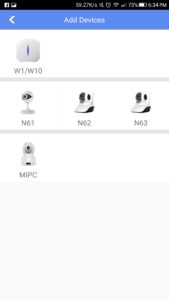
- On device list page, click the + button at the top right. Then choose your hub W1/W10.
- Be sure your phone is on your wifi network. Now type in the wifi password once again. The screen will instruct you to press the SET button on your hub in the next step.
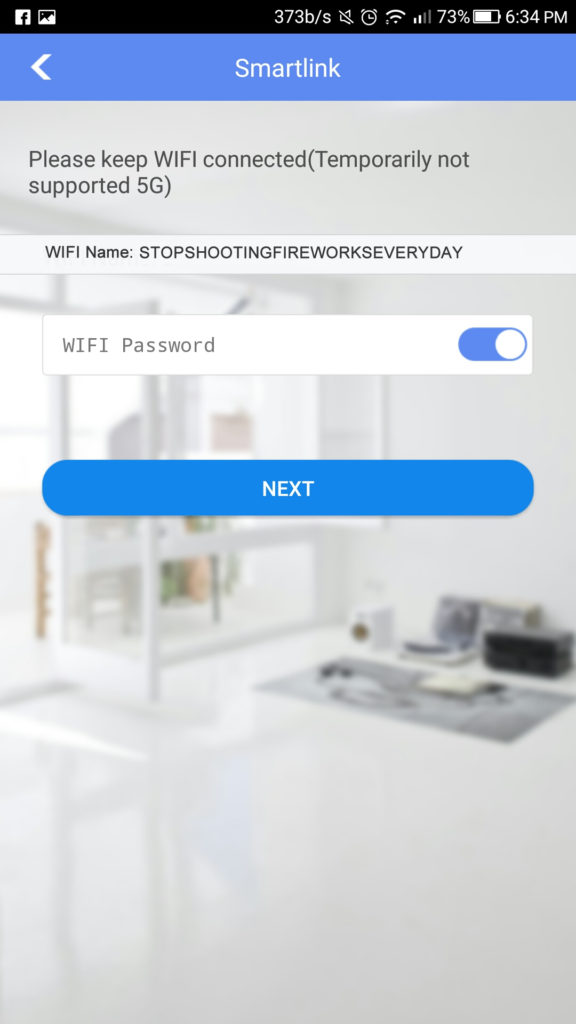
-
When the hub is connected and found, you can go ahead and pair it with your phone. The main control screen will appear once the dust has settled.
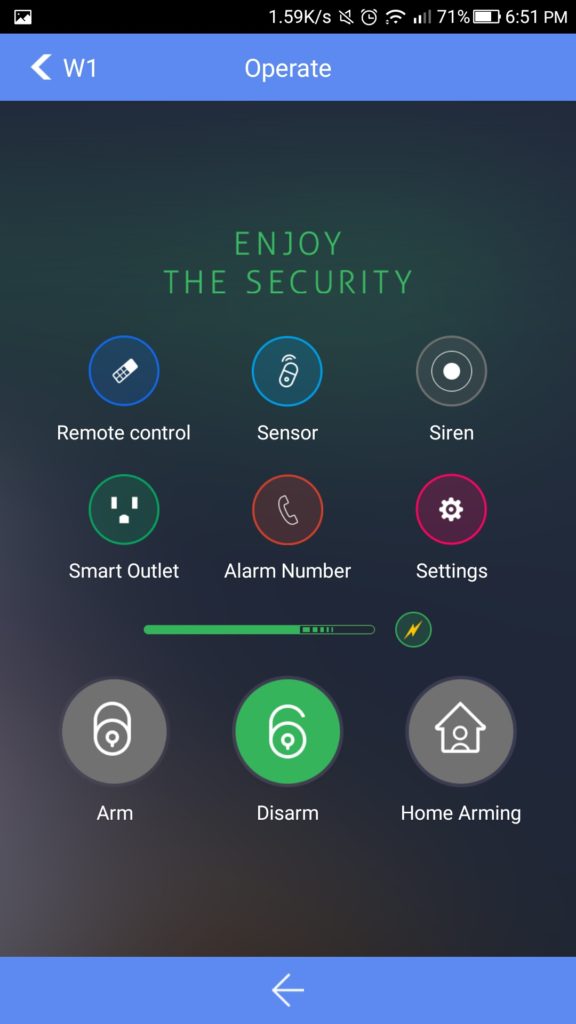
a. To pair a sensor, go to Sensor option shown in picture above. Touch the (+) to put the hub into learning mode (you will hear a response), then open the door or window to activate the sensor. In short, any sensor that triggered during the hub’s learning progress will be the one added to the Sensor list.
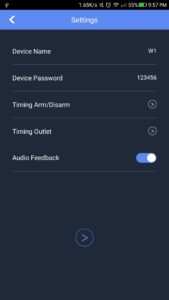
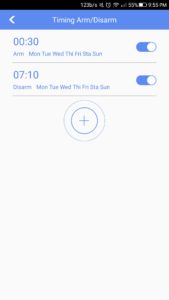
b. To schedule automatic Arm/Disarm the system at night and in the morning, go to Settings > Timing Arm/Disarm.
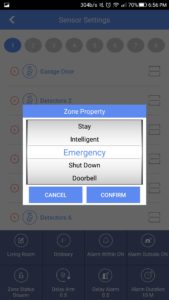
c. Different kind of alarm type/sound for different zones via Sensor settings.
- I wanted to end it with # 13 but it’s an unlucky number. Last time I drove 13 mph on i-95 and I got pulled over. So here’s a useless # 14 for your entertaining.
Conclusion
Before I ordered the kit, I was afraid I wouldn’t know how to set it up properly but it turned out to be much more easier than I thought. That’s a plus. Setup was a breeze except when it was in the humid garage.
Other than that, the system works well so far. My home is under close surveillance of the system and being watched like a hawk via the Wifi cameras that record live 24/7. There are several points of defense around the house, from motion sensors around the perimeter to the indoor door/windows sensors and 24/7 surveillance camera. I feel a lot safer having the ability to know exactly what’s going on at home when we’re on the road or fast asleep at night. Nevertheless, I still have a few concerns in the back of my mind:
- The system notification completely relies on the home internet router to work. I have a great router that doesn’t act up every now and then so I’m glad it won’t be an issue affecting the operation of this home security system. What if the Internet fails at the time of break-in? Well, that’s really a series of unfortunate events! At least the system still has a landline call as a fallback to let me know what’s going on.
- I need to buy more sensors for windows (maybe?)
- Not compatible with Alexa. I can’t yell across the room like a boss.. “ALEXA, ARM THE HOUSE!!!” *Update: the new W10 model now fully supports Alexa*.
- I turn off the hub’s built-in siren so its location cannot be revealed. Instead, I use multiple exteral strobe/siren speakers all around the house.
That’s all, folks. Drop a comment if you have any question or feedback!

- Convenient for Keyless Entry: This digital lock provides 1 master code and 9 access codes....
- Enhanced Security: Designed with encryption function, this doorknob can avoid the code...
- Universal Fit: It fits most standard doors and the free rotating knob make it fit both...
- Easy to install: Easily installs in minutes with just a screwdriver even you are not...
Nice write up… i was intersted in buying this but wish it was alexa compatible.
W10 supports Alexa, the discontinued W1 model does not :)