Nintendo has always been a gold standard for great quality consoles and awesome games throughout the platform history. However, the Joycons are literally a surprise disappointment to the gaming world –which it only takes three years for Shuntaro Furukawa to come out and issue an apology about the “inconveniences” caused by the faulty parts.
Thanks Nintendo! Lot of needless deaths are on your hands, from Legend of Zelda to Animal Crossing to the relationship-destroyer Mario Kart 8, they’re all counted for!
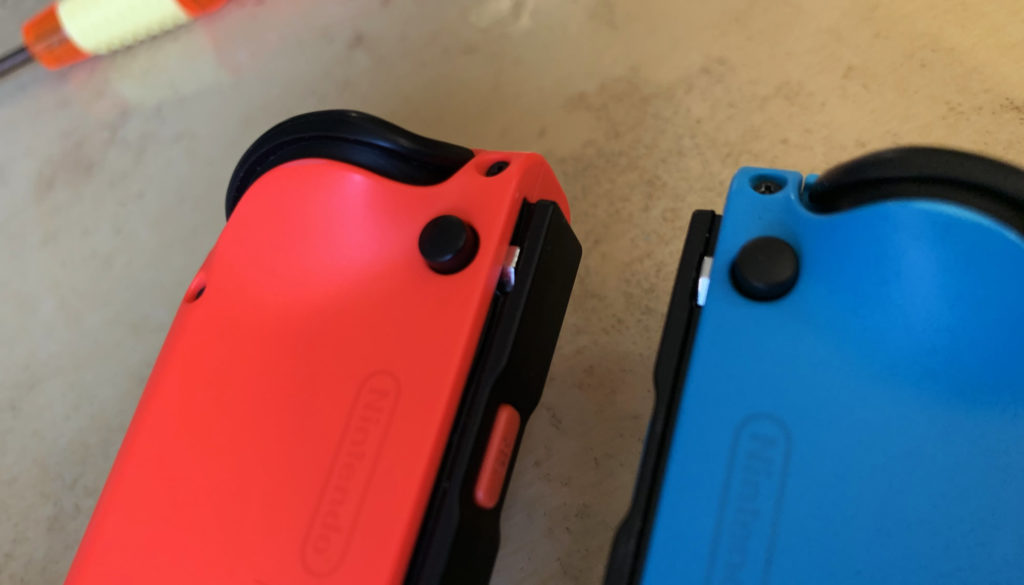
So one of those inconvenient problems is the incapable locking mechanism that cause the controller to easily slide out of the console or its attachment without anyone even touching the release button. Pulling a pro gamer move on Fortnite? Whoops your Joycon is free flying across the room due to too much tension and sweat fingers. Horror moments in Shadow of Destiny? Use the same technique to shoot the TV effortlessly, that’ll scare the homunculus. Which in turn makes some of us wondering a second thought: is this a totally designed feature, not an absolute bug?
Fortunately whatever it is, the touch up is a very simple and straight-forward process. All you will need are steady hands and this buckle replacement kit to swap the chipped-off latches. And the good news is it’s quite inexpensive to do so. This $10 kit has everything you’ll need to do the repair.
![FYOUNG [New Version] Replacement Latches Compatible with Switch/Switch OLED JoyCon, Lock Buckles Repair Tool Kit Compatible with Switch JoyCons with Screwdrivers and Tweezer](https://m.media-amazon.com/images/I/41jI2eZDhQL._SL160_.jpg)
The original buckle is made with cheap plastic hence that isn’t a question of whether it will break, but when it will happen –is it exactly when you are 1st in the race? Final boss? or when you’re brushing your teeth? No one knows.
But before we get ourselves into a total mess for trying to repair it (jk), let’s confirm the diagnosis prior to the attempt. Watch our highly professional expert’s video here –if your Joycon does this, that means you are in the right place and this is the right fix.
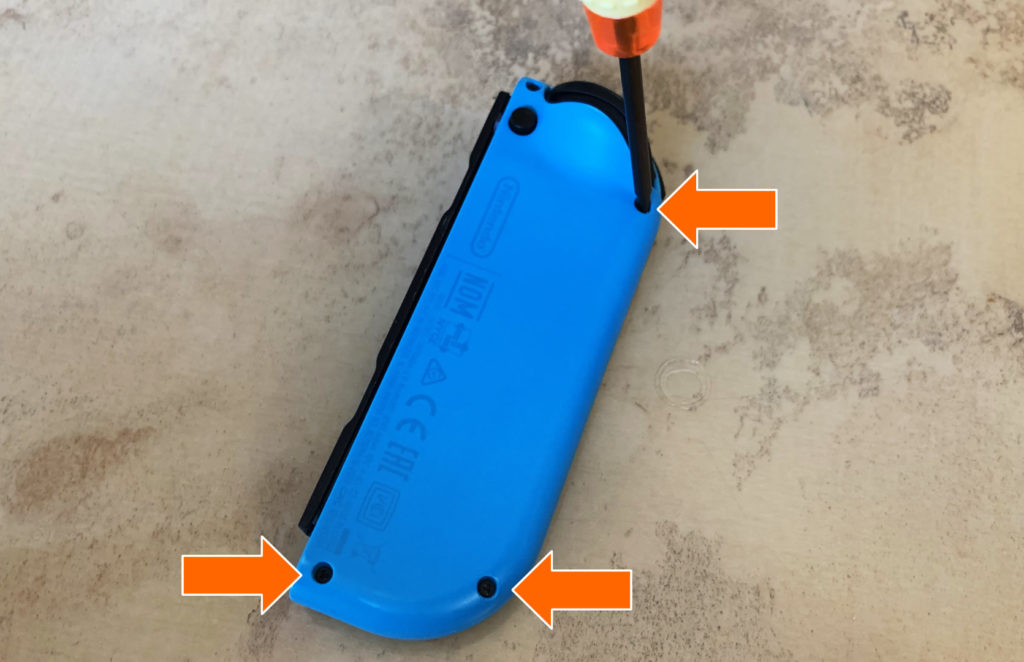
Use the included Triwing screwdriver and gently remove the three screws across the back of the Joycon.
Gentle open up the controller compartment with your hands, or the pry tool. In most case, you don’t need any special equipment to do this because it’s very easy to separate the two parts. Do not apply too much force, you may tear the internal ribbon cables.
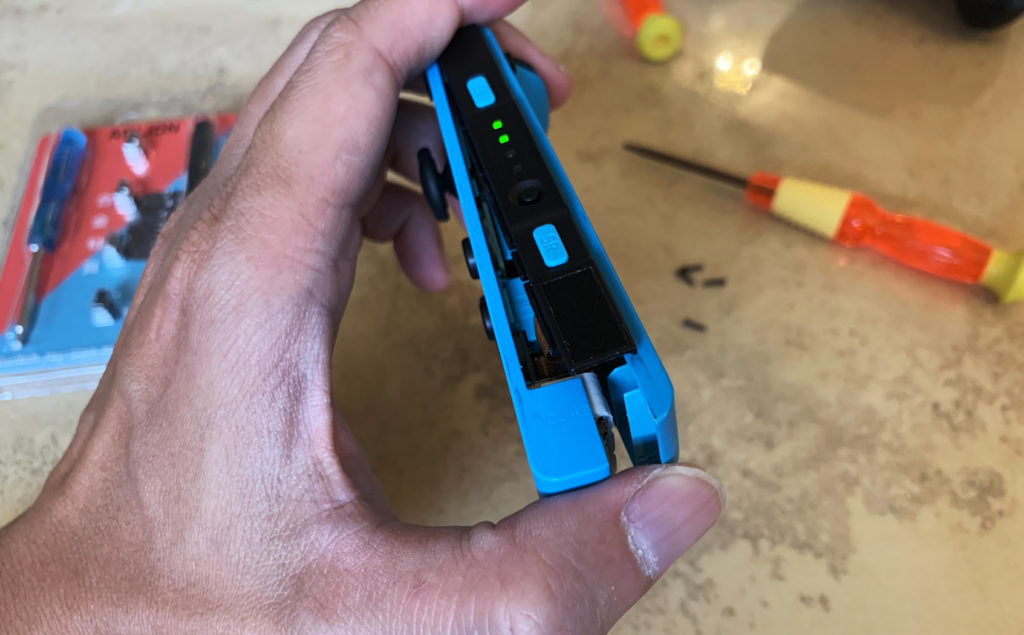
Lay the battery side flat while the back side sits vertically.
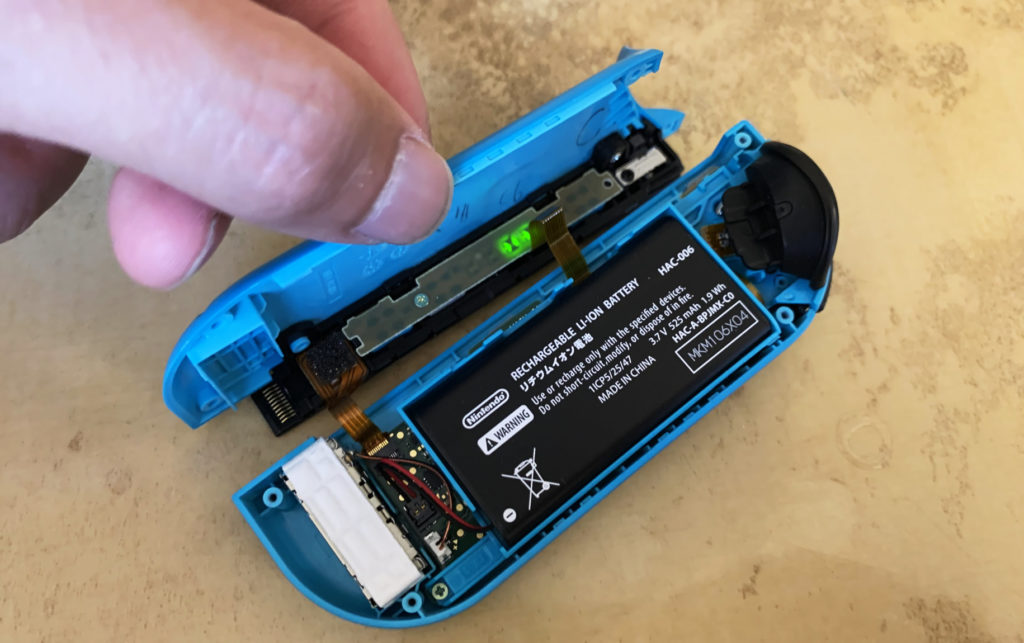
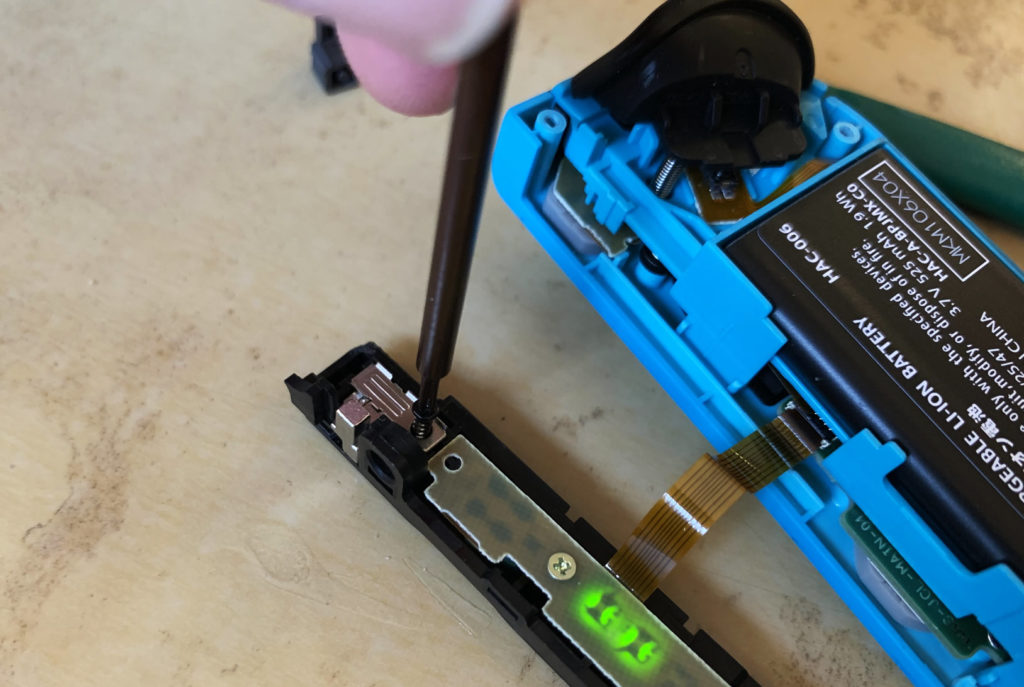
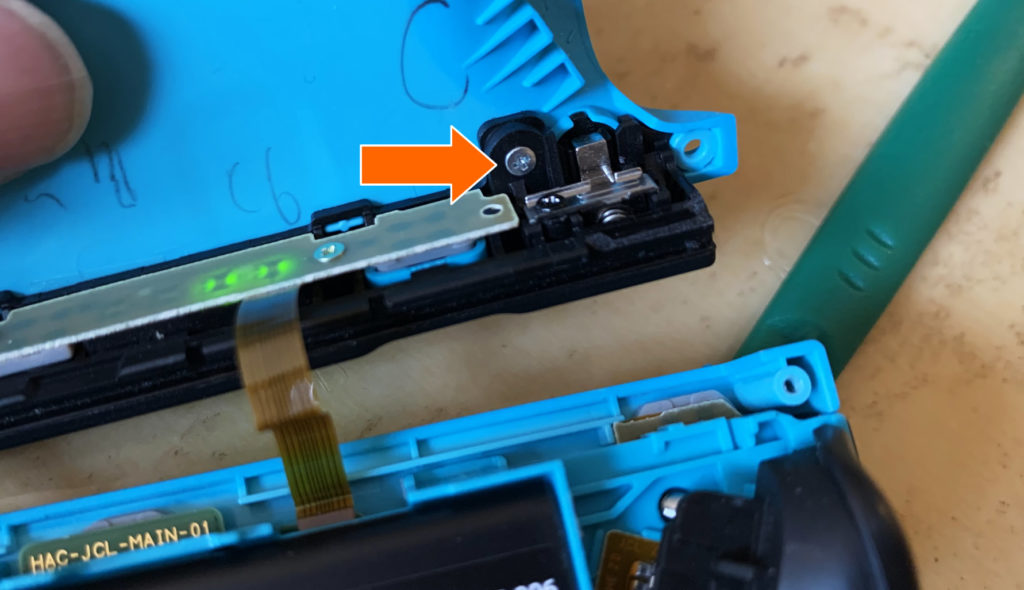
Use the include philips screwdriver to remove the little screw that hold the silver retaining at the top, where the latch located.
Also remove the adjacent screw where the black bar attached to the back cover.

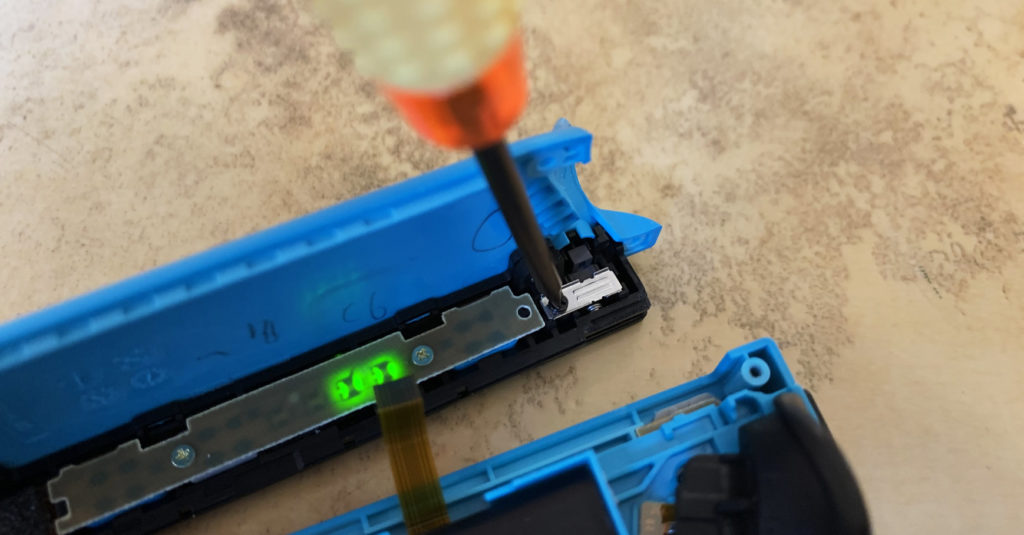
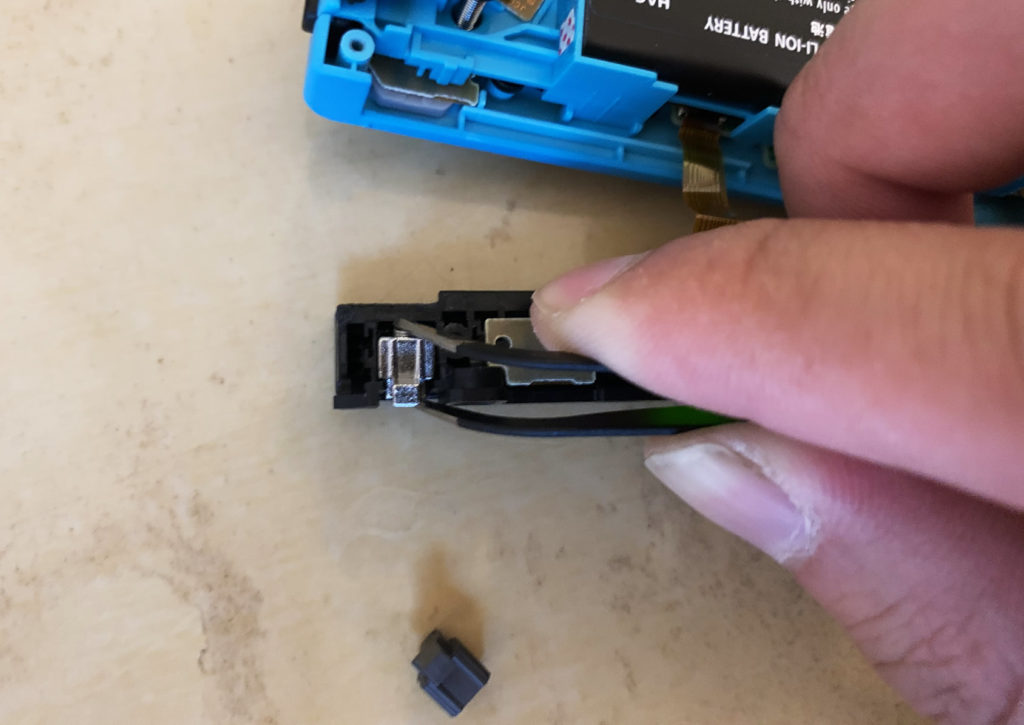
Use the ESD Tweezers (included in the kit) to gentle find a gap between the retainer and its compartment. Work your way across from top to bottom to loosen the retainer.
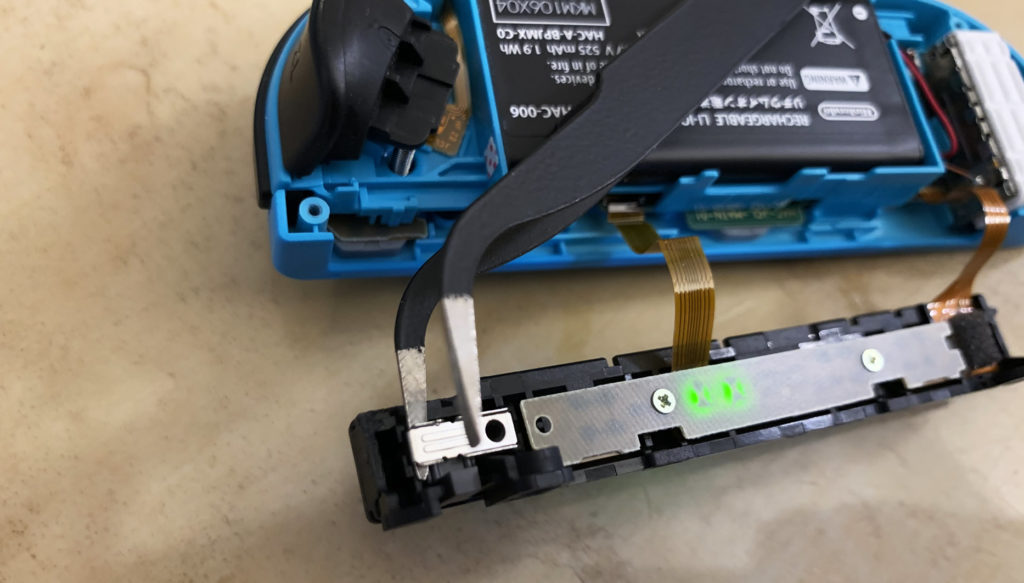
You may bend it a little bit during this process but it won’t cause any problem down the road. Just don’t turn it into an unrecognizable V or U-shape retainer.
Alright. Now there is nothing tricky about the next step.
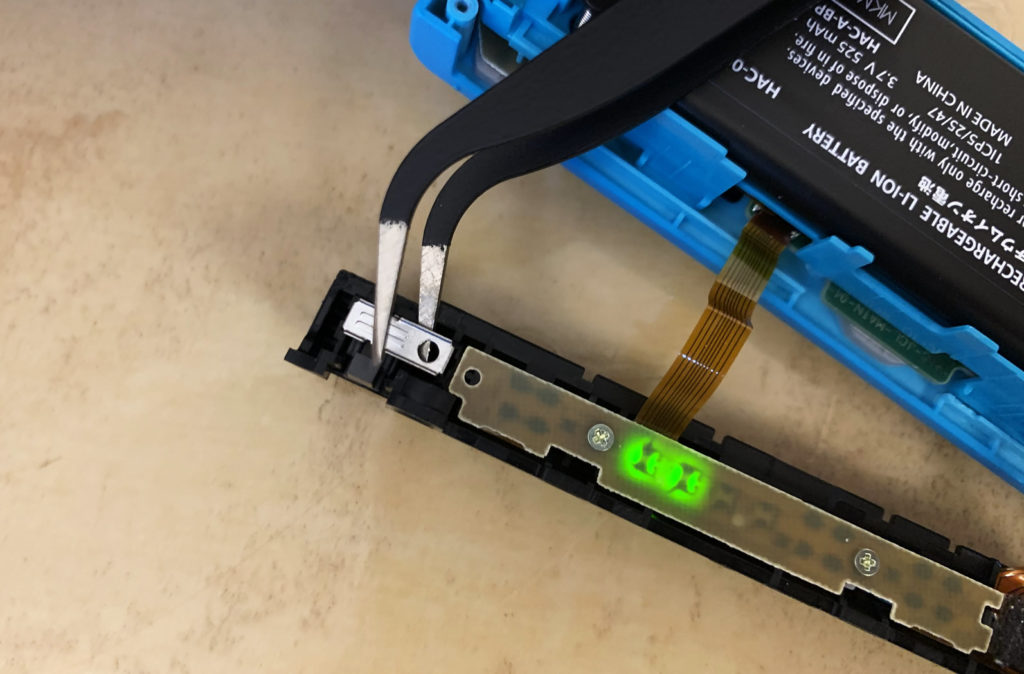
All you have to do is grow a thumb nail that long enough to fully depress the tiny spring inside the plastic buckle. Then, gentle use the tweezer to grab a hold of the buckle itself and pull it straight out. Any dentist can do it with their eyes closed while standing on a hoverboard.
Also there is nothing tricky about the next step.
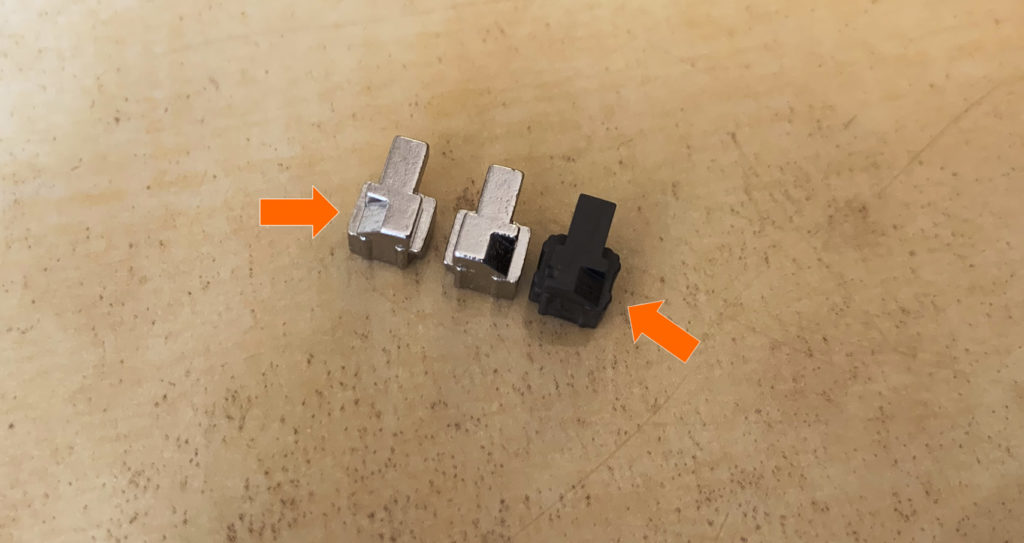
Remove the spring from the plastic buckle and put it into the metal buckle housing carefully.
Next you have to compress the spring using the tweezers, and gently drop into its orginal position. You may need to trim your thumb nail short for this or it may get in the way.
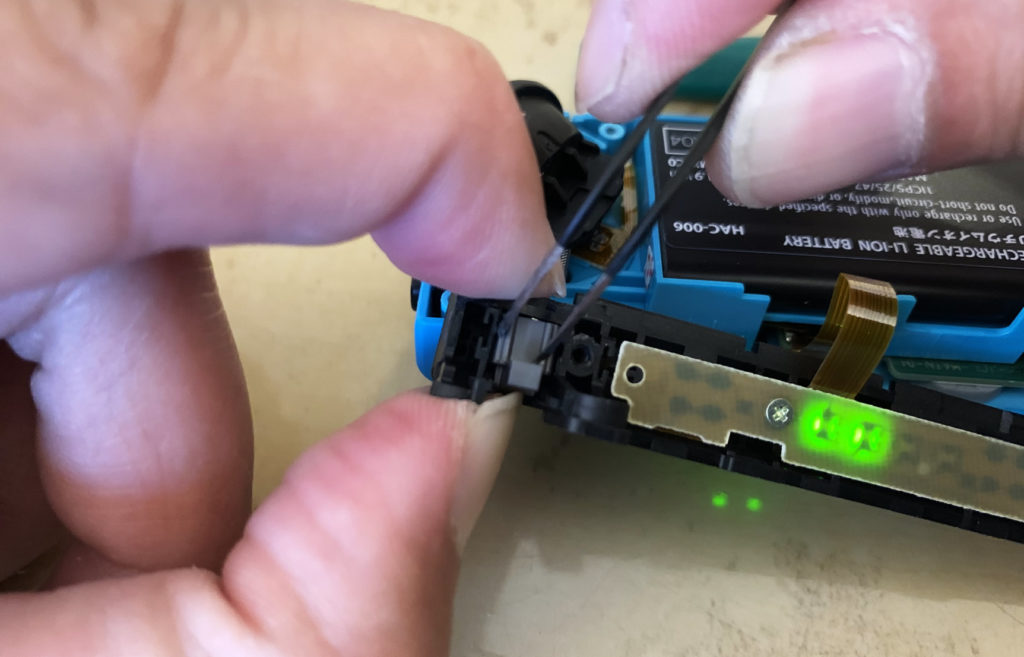
Once the buckle is in place, use the tweezers to reinstall its retainer.
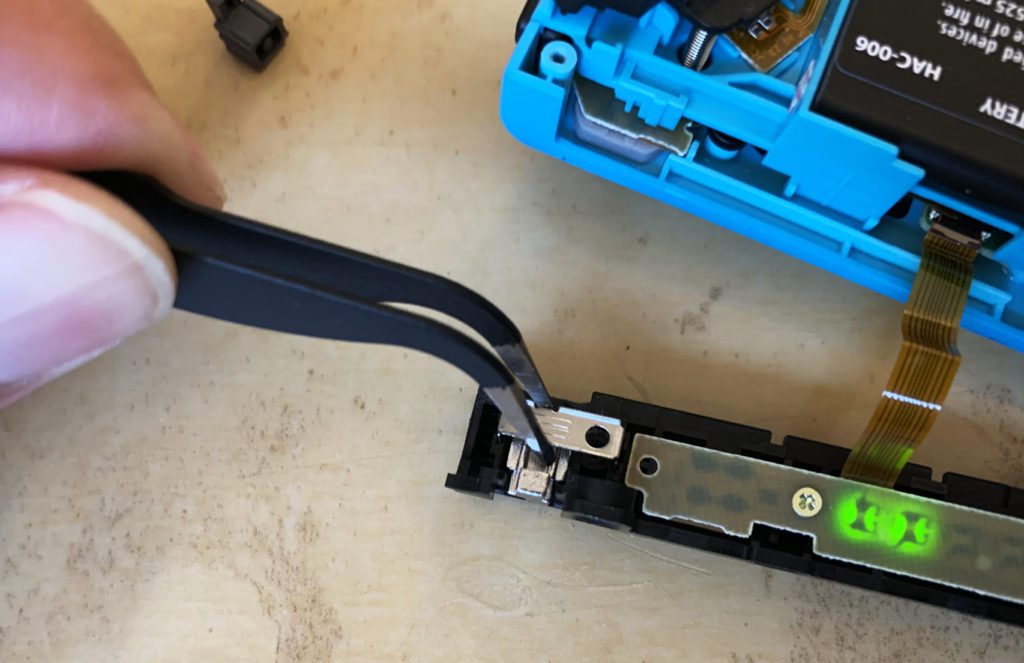
When the retainer’s legs are half way in their slots, use the other end of the tweezers to drive them all the way down evenly.
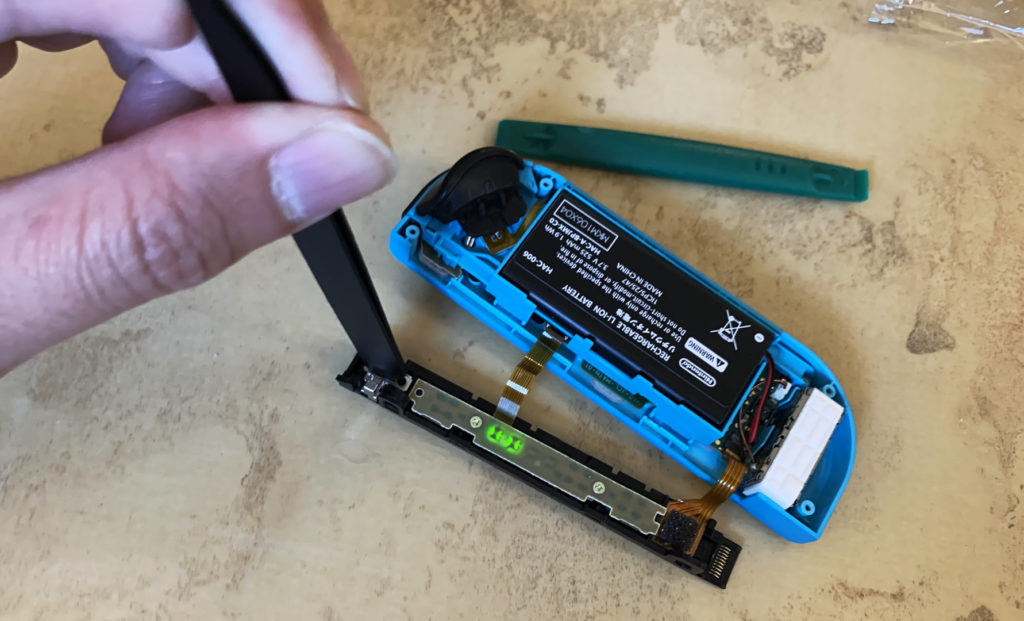
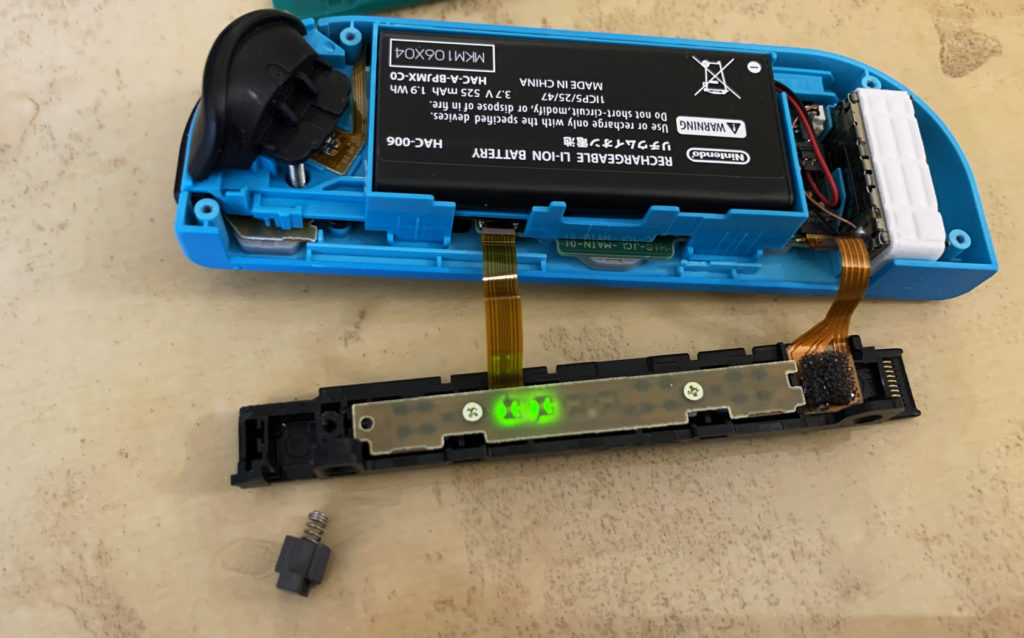
Reinstall the retainer screw..
..as well as the silver screw that attach the side bar to the Joycon’s back cover.
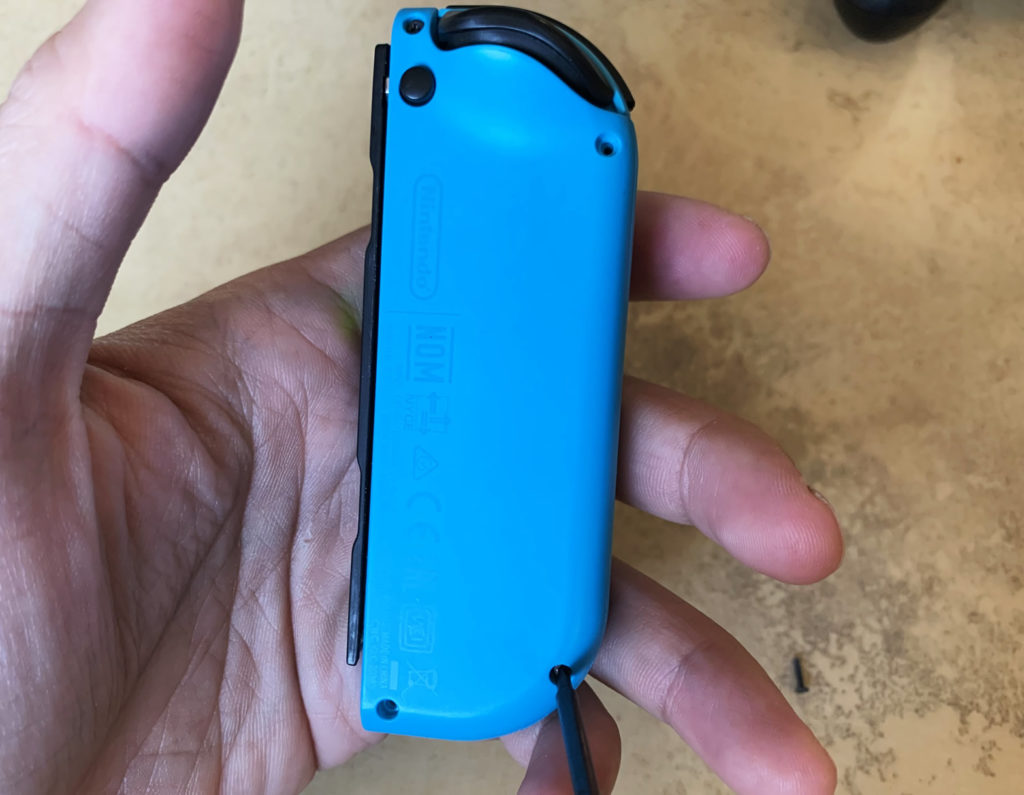
Now close it up and you are all done!
The same issue very likely will happen to other Joycon if it hasn’t already. Repeat these steps to fix it so you don’t have to worry about these weak latches again.
Ask away in the comment section if you have any question. Good luck!